Advertisement
Quick Links
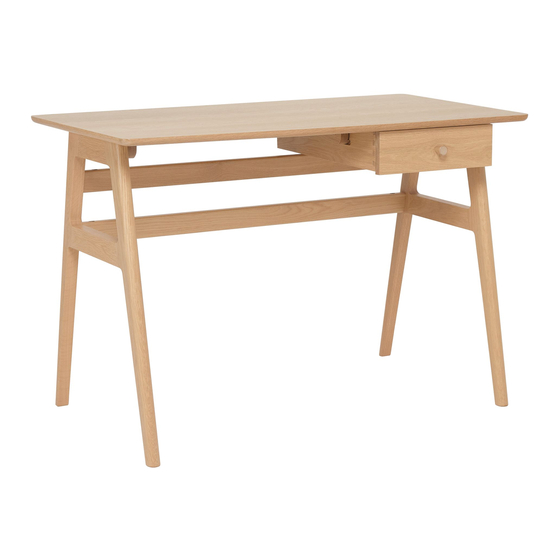
Thank you for purchasing this Ballatta desk. Please ensure instructions are read in full before attempting to assemble
product.
WARNING:
IN ORDER TO PREVENT OVERTURNING, THIS PRODUCT PRODUCT MUST BE USED WITH THE WALL
ATTACHMENT DEVICE PROVIDED.
Installation should be carried out exactly according to the manufacturers instructions, otherwise a safety risk can
occur if incorrectly installed. Cabinets and shelving over 600mm high can be unstable and should be supported until
fixed to the wall.
This product is heavy, it should be assembled as near as possible to the point of use. Take care when lifting to avoid
personal injury and (or) damage to the product.
The fittings pack contains small items which should be KEPT AWAY FROM YOUNG CHILDREN.
Read this leaflet in full before commencing assembly.
Ref: 2507 / 2202
2202 BALLATTA DESK
1
Advertisement

Related Manuals for Ercol Ballatta Desk 2202


Summary of Contents for Ercol Ballatta Desk 2202
- Page 1 2202 BALLATTA DESK Thank you for purchasing this Ballatta desk. Please ensure instructions are read in full before attempting to assemble product. WARNING: IN ORDER TO PREVENT OVERTURNING, THIS PRODUCT PRODUCT MUST BE USED WITH THE WALL ATTACHMENT DEVICE PROVIDED. Installation should be carried out exactly according to the manufacturers instructions, otherwise a safety risk can occur if incorrectly installed.
- Page 2 Please check the pack contents before attempting to assemble this product. A full checklist of components is given in this leaflet. If any components are missing, please contact the retailer from whom you bought this product. Pre-assembly preparation Items you will need This is a two person operation Parts checklist 1 x top panel...
- Page 3 Step by step assembly instructions 1. Place 4x cam heads (A) and 4x wooden dowels (F) into the holes of each rail (4). Use a soft hammer to insert the dowels (F) as shown below 2. Lay down the side frames (2 and 3) on a smooth surface. Fix 4x cam rods (C) by using a screwdriver. 2 / 3 Ref: 2507 / 2202...
- Page 4 3. Place the rails (4) on side frame (2). Put 2x grub screws (B) into cam heads (A) and tighten them by using a screwdriver. 4. With the aid of an assistant, carefully attach the LH side frame (3) to the rails (4) by using 2x grub screws (B). Ref: 2507 / 2202...
- Page 5 5. Place the top panel upside-down and with the aid of an assistant, carefully locate the leg frames onto the top panel (1) as shown below. Fix it with 8x allen head bolts (D and E) by using the allen key (G). Locate all 8 connecting bolts before tightening! 6.
- Page 6 7. If the desk is not level on your floor use the wedge (K) provided, and snap it o so that it does not protrude out from the cabinet’s leg, you can also snap it lengthways if desired. Ref: 2507 / 2202...
- Page 7 Wall Fixing Instructions 1 Fix the textile straps (J) to the back of the product (under the top panel) using the screws (H) and the washers (i). Place your product in the final position. Mark the wall with a pencil where the hole will be drilled.
- Page 8 A guide to wall mounting and fixings Warning Serious or fatal crushing injuries can occur from furniture tipping over. To prevent this furniture from tipping over it must be permanantly fixed to the wall. Wall fixing screws are not included, since different wall materials require different types of screws / fixings. Please ensure you use the correct screws / fixings for your type of walls and seek professional advice if you are not sure.
-
Page 9: Care And Maintenance
No liability will be accepted for damage or injury caused by incorrectly installed furniture. PLEASE KEEP THESE INSTRUCTIONS FOR FUTURE REFERENCE Ref: 2507 / 2202 Ercol Furniture Ltd, Summerleys Road, Princes Risborough, Buckinghamshire. HP27 9PX ercol.com YNG TAL 14 / ERBMT2 D: 11.07.2018 / RN 003...
Need help?
Do you have a question about the Ballatta Desk 2202 and is the answer not in the manual?
Questions and answers