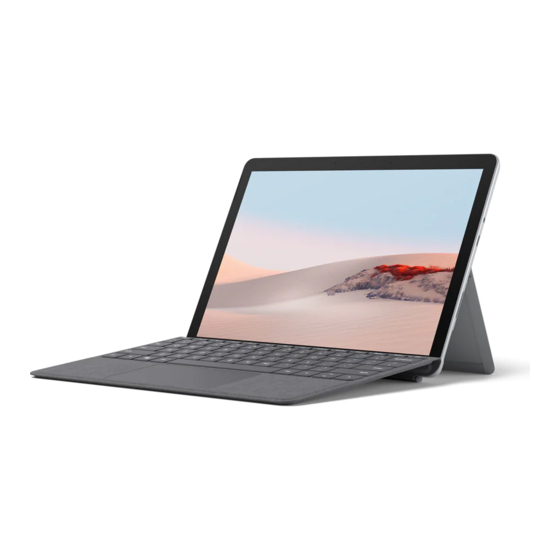
Microsoft Surface Go 2 Replacement Manual
Kickstand replacement guide
Hide thumbs
Also See for Surface Go 2:
- Replacement manual (17 pages) ,
- User manual ,
- User manual (100 pages)
Table of Contents
Advertisement
Advertisement
Table of Contents

Summary of Contents for Microsoft Surface Go 2
- Page 1 Surface Go 2 Surface Go 3 Kickstand Replacement Guide...
- Page 2 To the fullest extent permissible by law, Microsoft shall not be liable for damages of any kind arising from the use of information, content, materials, or product made available in or in conjunction with this Manual, including but not limited to direct, indirect, incidental, consequential, and/or punitive damages unless otherwise specified in writing.
-
Page 3: Table Of Contents
Table of Contents DEVICE IDENTITY INFORMATION ........................... 4 · SURFACE GO 2 & 3 MODELS ........................4 · GLOSSARY OF TERMS ..........................4 GENERAL INFORMATION, PRECAUTIONS, WARNINGS ..................5 · SERVICE TOOLS AND JIGS ...........................5 · STANDARD SERVICE TOOLS: ........................5 ·... -
Page 4: Device Identity Information
1927 – Surface Go 2 Consumer/Commercial LTE (Platinum) 2022 – Surface Go 3 Consumer/Commercial LTE (Platinum and Black) The serial number and model for Surface Go 2 are located under the kickstand. The model number is also noted on the kickstand’s underside. -
Page 5: General Information, Precautions, Warnings
General Information, Precautions, Warnings This symbol identifies important safety and health information in this manual. Service Tools and Jigs Standard Service Tools: • Anti-static wrist strap (1 MOhm resistance) • Soft Electro-Static Discharge (ESD) safe mat • 3IP (Torx-Plus) driver •... -
Page 6: General Safety Precautions
Microsoft-authorized service providers should undertake FRU repair activities. • Always select and use the appropriate AC power supply for a device. We recommend you use genuine Microsoft power supply units and AC power cords. A genuine Microsoft power supply unit is provided with every device. •... -
Page 7: Safety Policies/Procedures
Safety Policies/Procedures Microsoft’s field product safety program team is referred to as the Rapid Response Team (RRT). All device issues that may be safety related should be managed per the following instructions. As a quick guide, any Microsoft Surface device that visually exhibits any of the following symptoms shall be... -
Page 8: Illustrated Service Parts List
IMPORTANT: Device service part availability is segmented into two groups. FRUs are parts available for repair activity through an Authorized Service Provider under specific contract with Microsoft. CRUs/ Spares are parts available for repair activity by a skilled technician. Models... -
Page 9: Service Diagnostics/Troubleshooting Overview
Service Diagnostics/Troubleshooting Overview • For general Surface support, visit www.support.microsoft.com • To troubleshoot device feature/function problems or learn more about Surface Go visit www.aka.ms/SurfaceGoHelp • If you’d like to learn more about Windows, visit www.aka.ms/WindowsHelp • To learn more about the accessibility features of the Surface Go, visit the online user guide at www.aka.ms/Windows-Accessibility... -
Page 10: Kickstand Replacement Process
Kickstand Replacement Process Preliminary Requirements IMPORTANT: Be sure to follow all special (bolded) notes of caution within each process section. Required Tools and Components • Tools: 3IP (Torx-Plus) driver Soft ESD safe mat Microfiber cloth • Components: New Kickstand FRU (FRU includes new 3IP screws) Prerequisite Steps: Power off device –... - Page 11 3. Remove hinge screws – Using the 3IP (Torx-Plus) driver, loosen all four hinge screws by 2-3 rotations. With the screws loose, use your finger to hold the back of the kickstand behind each hinge while fully removing the two hinge screws. Ensure screws do not fall into the hinge opening. HOLD 4.
- Page 12 5. Angle hinges Down – Using your thumb or index finger, push both hinges down from 90° to approximately 30°. This will require a great deal of force. If necessary, place the microfiber cloth between your finger and the hinge for comfort. Be careful not to push the hinge all the way into the bucket as it will be difficult to pull back out.
-
Page 13: Procedure - Installation (Kickstand)
Use caution when handling new kickstand assembly to avoid cosmetic damage of the kickstand and the device. The Surface Go 2 kickstands are not compatible with the original Surface Go. Insert Foam Tabs – With the hinges still at ~30° start to slide the new kickstand’s foam tabs into the slots on the back of the IBC. - Page 14 2. Lay Kickstand Down – Lay the kickstand flat against the IBC. Be careful not to jostle the kickstand in this position as it may cause abrasions on the IBC. 3. Angle hinges Up – Using your thumb or index finger, push both hinges up from 30° to approximately 90°. This will require a great deal of force.
- Page 15 4. Install hinge screws – Flip the kickstand up to approximately 90° such that the threaded holes of the kickstand align with the mounting holes of the hinge. Install the hinge screws in the order shown below with the 3IP (Torx-Plus) driver. Ensure screws do not fall into the hinge opening. Use your finger to hold the back of the kickstand behind the hinge while installing the screws until they are fully seated.
-
Page 16: Environmental Compliance Requirements
H09117, “Conformance Standards for Environmentally Sound Management of Waste Electrical and Electronic Equipment (WEEE),” which is available at this link: https://www.microsoft.com/en-pk/download/details.aspx?id=11691 In case of questions, please contact AskECT@microsoft.com. ©2021 Microsoft. M1196211...


Need help?
Do you have a question about the Surface Go 2 and is the answer not in the manual?
Questions and answers