Advertisement
Quick Links
Advertisement

Related Manuals for SDRPLAY RSP1A

Summary of Contents for SDRPLAY RSP1A
- Page 1 Using an SDRplay RSP1A for the first time...
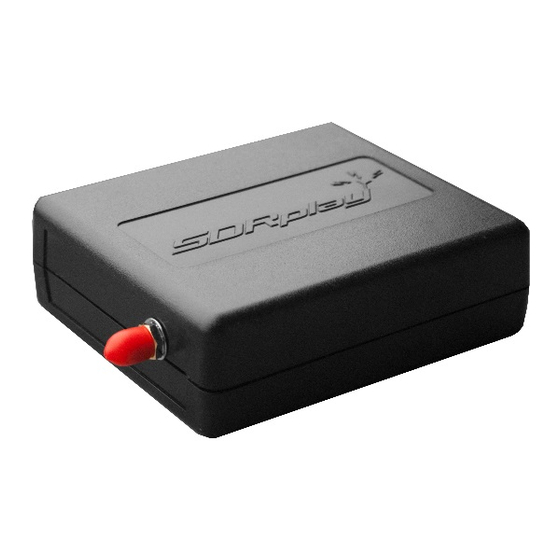
- Page 2 A radio receiver where much of what traditionally was done in hardware, is now done in software. The SDRplay RSP1A hardware does up-front filtering, amplifying, mixing and Analog to Digital conversion. It sends the digitised signal to the PC over the...
- Page 3 The SDRplay RSP1A is a powerful wideband SDR which covers the RF spectrum from 1kHz to 2GHz. All Wire antenna, >10m long it needs is a PC and an antenna to provide excellent for shortwave communications receiver functionality. Download SDRuno software...
- Page 4 Getting Started with your new RSP1A Don’t connect the RSP1A to your PC until you are told to Go to www.sdrplay.com and click on “Start Here” • www.sdrplay.com...
- Page 5 Follow the prompts www.sdrplay.com...
- Page 6 Follow the prompts www.sdrplay.com...
- Page 7 Follow the Prompts Click here and then “open” www.sdrplay.com...
- Page 8 Follow the prompts Say Yes, to allow SDRuno to run on your computer & accept the license agreement PLEASE MAKE SURE your new RSP is DISCONNECTED FROM THE MACHINE BEFORE CONTINUING WITH THE DRIVER INSTALLATION www.sdrplay.com...
- Page 9 Follow the prompts Accept the default file location & click Next Accept the default file location & click Next and SDRuno will automatically install www.sdrplay.com...
- Page 10 Follow the prompts Allow Windows to install if you get a message saying that Windows can’t verify the publisher When you get the message below, wait 30 seconds and then plug in your RSP1A and click “Next” Click on “Finish” and SDRuno will launch – lots of windows will automatically appear and arrange themselves on your PC screen (accept these defaults for now) www.sdrplay.com...
- Page 11 Now we need an antenna For shortwave, say the 49 metre band, 10 metres or more of PVC coated thin multistrand wire will work well if you can get it outside and away from strong sources of electrical noise. www.sdrplay.com...
- Page 12 To get started, just strip away the plastic coating from the end of the wire and insert 2 or 3 strands into the centre hole of the coax socket on the RSP1A, taking care not to short against the outer of the coax socket.
- Page 13 Tape the connections carefully. For a more permanent solution we recommend buying connectors or lengths of coax cable to connect from your RSP1A to a convenient point near the outside world. Additional matching devices may further improve reception but this basic set up should work well as a starting point.
- Page 14 Arrange the length of wire to be as spread out and as high above ground as possible. Cable ties make excellent supports. Keep the wire away from metal objects as much as possible. Even with just this simple wire, you should start receiving some shortwave signals www.sdrplay.com...
- Page 15 (0.1kHz is a good one to choose) The default settings for AM, 8kHz audio bandwidth, gain and so on should be OK…but now you should be inspired enough to start watching the video guides and reading the manual! 0.1kHz tuning digits Broadcast band Preselect button www.sdrplay.com...
- Page 16 If you are just a few hundred kilometres from North Germany, in the daytime, you should hear Radio Mi Amigo International on 6085kHz (9M TO 6PM cet) https://youtu.be/Gi99Z0rZryY Click here for a demo recording from the UK www.sdrplay.com...
- Page 17 This is just the beginning of an exciting journey Join the Facebook group to find our what others do with their SDRplay RSPs: https://www.facebook.com/groups/sdrplay Explore different antennas – for restricted space and indoor antennas for shortwave, a “Mag Loop” antenna is recommended. (Just Google “mag loop antennas for shortwave”...
- Page 18 Guides and documentation www.sdrplay.com...
- Page 19 Guides and documentation www.sdrplay.com...
- Page 20 And you’ll get support direct from SDRplay: Whether you buy your RSP1A from us directly or via a local distributor: www.sdrplay.com...
Need help?
Do you have a question about the RSP1A and is the answer not in the manual?
Questions and answers