Advertisement
Quick Links
Advertisement

Related Manuals for Young America Kudos SSC 1600


Summary of Contents for Young America Kudos SSC 1600
-
Page 3: Identifying The Parts
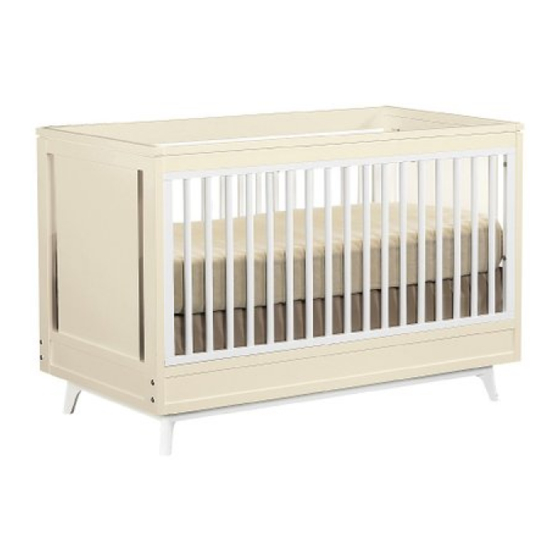
Identifying the Parts The crib illustrations in these instructions are generic in nature. The crib you have purchased may not look like the ones illustrated; however, they all assemble in the same manner. Mattress Platform 2 Crib Ends 2 Base Rails 2 Crib Sides Base... -
Page 4: Identifying The Hardware
Identifying the Hardware Identify the hardware included using the illustrations below 8 Connector Bolts 3 1/2” (1/4” x 20 thread) 4 Connector Bolts 2 3/8” (1/4” x 20 thread) 18 Connector Bolts 2” (1/4 x 20 thread) 4 Mattress Brackets with Bolts 2 Allen Wrenches 6 Locater Pins... - Page 5 Crib Assembly NOTE: Read all instructions before assembling crib. KEEP INSTRUCTIONS FOR FUTURE REFERENCE. Attached to the mattress platform is a sleeve to store the instruction booklet. After assembly is complete, return this instruction booklet to the sleeve for future reference.
- Page 6 Attaching the Crib Base Rails Step 1: Using a Flathead Screwdriver, align the slots in the Barrel Nuts with the holes for the connector bolts located in the Base Rail . See Figure 1a. Align the holes in the Base Rail with the holes in the Crib Ends and insert (4) 3 1/2” connector bolts from the outside of the Crib Ends.
- Page 7 Attaching the Crib Base Step 3: Gently lay the assembled Crib Ends and Side Rails on its side on a padded surface. Align the Base with the bottom of the assembled components. The connector holes located in the Base will align with the inserts located in the Crib Ends and Rails. See Figure 3a. Crib Base Figure 3a.
- Page 8 Attaching the Crib Side Step 4: Position (1) Crib Side, as shown in Figure 4a, by aligning the Locater Pin on the top Figure 4b. edge of the Base Rail with the hole in the bottom rail of the Crib Side. Gently spread the top of the Crib Ends to allow the Locater Pins in the Crib Ends to engage the holes in the ends of the Crib...
- Page 9 Attaching the Mattress Platform Brackets Step 5: Locate the (4) Mattress Platform Brackets with attached assembly bolts as shown in Figure 5a. Deter- mine the high or low position of the mattress foundation (Figure 5a.). Attach the brackets on both the left and right end section in the same height location.
- Page 10 Attaching the Mattress Platform Step 6: Place the Mattress Platform into the support brackets. (Before inserting bolts, make sure the instruc- tion holder and the warning label are facing up and readable as shown in Figure 6a. After the Mattress Platform is in place, use the (4) 2 3/8” connector bolts to attach the Mattress Plat- form to the support brackets.
- Page 11 Attaching the Opposite Crib Side Step 7: Attach the remaining Crib Side. See Figure 7a. Refer to Page 8 and follow Step 4. Figure 7a. Tighten all Crib Side, Mattress Platform, Base Rail, and Crib Ends bolts at this time. After the crib is assembled recheck all assembly bolts and make sure that each is securely tightened using the provided wrench.
- Page 12 Final Step in Crib Assembly Step 8: (The final and most important) Checklist. Inspect the crib once again to assure that all bolts are tight and that no hardware is missing. (if you have missing hardware, contact Stanley Furniture immediately for replacement and do not use the crib until the new hardware arrives).
- Page 13 Cleaning: Mix together a mild solution of gentle dishwashing liquid and water, apply to the crib sur- face using a soft clean cloth lightly dampened in the solution. Rinse with clear water, us- ing a lightly dampened, soft clean cloth, then dry all surfaces thoroughly with a dry cloth. NO ABRASIVE CLEANERS, SCOURING PADS, STEEL WOOL OR COURSE RAGS SHOULD BE USED TO CLEAN THIS FINE FURNITURE.
- Page 14 Lowering the Mattress Platform Steps to lower the mattress: Remove the mattress from the crib. Loosen the (4) bolts attaching the front Crib Side from the End Assembly. Note: Bolts will stay at- tached to Crib Side. See Figure 9a. Figure 9a.
- Page 15 Converting Your Crib to a Daybed Steps to Convert Crib to a Daybed: When converting to a Daybed the Mattress Platform must be in the lower position. Follow the instructions on page 14 for lowering the Mattress Platform. Do not reattach the Crib Side. Remove the (3) exposed Locater Pins from the Crib Ends and the Base Rail.
-
Page 16: Accessories And Options
Accessories and Options Toddler Bed Conversion Kit item STK-3435 is available as an option to convert the Stationary Side Crib to a toddler bed. Contact your youngAmerica dealer to purchase this item.
Need help?
Do you have a question about the Kudos SSC 1600 and is the answer not in the manual?
Questions and answers