Advertisement
Quick Links
Advertisement

Related Manuals for Ralink RT3290


Summary of Contents for Ralink RT3290
- Page 1 802.11b/g/n 1T1R Combo Card RT3290 User’s Manual...
- Page 2 Federal Communication Commission Interference Statement This equipment has been tested and found to comply with the limits for a Class B digital device, pursuant to Part 15 of the FCC Rules. These limits are designed to provide reasonable protection against harmful interference in a residential installation.
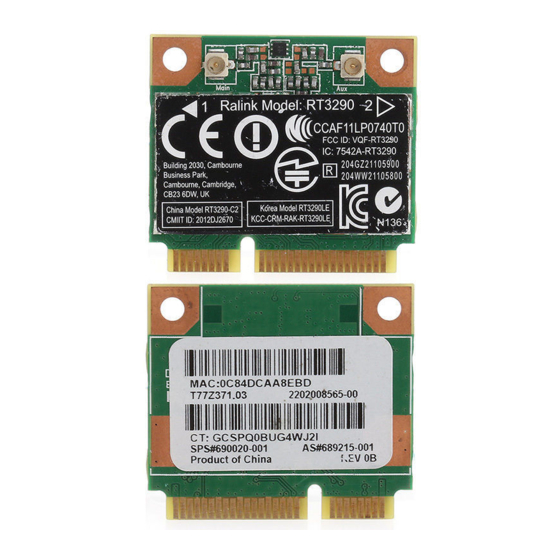
- Page 3 This transmitter module is authorized only for use in device where the antenna may be installed such that 20 cm may be maintained between the antenna and users. The final end product must be labeled in a visible area with the following: “Contains FCC ID: VQF-RT3290”. Manual Information To the End User The OEM integrator has to be aware not to provide information to the end user regarding how to install or remove this RF module in the user’s manual of the end product which integrates this module.
- Page 4 IC ID can not be used on the final product. In these circumstances, the OEM integrator will be responsible for re-evaluating the end product (including the transmitter) and obtaining a separate IC authorization. End Product Labeling The final end product must be labeled in a visible area with the following: “Contains TX IC : 7542A-RT3290”.
- Page 5 Manual Information That Must be Included The OEM integrator has to be aware not to provide information to the end user regarding how to install or remove this RF module in the user’s manual of the end product which integrates this module. The end user manual shall include all required regulatory information/warning as show in this manual.
- Page 6 以下警語適用台灣地區 經型式認證合格之低功率射頻電機,非經許可,公司、商號或使用者均不得擅自變更頻率、加大功率或變更原 設計之特性及功能。 低功率射頻電機之使用不得影響飛航安全及干擾合法通信;經發現有干擾現象時,應立即停用,並改善至無干 擾時方得繼續使用。前項合法通信,指依電信法規定作業之無線電通信。低功率射頻電機須忍受合法通信或工 業、科學及醫療用電波輻射性電機設備之干擾。 本模組於取得認證後將依規定於模組本體標示審合格籤,並要求平台上標示「本產品內含射頻模組:ID 編號」...
- Page 7 Hardware Quick Installation Guide Installing the Wireless Mini PCI Express Module 1. Power down the computer. 2. Plug the Wireless PCI Express Minicard Module board to motherboard minicard slot 3. Connect 2 external antennas used I-PEX connector for WiFi antenna. 4.
- Page 8 INTRODUCTION The 11b/g/n 1T1R WLAN Mini Card is a device that allows you connect your computer to a wireless local area network (LAN). A wireless LAN allows your system to use wireless Radio Frequency (RF) technology to transmit and receive data without physically attaching to the network. The Wireless protocols that come with this product ensure data security and isolation from interference generated by other radio frequencies.
- Page 9 You can also use one computer as an Internet Server to connect to a wired global network and share files and information with other computers via a wireless LAN. The Access Point Network The network installation allows you to share files, printers, and Internet access much more conveniently.
-
Page 10: Software Installation
SOFTWARE INSTALLATION Install the device 1. Make sure the computer is turned off. Remove the expansion slot cover from the computer. 2. Carefully slide the 11b/g/n 1T1R WLAN Mini Card into the mini PCI slot. Push evenly and slowly and ensure it is properly seated. - Page 11 There are two modes for you to choose in this screen, either choose WiFi mode or performance mode (TxBurst mode). This mode selection screen is set for the default mode shown in the utility screen, you can still change its mode later in the utility screen. Click Next to continue.
- Page 12 When you are prompted the following message, please click Install to begin the installation.
- Page 13 6. When the following screen appears, click Finish to complete the software installation.
-
Page 14: Hardware Installation
HARDWARE INSTALLATION Verification To verify if the device exists in your computer and is enabled, go to Start > Control Panel > System (> Hardware) > Device Manager. Expand the Network Adapters category. If the 11b/g/n 1T1R WLAN Half Mini Cardis listed here, it means that your device is properly installed and enabled. -
Page 15: Network Connection
NETWORK CONNECTION Once the device driver is well installed, a network setting described in the following should be also established. In Windows 2000/ XP 1. (In Windows 2000) Go to Start Settings Control Panel Network and Dial-up Connections Local Area Connection Properties. - Page 16 Make sure that all the required components are installed. If any components are missing, click on the Install… button to select the Client/Service/Protocol required. After selecting the component you need, click Add… to add it in. For making your computer visible on the network, make sure you have installed File and Printer Sharing for Microsoft Networks.
- Page 17 IP Address Note: When assigning IP Addresses to the computers on the network, remember to have the IP address for each computer set on the same subnet mask. If your Broadband Router use DHCP technology, however, it won’t be necessary for you to assign Static IP Address for your computer. 1.
-
Page 18: Configuration Utility
After the Wireless adapter has been successfully installed, users can use the included Configuration Utility to set their preference. Go to Start (All) Programs Ralink Wireless Ralink Wireless Utility. You can also open the Configuration Utility by double clicking the icon or right clicking to select Launch Config Utilities. - Page 19 Intelligent Wireless Utility Profile Profile can book keeping your favorite wireless setting among your home, office, and other public hot-spot. You may save multiple profiles, and activate the correct one at your preference. The Profile manager enables you to Add, Edit, Delete and Activate profiles.
- Page 20 Network The Network page displays the information of surrounding APs from last scan result. The tab lists the information including SSID, Network type, Channel, Wireless mode, Security-Enabled and Signal.
Need help?
Do you have a question about the RT3290 and is the answer not in the manual?
Questions and answers