
Related Manuals for Sylvania SP269PL-ASST


Summary of Contents for Sylvania SP269PL-ASST
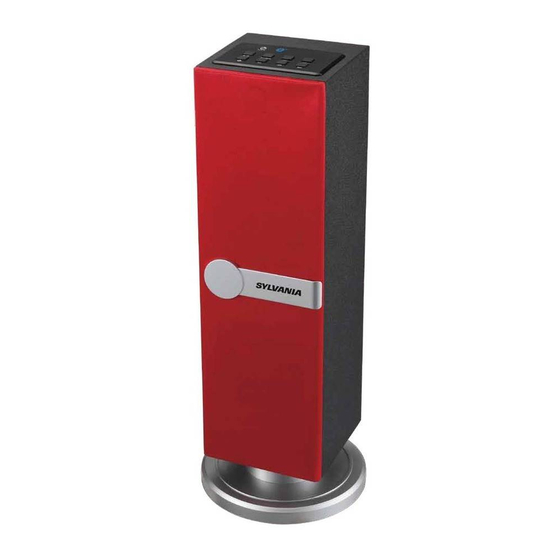
- Page 1 BLUETOOTH MINI TOWER SPEAKER MODEL: SP269PL-ASST INSTRUCTION MANUAL PLEASE READ CAREFULLY BEFORE OPERATING THIS EQUIPMENT...
- Page 2 The lighting flash with arrowhead symbol within an equilateral triangle is intended to alert the user to the presence of uninsulated “dangerous voltage within the product’s enclosure that may be of sufficient magnitude to constitute a risk of electric shock to persons. CAUTION: TO REDUCE THE RISK OF ELECTRIC SHOCK, DO NOT The exclamation point within an equilateral triangle REMOVE COVER (OR BACK).
-
Page 4: Installation
INSTALLATION 1. Remote Sensor 2. Speakers 3. Speaker Net Note: The Speaker Net can be taken out and reassembled as Figure above. -
Page 5: Location Of Controls
LOCATION OF CONTROLS MAIN UNIT 1. AUX IN jack 7. VOL+ (Volume Up) button 2. Indicator (Next) button 3. EQ(Equalizer)button (Previous) button POWER button (Play/Pause) button 5. SOURCE button 11. DC IN Jack 6. VOL- (Volume Down) button AUX IN SOURCE VOL- VOL+... -
Page 6: Remote Control
LOCATION OF CONTROLS REMOTE CONTROL POWER SOURCE POWER button (Mute) button (Previous) button (Next) button 3. VOL (Volume)+/- buttons (Play/Pause) button 4. SOURCE button 8. EQ (Equalizer) button... -
Page 7: Battery Installation--- Remote Control
BATTERY INSTALLATION--- REMOTE CONTROL -First Time Use Remove and discard the insulation tab as figure on the right -Replacing Batteries For Remote Control 1. Push and slide out the battery holder as figure 1 below. 2. Replace the battery with a new CR2025 button cell as the polarity markings on the rear of the Remote Control. -
Page 8: General Operations
GENERAL OPERATIONS 1. Insert the AC/DC Adapter plug into a conveniently located AC outlet having 100-240V~50/60Hz. The Indicate (Red) will light. 2. Press the Power button on the unit or remote control to power on the unit. 3. Press the SOURCE button repeatedly to switch to desired mode.The color of Indicator turns corresponding color as below: ~ Blue: Bluetooth... - Page 9 LISTEN TO EXTERNAL AUDIO DEVICES AUX IN SOURCE VOL- VOL+ 1. Connect one end of supplied audio connection cable to the AUX IN jack on the top of the unit as the figure above. 2. Connect the other end to the Audio out/Line out/Phone jack on the external player (such like iPhone, iPad, MP3 player, Discman...
- Page 10 BLUETOOTH PARING AND PLAYBACK 1. Power ON the unit. 2. Press the SOURCE button on the unit or remote control until the color of Indicator changed to Blue. 3. Turn on the BT function on the external BT device and play the music as usual. 4.
-
Page 11: Troubleshooting Guide
TROUBLESHOOTING GUIDE Check the followings before requesting service SYMPTOM POSSIBLE CAUSE POSSIBLE SOULTION AC/DC adapter plug not No power Plug to the wall outlet. connected to the wall outlet Raise volume level by pressing the VOL Volume in minimum position (Volume) + button Play the music/movie in the connected The connected device is not... -
Page 12: Technical Specifications
TECHNICAL SPECIFICATIONS AC/DC Adapter Input......................AC 100-240V~50/60Hz Output....................DC 12V Speakers ..........................3W x 2 Bluetooth Working Distance..................Up to 30 feet (Measured in open area. Wall and structures may affect the effective range.) Remote Working Distance...................Up to 15 feet Accessories 1 x User Manual 1 x Remote Control 1 x AUX IN Cable 1 x AC/DC Adapter... - Page 13 You are cautioned that changes or modifications not expressly approved by the party responsible for compliance could void your authority to operate the equipment. This device complies with Industry Canada licence-exempt RSS standard(s). Operation is subject to the following two conditions: (1) this device may not cause interference, and (2) this device must accept any interference, including interference that may cause undesired operation of the device.
Need help?
Do you have a question about the SP269PL-ASST and is the answer not in the manual?
Questions and answers