Advertisement
Quick Links
Mini Magic Instructions
Your parcel contains one wrist band (big) and two boxes: one small and the
other one larger:
The small box contains a 5V power adapter, USB power cable, and wrist
band (small).
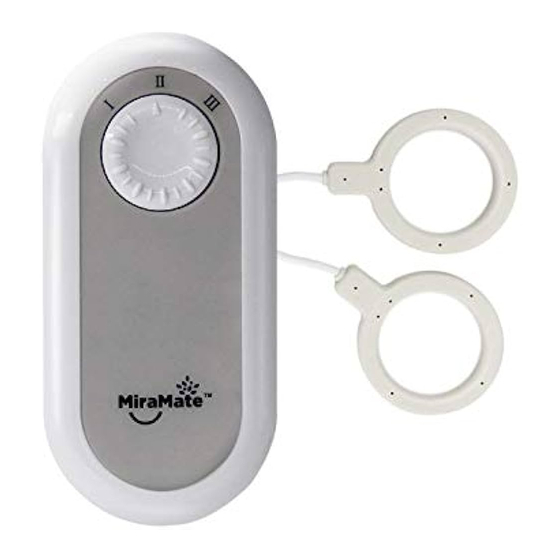
The larger box has two layers. On the top is the main unit. Under this is a
Advertisement

Related Manuals for MiraMate Mini Magic


Summary of Contents for MiraMate Mini Magic
- Page 1 Mini Magic Instructions Your parcel contains one wrist band (big) and two boxes: one small and the other one larger: The small box contains a 5V power adapter, USB power cable, and wrist band (small). The larger box has two layers. On the top is the main unit. Under this is a...
- Page 2 Velcro strap. There are three options to supply power to Mini Magic: 9v Battery, portable power supply, or mains power (using the 5v power adapter). The first two options grant you freedom to move during treatments.
- Page 3 The lid can then be gently lifted off. The battery is inserted into the battery compartment as shown in this photo. It is important to have the battery orientated correctly, with the positive terminal on the right-hand side:...
- Page 4 Position the lid so the top is held by a tab on the main unit, and gently click the lid shut. Do not use excessive force.
- Page 5 2. The USB Power Cable can be connected to a portable power supply. This provides longer treatment durations.
- Page 7 3. The same USB Power Cable can also be used with the 5V power adapter. You can choose the power option that best suits your needs. Tips: When you use the portable power supply or mains power, please take the battery out. If you leave the battery inside, it will take power from the battery first.
- Page 8 The next step is to plug the coil into Mini Magic. Make sure the coil plug is fully inserted into the socket.
- Page 9 You can set the desired power level using the 3-position rotary switch. Level three is the one we recommend. If you are sensitive, you can select a lower power level.
- Page 10 Turn on Mini Magic using the switch located on the right.
- Page 11 Coil Placement There are two sides for the coils; one side is smooth, and the other is bumpy. The coils must always have the smooth side touching your skin.
- Page 12 There are three different options for positioning the coils. Here we show some examples for treating the wrist. The first option is to have the coils side by side. This increases the area being treated, but the treatment depth is shallow. The second option is to have the coils across the treatment area, so the coils face each other.
- Page 13 The third option is to stack them on top of each other. The bumps of the coils must face each other. This option is similar to placing the coils side by side, but the depth is increased. Similar coil positioning can be used for other body areas. It is ok to do it over clothing as long as the clothes are not too thick.
- Page 15 Please make sure the shirt button does not contain metal.
- Page 16 Coil Testing The coils make a tiny ticking sound when they are placed on top of each other. This can be difficult to hear, so we provide a Coil Tester. Place the coils individually on top of the Coil Tester. The red lights should flash regularly during operation.
Need help?
Do you have a question about the Mini Magic and is the answer not in the manual?
Questions and answers