
Related Manuals for GPRINTER GP-1324D


Summary of Contents for GPRINTER GP-1324D
- Page 1 User's Manual GP-1324D Direct Thermal Label Printer 400 611 3828 Customer service hotline :...
-
Page 2: Table Of Contents
CONTENTS 1. The printer ....................01 1.1 Introduction ..................02 1.2 Product features ..................03 1.2.1 Standard equipment ....................... 1.3 Specifications ..................03 1.4 Print specifications ..................04 1.5 The paper size ....................04 2. Product introduction ....................05 2.1 Open and check ....................05 2.2 Printer components .................... -
Page 3: The Printer
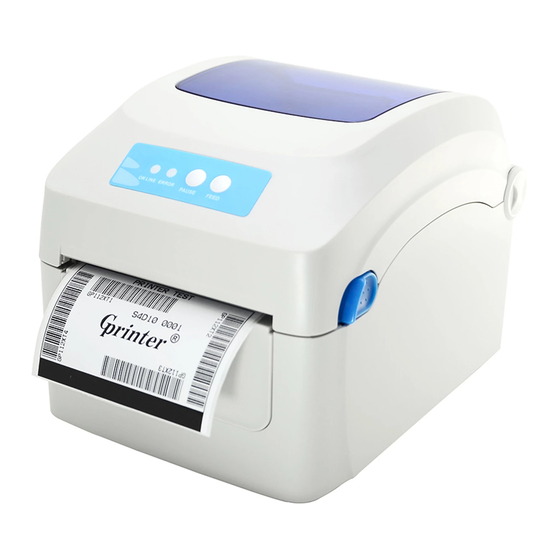
The printer Introduction Thanks for choosing GP-1324D series direct thermal label printer This series printer inner volume is fit for 5" OD (Outer Diameter) paper roll, if using external paper holder, you can install 8.4"OD industrial grade label roll. This printer is designed for real-time and batch label printing, with standard USB port. -
Page 4: Product Features
Built in simplified Chinese, traditional and Korean font for programming. Can print text, bar code, pictures Support bar code Support picture format Specifications GP-1324D Models 180(W) X 176(H) X 238(D) mm Printer size Printer weight Power Supply The built-in voltage automatic switching power supply... -
Page 5: Print Specifications
Print specifications Models GP-1324D The print head 203dots/inch(8dots/mm) Print mode Direct thermal 0.125x0.125mm (the size) (width X length) (1mm = 8dots) Print speed (inches per second) 2~8 inch/s Maximum print width Maximum print length Pulse excitation Heat sensitive piece (wear) 50km 1. -
Page 6: Product Introduction
Product introduction Open and check This series printer is with special package to prevent damage in transportation. If there is any unexpected damage occurred, please put in clean and stable surface and carefully open the package to check, inform local distributor with damage details, and keep packing mate -rials well in case you need to mail the printer. -
Page 7: Printer Components
Printer components Appearance LED lights indicate: ★ ON LINE electric indicator ★ ERROR error indicator Feed button PAUSE button Press button for top cover open LED indicator <Picture 2> Label entrance from external holder Power <Picture 3>... -
Page 8: Internal
Internal Media guide Gab /Black mark sensor Platen roller <Picture 4> Top cover Paper roll Fixing stand of paper roll <Picture 5>... -
Page 9: Installation
Installation Install the printer 1. Please put the printer on the stable surface. 2. Make sure printer power is turned off, please do not plug the power cable when the printer power is turned on. 3. Connect serial or USB or Parallel or Ethernet cable to <Picture 6>... -
Page 10: Button Function
Button Function Feed When the printer is ready (LED blue fixed), click the button, label paper into the front end of a paper label. Print job timeout The printer in the print, click the PAUSE button to print suspended. At this time power indicator is blue flashing. -
Page 11: Self-Test Page Sample
2. Make sure the paper roll is installed correctly and the printer top cover is closed. 3. Press the FEED button and turning on the printer power simultaneously. When the self-test paper comes out, release the FEED button. Self-test page sample: GP-1324D... -
Page 12: Dump Mode
4.3.2 Dump mode Please follow the steps: 1. Turn off the printer power. 2. Make sure the label roll is installed correctly and the printer top cover is closed. 3. Press and hold on the PAUSE button, then turn on the printer power. When the POWER indicator (blue light) and ERROR indicator (red light) light simultaneously, release the buttons. -
Page 13: Print Dip Switch Function
4.3.4 Print DIP Switch function Print the DIP switch page as follow: A.Turn off the printer. B.Make sure the paper roll is installed correctly and the printer top cover is closed. C.Press and hold PAUSE button and turn on the printer. When paper feed and then release PAUSE button, DIP switch pagewill be printed out. -
Page 14: Troubleshooting
Troubleshooting Common problem Below the table of contents is generally the common problems and solutions; if you have been in our proposed methods of eliminating the fault, and the printer is not normal operation, so check with your purchase customer service department, so as to get more help. Problems Possible Reasons Solution and Suggestion... - Page 15 Print head not clean Clean print head and print again Print density setting wrong Suggest density set to be 7 Print head cable not well Re-connect print head cable connected Not printing Step Motor cable not well Re-connect step motor cable connected Command setting wrong Check if there is PRINT command...
-
Page 16: Maintenance
Maintenance 6.1.Printer Cleaning To ensure the printing quality, please proceed this maintenance section to keep your printer in good conditions and extend its life as well. Please use one of following material to clean the printer. Cotton swab ★ Lint-free cloth ★...
Need help?
Do you have a question about the GP-1324D and is the answer not in the manual?
Questions and answers
Hi may I known this printer serial number?