Advertisement
Quick Links
Advertisement

Related Manuals for GridConnect WI232 Plus


Summary of Contents for GridConnect WI232 Plus
- Page 1 WI232 Plus Quick Start Guide Revision A September 30, 2015...
-
Page 3: Copyright And Trademark
Connect, Inc. All other product names, company names, logos or other designations mentioned herein are trademarks of their respective owners. Grid Connect 1630 W. Diehl Road Naperville, IL 60563, USA Phone: 630.245.1445 Technical Support Phone: 630.245.1445 Fax: 630.245.1717 On-line: www.gridconnect.com... -
Page 4: Disclaimer And Revisions
Disclaimer and Revisions The information in this guide may change without notice. The manufacturer assumes no responsibility for any errors that may appear in this guide. Date Rev. Author Comments 09-30-15 Preliminary Release for WI232 Plus... -
Page 5: Quick Start
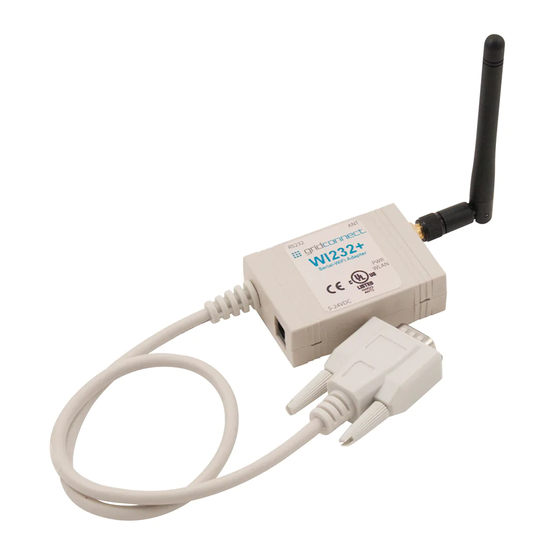
CD with user guides and other technical documents. 1.1 Setup The WI232 Plus is a wireless version of the NET232 Plus Serial to Ethernet Adapter. The wireless version contains an xPico wireless module with a Soft-AP for easy configuration. The serial port settings and the WiFi settings must be configured for proper operation. - Page 6 1.3 3 Making the WIFI Connection The default security for the xPico Wi-Fi Soft AP is WPA2 and the passphrase is XPICOWIFI. Click the ‘Connect’ button to establish the connection. Once you click on the button, you will be prompted to enter the security key.
- Page 7 1.4 4 Entering the xPICO configuration mode Open a web browser and navigate to either xpicowifi.lantronix.com or 192.168.0.1. http://xpicowifi.lantronix.com/ This will give you the following prompt: Enter the User Name = admin and the Password = PASSWORD to access the Configuration and Management web pages.
- Page 8 Upon entering the correct user name and password, you will see the top-level status menu. Note that the Interface wlan0 shows it is disconnected.
-
Page 9: Configuration Steps
1.5 5 Configuration Steps Select and click on the LINE menu option (left side). There are two lines that can be configured. Verify Line 1 (top, center) is selected. Then click on ‘Configuration’ (near top, center) The Line 1 Configuration window appears. The values shown above are the factory default. - Page 10 Next, select the Tunnel menu option from the left side. Verify Tunnel 1 is selected. Select the Accept option at the top of the menu and match the following: Note that we are using port # 10001. This will be used when we use Teraterm to access the WI232 Plus data port.
- Page 11 This page shows a scan of the wireless devices within range of the device. Up to 20 networks sorted by RSSI are shown. It reports: Network name (Service Set Identifier), Basic Service Set Identifier, Channel number, Received Signal Strength Indication and Security Suite. Click on the selected network name. In the following examples, “gridconnect” has been selected.
- Page 12 The selected wireless device connect profile is displayed. Enter required password and click Apply. Clicking on Apply will allow you to try out the settings on the WLAN without saving them to Flash. If the settings do not work, reboot the device to obtain the original settings. 1-10...
- Page 13 If the connection was successful, the selected WLAN connected profile is displayed. 1-11...
- Page 14 Click Status to display the summary of the connection information. 1-12...
- Page 15 Teraterm is a free terminal program that can be configured for a TCP/IP or Serial connection. To test the configuration settings of the WI232 Plus, you can use two instances of Teraterm. One will make a TCP/IP connection to the WiFi side and the other will make a connection to the Serial side. You can test both settings from a single laptop.
- Page 16 Start up another Teraterm terminal program. Click the Serial radio button. Enter the Port number of the connection to the WI232 Plus serial cable. Click ‘OK’ and the terminal window appears with the COM port configuration displayed in the top bar.
- Page 17 Select the TCP/IP window and enter some characters, along with the ENTER key, and those characters should appear in the COM window. Note: Teraterm does not enable echo by default, so you won’t see your commands as you type them. This can be changed by going into the ‘Setup/Terminal’...
Need help?
Do you have a question about the WI232 Plus and is the answer not in the manual?
Questions and answers