Advertisement
Quick Links
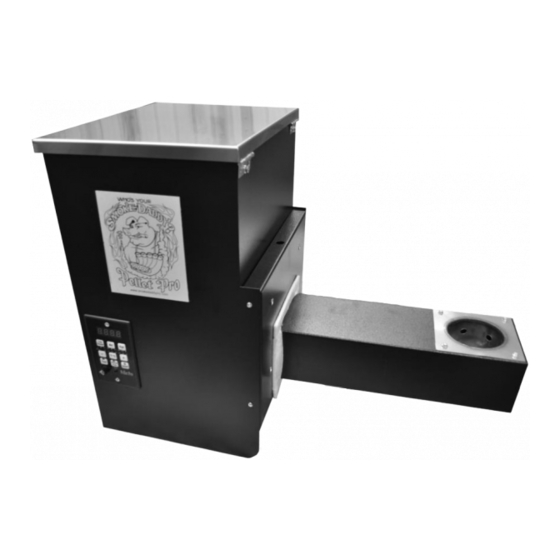
Pellet Pro
12" & 18" Lengths
®
Large 35lb Hopper Assembly
Operation Manual
Now with our exclusive PID Controller
& Universal Mounting Capabilities!
FOR OUTDOOR USE ONLY
Disclaimer:
The hopper assembly is used by us for custom applications and some modifications may be required. Our
hopper assemblies function as described, although we cannot guarantee that it will work with your
application. Smoke Daddy Inc. is not liable for any damage caused by the hopper assembly to or in applications
using materials or modifications not recommended to be used with the hopper assembly. Smoke Daddy Inc.
offers a 30-day money back guarantee where a full refund will be applied once product is received back in un-
used condition. Smoke Daddy Inc. will replace any factory defects within 1 year of purchase. Any misuse or
modifications made to the hopper assembly will void all warranties. Therefore, this product is being sold
subject to the following:
"This hopper assembly is provided 'as is' and with the limited warranty as stated above. Smoke Daddy makes
no further guaranties or warranties of any kind, either expressed or implied, including but not limited to
warranties for a particular purpose, warranty of merchantability or of non-infringement of any rights of third
parties."
Advertisement

Related Manuals for Smoke Daddy Pellet Pro 2300

Summary of Contents for Smoke Daddy Pellet Pro 2300
- Page 1 Smoke Daddy Inc. is not liable for any damage caused by the hopper assembly to or in applications using materials or modifications not recommended to be used with the hopper assembly. Smoke Daddy Inc.
-
Page 2: Component Diagram
Pellet Pro Hopper (12” and 18”) ® Component Diagram... - Page 3 PELLET PRO HOPPER ASSEMBLY This Hopper Assembly can be attached to any application of your choice. After cutting your hole in your application use the mounting bolts to attach the hopper. Run the RTD probe through your smoker wall. **NEW** UNIVERSAL MOUNTING: The Pellet Pro® Pellet Hopper can now mount to either the left or right hand side of an application.
- Page 4 Pellet Pro® Digital Controller W/ Smoke Setting Pellet Pro® Operating Voltage: AC100V-240V ± 10%, 50-60Hz To view a video on how to operate the Fuse: 5A glass fuse controller, go to https://smokedaddyinc.com/pellet-pro- Operating Temperature: -15 ~ 70°C troubleshooting-how-to-videos/ Storage Temperature: -30 ~ 70°C Humidity: 0 ~ 95% RH...
- Page 5 Pellet Pro Startup ® NOTE: Use caution when handling the hopper assembly while the RTD Probe is connected. Misuse will result in broken RTD electrical connection. INITIAL FIRING INSTRUCTIONS (1 Startup Only) (To be used on initial firing in order to season the application) In order to ensure proper operation of the hopper assembly, you must first allow the auger tube to be “charged”...
- Page 6 SUBSEQUENT START-UP (Normal Startup) → Turn the power switch on and set the controller to your desired temperature using the “+” or “Mid” button. Open lid/door until a flame is established in the burnpot. Once there is a flame, close the lid/door to allow the temperature to increase. After the cook is finished, clean grates, open the door/lid and turn the power “off”.
-
Page 12: Troubleshooting And Faqs
As with all other pellet grills, the amount of visible smoke is light. If you desire a larger amount of smoke and/or a smokier flavored food, we recommend using the Smoke Daddy Cold Smoke Generator which produces a cold smoke and can be used with any wood fuels of your choice.
Need help?
Do you have a question about the Pellet Pro 2300 and is the answer not in the manual?
Questions and answers