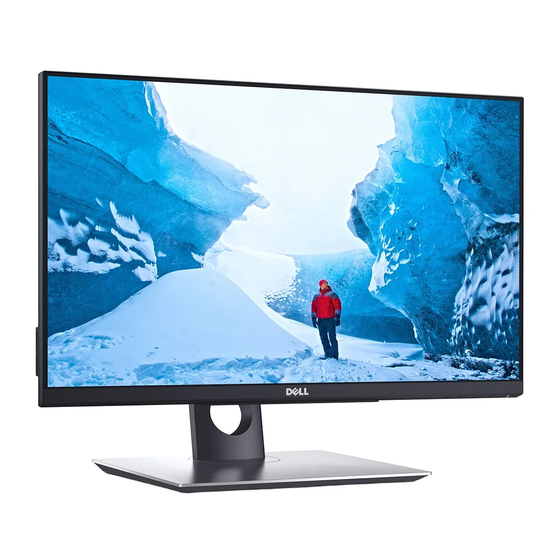
Dell P2418HT Simplified Service Manual
Hide thumbs
Also See for P2418HT:
- User manual (57 pages) ,
- User manual (1 page) ,
- User manual (57 pages)
Table of Contents
Advertisement
Quick Links
Product Announcement:
This product is certificated to meet RoHS
Directive and Lead-Free produced definition.
Using approved critical components only is
recommended when the situation to replace
defective parts. Vender assumes no liability
express or implied, arising out of any unauthorized
modification of design or replacing non-RoHS
parts. Service providers assume all liability.
Qualified Repairability:
Proper service and repair is important to the safe,
reliable operation of all series products. The
service providers recommended by vender should
be aware of notices listed in this service manual in
order to minimize the risk of personal injury when
perform service procedures. Furthermore, the
possible existed improper repairing method may
damage equipment or products. It is recommended
that service engineers should have repairing
knowledge, experience, as well as appropriate
product training per new model before performing
the service procedures.
NOTICE:
! To avoid electrical shocks, the products should be
connected to an authorized power cord, and turn
off the master power switch each time before
removing the AC power cord.
! To prevent the product away from water or
expose in extremely high humility environment.
! To ensure the continued reliability of this
product, use only original manufacturer's
specified parts.
! To ensure following safety repairing behavior, put
the replaced part on the components side of
PWBA, not solder side.
1. Important Safety Notice
! To ensure using a proper screwdriver, follow the
! Using Lead-Free solder to well mounted the
! The fusion point of Lead-Free solder requested in
torque and force listed in assembly and
disassembly procedures to unscrew screws.
parts.
the degree of 220°C.
Advertisement
Table of Contents

Related Manuals for Dell P2418HT


Summary of Contents for Dell P2418HT
- Page 1 1. Important Safety Notice Product Announcement: ! To ensure using a proper screwdriver, follow the This product is certificated to meet RoHS torque and force listed in assembly and Directive and Lead-Free produced definition. disassembly procedures to unscrew screws. Using approved critical components only is ! Using Lead-Free solder to well mounted the recommended when the situation to replace parts.
- Page 2 2. Exploded view diagram with list of items...
- Page 3 3. Wiring Connectivity Diagram Function key WLED LCD IPS panel board with in-cell touch system LED driver output LM238WF5-SSA1 (23.8" 16:9 1920x1080) Touch module USB board Down stream port Power board Interface board Down stream port with charging Audio jack HDMI Display Port DSUB...
- Page 4 4. Disassembly and Assembly Procedures Necessary repair and test equipment: Remove the rear cover. Tear off the aluminum foil, 1. Philips-head screwdriver and then disconnect the USB cable and Function 2. Hex-head screwdriver key cable away from the connector of the interface 4.1 Disassembly Procedures: board.
- Page 5 4. Disassembly and Assembly Procedures Use a Philips-head screwdriver to remove nine se a Philips-head screwdriver to remove screws for unlocking the middle bezel with the screws for unlocking the AC-power outlet connector. assembled unit. Use a Philips-head screwdriver to And Use a Hex-head screwdriver to remove two remove two screws for unlocking the front bezel.
- Page 6 4. Disassembly and Assembly Procedures...
- Page 7 4. Disassembly and Assembly Procedures 4.2 Assembly Procedures: Take a mylar to insert the hooks of the bracket to Place a bracket chassis base on a protective cover the power board. locate the two cables into the cushion. hook of the bracket chassis. Turn over the bracket chassis module and then Turn over a power board and put the power board Philips-head screwdriver to tighten...
- Page 8 4. Disassembly and Assembly Procedures Take a function key board and a middle bezel, then Connect the panel power cable to the connector of thread the function key cable through the hole of the the panel module. Then connect the other cables as middle bezel, and then locate the function board unit the below picture shown.
- Page 9 4. Disassembly and Assembly Procedures Use a Philips-head screwdriver to tighten four screws for locking the rear cover. Stick three pieces of label on the specific positions (No.1~4 screw size=M4x10, Torque=12 0.5kgfxcm) ± Connect the USB cable and the function key cable to the connector of the interface board.
- Page 10 5. Trouble Shooting Instructions WARNING: Before you begin any of the procedures in this section, follow the Safety Instructions. Self-Test Your monitor provides a self-test feature that allows you to check whether your monitor is functioning properly. If your monitor and computer are properly connected but the monitor screen remains dark, run the monitor self-test by performing the following steps: Turn off both your computer and the monitor.
-
Page 11: Built-In Diagnostics
5. Trouble Shooting Instructions Built-in Diagnostics Your monitor has a built-in diagnostic tool that helps you determine if the screen abnormality you are experiencing is an inherent problem with your monitor, or with your computer and video card. NOTE: You can run the built-in diagnostics only when the video cable is unplugged and the monitor is in self-test mode. -
Page 12: Common Problems
• Cycle power on-off. spots • Pixel that is permanently off is a natural defect that can occur in LCD technology. • For more information on Dell Monitor Quality and Pixel Policy, see Dell Support site at: http://www.dell.com/support/monitors. Stuck-on Pixels LCD screen has •... - Page 13 • Restart the computer in safe mode. Safety Related Visible signs of • Do not perform any troubleshooting steps. Issues smoke or sparks • Contact Dell immediately. Intermittent Monitor • Ensure that the video cable connecting the Problems malfunctions on monitor to the computer is connected properly &...
-
Page 14: Product Specific Problems
Specific What You Possible Solutions Symptoms Experience • Use the Dell provided USB cable to connect your computer. • Make sure the power cable has a ground pin. Touch function • Unplug and replug the power cable from the Touch report... -
Page 15: Universal Serial Bus (Usb) Specific Problems
5. Trouble Shooting Instructions Universal Serial Bus (USB) Specific Problems Specific What You Possible Solutions Symptoms Experience USB interface is USB peripherals • Check that your monitor is turned ON. not working are not working • Reconnect the upstream cable to your computer. •...