Advertisement
Quick Links
Advertisement

Summary of Contents for vwin VJ201-S3
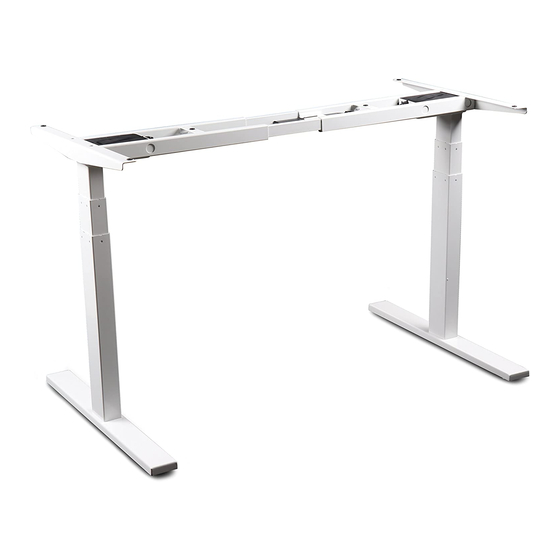
- Page 1 Electric Standing Desk VJ201-S3 Scan it Electric Height Adjustable Standing Desk Frame Video installa�on Manufacturer: Ningbo VWIN Smart Tech Co.,Ltd. Tel: +1 800 835 2810 Please register the product Email: sapling@vwindesk.com for 5-year warranty See page 9 Website: vwindesk.com www.vwindesk.com...
-
Page 2: Pinch Point
CAUTION/INFORMATION Make sure no obstacles are in the desk's path. WARNING Make sure the desktop is not touching any walls. Make sure all cords are appropriate length to PINCH POINT accommodate the change in height. keep hands and fingers clear. Keep children away from electric height-adjustable desks, control units and handsets. - Page 3 PARTS TOOLS REQUIRED Register Your Desk 4MM Allen Wrench Tape measure Head Screwdriver (included) and/or Power Drill 1. Scan the QR Code by your smart phone ( iPhone or Android), it will jump to our website product registration page. 2. The Series Number will be auto-filled on the page. Just fill your name and your email address.
-
Page 4: Use Instructions
ASSEMBLY INSTRUCTIONS USE INSTRUCTIONS STEP1 Lay out all components and hardware to ensure that you have all components and hardware listed on the Error Code Key parts page. Fully separate the Crossbar Ends (Part #2). You will find the Crossbar Center Rails (Part #1) inside. Code Meaning Suggested Actions... - Page 5 USE INSTRUCTIONS ASSEMBLY INSTRUCTIONS STEP4 Slide the two (2) Crossbar center Rails (Part #1) into the two Crossbar Ends, (Part #2) ensuring: a) the slots Face inward b) the slot is closer to top edge of the Crossbar center Rail (Part #1) when the assembly is upside down (see inset) STEP5 For each leg, a�ach a foot (Part #5) with...
-
Page 6: Technical Specifications
ASSEMBLY INSTRUCTIONS ASSEMBLY INSTRUCTIONS STEP11 STEP8 Plug the Power Cord into a 110v-240v outlet. Double-check that the wood screws are not- too long for your desktop Make sure no obstacles are in the desk's path. and won't puncture the surface when screwed all the way in. Make sure the desktop is not touching any walls.
Need help?
Do you have a question about the VJ201-S3 and is the answer not in the manual?
Questions and answers