Advertisement
Quick Links
MR33 Installation Guide
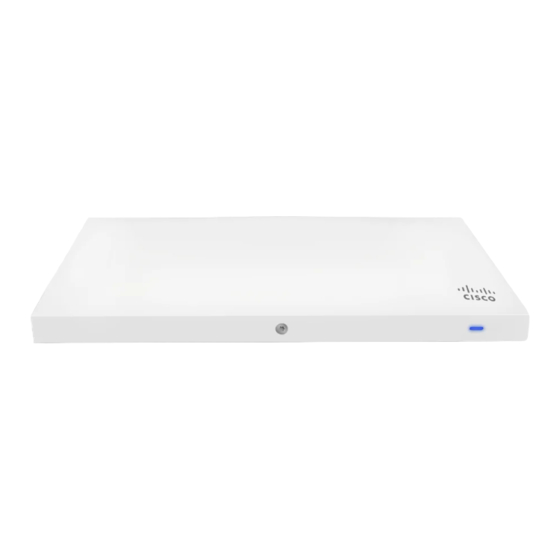
The Cisco Meraki MR33 is a dual-band enterprise class 802.11ac cloud-managed access point. Designed for high
capacity and high density, the MR33 meets the needs of the most demanding environments, and also includes the first
ever cloud-managed third radio dedicated to optimizing the RF environment and securing the airwaves.
Package Contents
The MR33 package contains the following:
• MR33 Cloud-Managed Access Point
• Mount cradle including built-in level tool
• Mount Kit
◦ Drop ceiling mount kit
◦ Wall screws, wall screw anchors, and security screw
◦ Spare hardware
1
Advertisement

Summary of Contents for Cisco Meraki MR33
- Page 1 MR33 Installation Guide The Cisco Meraki MR33 is a dual-band enterprise class 802.11ac cloud-managed access point. Designed for high capacity and high density, the MR33 meets the needs of the most demanding environments, and also includes the first ever cloud-managed third radio dedicated to optimizing the RF environment and securing the airwaves.
- Page 2 Understanding the MR33 Your Meraki MR33 has the following features:...
- Page 3 The mount cradle has the following features: Security Features The MR33 features multiple options for physically securing the access point after installation: 1. Security screw – The accessory kit includes screws that can be used to secure the access point to the mount cradle.
-
Page 4: Pre-Install Preparation
LED Indicators and Run Dark Mode Your MR33 is equipped with a multi-color LED light on the front of the unit to convey information about system functionality and performance: • Orange - AP is booting (permanent Orange suggests hardware issue) •... - Page 5 will turn either green (no clients associated) or blue (clients associated) within thirty seconds. * If the unit requires an upgrade, the LED will begin blinking orange until the upgrade is complete, at which point the LED will turn solid green or blue. You should allow at least a few minutes for the firmware upgrade to complete, depending on the speed of your internet connection.
-
Page 6: Installation Instructions
Collect Tools You will need the following tools to perform an installation: Collect Additional Hardware for Installation You will need the following hardware to perform an installation: Installation Instructions Warning: Due to the heat dissipation in the back of APs during normal operation, please do not stack powered on APs on top of each other during pre-installation to avoid heat damage. - Page 7 2. Power over Ethernet supports a maximum cable length of 300 ft (100 m). 3. If being used in a mesh deployment, the MR33 should have line of sight to at least two other Meraki devices. A Cisco Partner can help ensure that your AP placement is ideal. Install the MR33 For most mounting scenarios, the MR33 mount cradle provides a quick, simple, and flexible means of mounting your...
- Page 8 • 6-32x7 mm screws only used for recessed rail mount (uncommon) • 2 rubber spacers 1. Attach the T-rail clips to the T-rail by rotating them and snapping them into place as shown. The black foam pads should be compressed slightly after installation.
- Page 9 2. Using the dashed lines on the mount cradle template as a guide, set the proper spacing of the T-rail clips on the T-rail. 3. Tighten the set screws on the T-rail clips to secure the clips using a 5/64”(2 mm) hex key. 4.
- Page 10 the MR33" section. Electrical Junction Box Mount Using mount cradle The MR33 can be mounted to a 4” square cable junction box, a 3.5 or 4” round cable junction box, or various U.S. and European outlet boxes (mounting screws are not included). Using appropriate mounting hardware for your specific type of junction box, attach the mount cradle to the junction box.
-
Page 12: Verify Device Functionality And Test Network Coverage
To release the MR33 from the mount cradle, first remove the security screw that secures the MR33 to the cradle’s bottom tab. While holding the MR33 with one hand, press the cradle’s bottom tab upwards, releasing the MR33 from the bottom of the cradle. -
Page 13: Troubleshooting
Troubleshooting Reference the MR Product Page for additional information and troubleshooting tips.


Need help?
Do you have a question about the Meraki MR33 and is the answer not in the manual?
Questions and answers