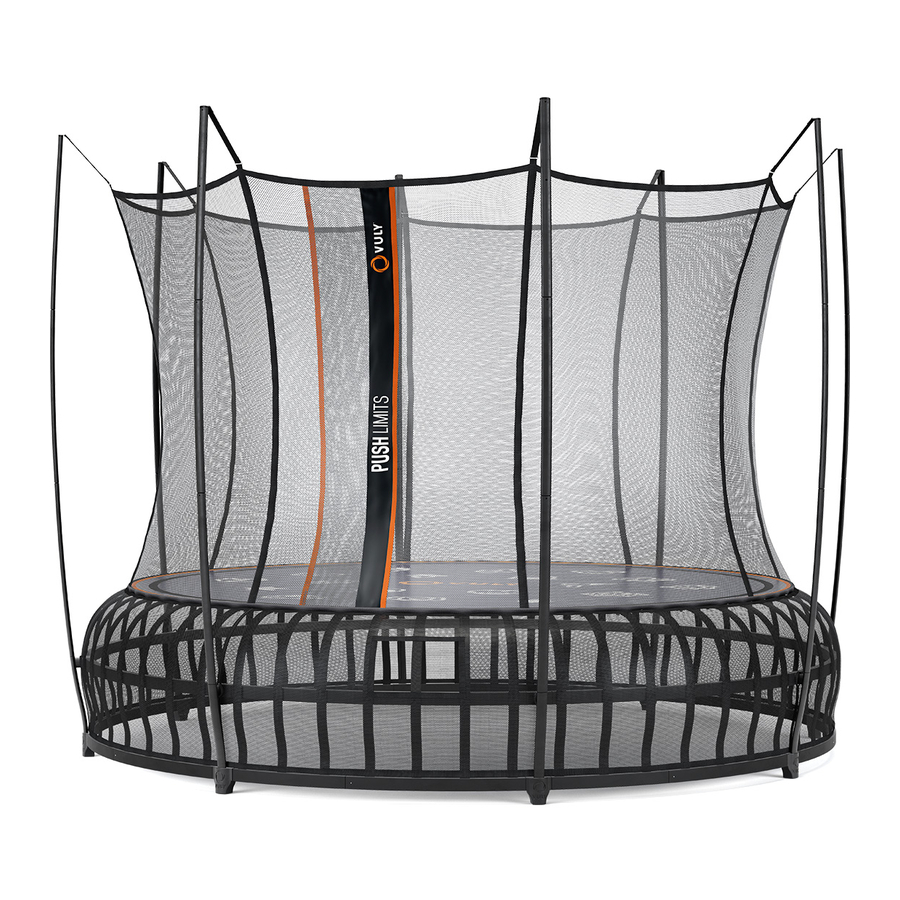
Summary of Contents for Vuly Thunder Pro
- Page 1 Thunder ® MANUAL ATTENTION! SAFETY INFORMATION, INSTALLATION, CARE AND MAINTENANCE INSTRUCTIONS. READ PRIOR TO ASSEMBLING AND USING THE TRAMPOLINE.
-
Page 3: Table Of Contents
Contents Read and follow all instructions in this manual before Responsibility rests with the owner and supervisors of using your trampoline, and do not use the trampoline in the trampoline to make sure that all users are aware of any way that is not described in this manual. the practices specified in this manual. -
Page 4: Disclaimer
The following Conditions of Sale will apply to, and bind the Vuly, its employees, directors and agents are not liable to purchaser of, any Vuly Trampolines Pty. Ltd. ABN: 91 160 793 the customer, their dependents or legal representatives 706 product. -
Page 5: Care And Maintenance
6 months – as well as after rain – and remove any water that the lift is within heavy lifting regulations. from the inside surfaces. • Move the trampoline short distances using the official Vuly • Check Frame Tube and Net Pole connection areas for Wheels accessory for your trampoline model. Remove rust. -
Page 6: Inspection Checklist
Improper use of, or behaviour on, your trampoline can lead to serious injury. Please follow these usage and behaviour instructions to ensure safe play. If you discover any safety issues, do not use the trampoline. Contact Vuly to order and replace any parts. 3.1. Safe use information Frame •... -
Page 7: Safe Use Instructions
3.3. Basic trampolining instructions This trampoline is a domestic model, not a gymnastics trampoline. You will get the safest and best use from it by following these basic principles: • Do not attempt or allow somersaults on the trampoline. Landing on your head or neck while doing somersaults can cause serious injury, paralysis or even death. -
Page 8: Hexvex™ Games
4.0. HexVex Games ™ HexVex™ players HexVex™ is a unique, interactive game printed right on your Jump Mat! Originally based on ‘Add-ons’ – a training tool A trampoline should be used by one person at a time. Some used by elite trampolinists to improve their coordination and HexVex™... -
Page 9: Installation
5.0. Installation 5.1. Location planning • Do not bury the trampoline into the ground. • Place the trampoline on a flat, level surface with impact attenuating properties – such as grass. • Ensure that the trampoline is sufficiently stable, to prevent the trampoline from tipping over or blowing away. -
Page 10: Assembly Instructions
(6xA, 6xB) (8xA, 8xB) (10xA, 10xB) Jump Mat Frame Reinforcements Spring tool 5.3. Assembly instructions – Vuly Thunder Pro PRE-ASSEMBLY REMEMBER: WEAR THE VULY • Find level ground, and make sure that there are no GLOVES AT ALL TIMES WHEN obstructions nearby. - Page 11 Frame STEP A. Connect each Lower Frame Tube A to a Lower Frame Tube B. Lower Frame Tubes are those with Leaf Spring holes. B. Connect each Upper Frame Tube A to an Upper Frame Tube B. Ensure that the push buttons lock these components together.
- Page 12 Note: The entrance will be between the two Joiner Poles to the right of the Batch Tag. Rotate your Mat to the desired position, but always ensure that the Batch Tag lines up with a Joiner Pole. The Vuly logo should be centred between two Joiner Poles.
- Page 13 STEP A. Connect the Leaf Spring that is to the right of a Joiner Pole into the mat connector that is to the right of the Batch Tag. B. Go to the other side of the frame and connect the Leaf Spring that is to the right of the opposite Joiner Pole to its corresponding mat connector.
- Page 14 STEP Take your Frame Reinforcements and prop them over the Leaf Spring hole at the centre of each Frame section, so that each supports each Upper Frame Tube. Insert Leaf Springs through the holes in the Frame Reinforcements and into the Leaf Spring holes.
- Page 15 Fasten the Velcro straps together around the Lower Frame Tube at the left and right of each Joiner Pole. WARNING: Make sure that all push buttons are locked and secured before using your trampoline. Bouncing on a trampoline with push buttons that are not locked will cause damage and injury. CONGRATULATIONS! You have assembled your Thunder Pro trampoline.
-
Page 16: Product Registration
(“warranty”). Customers who purchase directly from Vuly (through VulyPlay. 8.1. Warranty periods com, at the Vuly Showroom or over the phone) automatically Warranty periods do not reset for any reason, unless have their product registered. the customer purchases a new product. In this case, that particular item will be covered by its own warranty period. -
Page 17: Exclusions
As outdoor products that are actively used, trampolines and 8.4. Warranty Claims their accessories will experience wear and tear over time. If a customer believes that a Vuly product is faulty or defective, they must discontinue use and submit a Warranty Claim. 8.3.2. Damage through weather conditions Damage to the product that results from weather events –... -
Page 18: Australian Consumer Law
Goods fail to be of acceptable quality and the failure does not amount to a major failure. 9.0. Missing parts If a customer believes that a Vuly product does not include all necessary parts, they must immediately lodge a Missing Parts Claim at VulyPlay.com/Support. - Page 20 VulyPlay.com/Terms for the most recent Vuly warranty policies, terms and conditions.


Need help?
Do you have a question about the Thunder Pro and is the answer not in the manual?
Questions and answers