Advertisement
Quick Links
INSTALLATION MANUAL
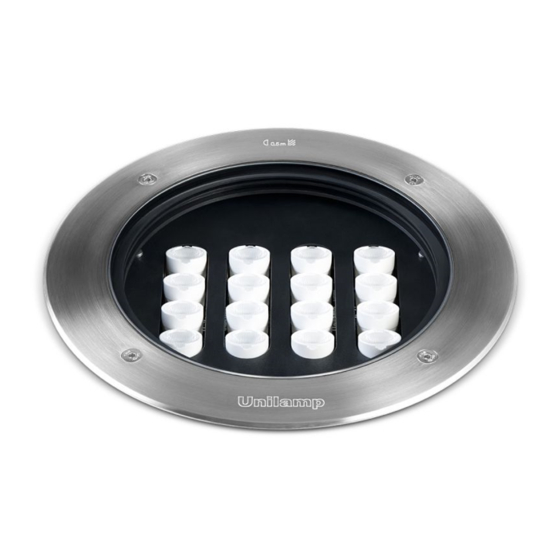
PRODUCT NAME : Mini Quark Round
No.
Input voltage
1.
220-240V 50-60Hz
2.
3.
4.
5.
6.
(CC) Constant Current 500mA
7.
remote driver/
Uin max 150 VDC
8.
9.
RGBW LED Constant Current Driver
10.
4x500mA 4x18W (DALI)
1
2
Cable pipe
·‹ Í ÊÒÂä¿
Water drainage pipe
·‹ Í ¹é í Ò ·Ô é §
Last Revised On : 27/05/2021 REV.05
Ordering Code
9035-5/6/7/9-3-897-91
9035-5/6/7/9-3-898-91
9035-5/6/7/9-3-523-91
9035-5/6/7/9-3/5-524-91
9035-5/6/7/9-3/5-867-91
9035-5/6/7/9-3/5-868-91
9035-5/6/7/9-2-867-91
input
9035-5/6/7/9-2-868-91
9035-5/6/7/9-2-524-91
9035-6/7/9-2-687-91
û240
û306
Ø310
100
200-300
*
***
lll
IP67
Glass Temperature
At Ta 50°C
*
60° C
*
60° C
60° C
*
62° C
*
62° C
*
62° C
*
62° C
***
62° C
***
62° C
***
63° C
***
3
1/6
1-10
Light Emitting Diodes
(LED)
3.1
3.2
3.3
FR-DM-17 REV.03 EFF 15/09/17
Advertisement

Related Manuals for Unilamp Mini Quark Round


Summary of Contents for Unilamp Mini Quark Round
- Page 1 INSTALLATION MANUAL PRODUCT NAME : Mini Quark Round IP67 Glass Temperature Input voltage Ordering Code At Ta 50°C 220-240V 50-60Hz 9035-5/6/7/9-3-897-91 60° C 9035-5/6/7/9-3-898-91 60° C 60° C 9035-5/6/7/9-3-523-91 62° C 9035-5/6/7/9-3/5-524-91 9035-5/6/7/9-3/5-867-91 62° C 9035-5/6/7/9-3/5-868-91 62° C (CC) Constant Current 500mA 62°...
-
Page 2: Installation Complete
For On-Off System For On-Off System Êí Ò ËÃÑ º Ãкºà» ´ -» ´ Êí Ò ËÃÑ º Ãкºà» ´ -» ´ Torque/áçºÔ ´ : 1 Nm. Torque/áçºÔ ´ : 1 Nm. Torque/áçºÔ ´ : 1 Nm. Gel-Filled IP68 connector available separately µÅÑ... - Page 3 For RGBW LED Constant Current Driver (DALI) Number on the cable/ËÁÒÂàÅ¢º¹ÊÒÂä¿ Êí Ò ËÃÑ º A = 38-40 mm. B = 8-10 mm. C = 30-32 mm. To Luminaire./ࢌ Ò â¤Áä¿ Green/Yellow : Input 220-240Vac Brown ÊÒÂࢌ Ò Blue White Black Cable Size/¢¹Ò´ÊÒÂä¿...
- Page 4 For On-Off System Êí Ò ËÃÑ º Ãкºà» ´ -» ´ Cable Size/¢¹Ò´ÊÒÂä¿ : 3x1.00 mm. 8-10 mm. Ø Do not touch the LED because it may shorten the life time or the LED can be breaking down. ËŒ Ò ÁÊÑ Á ¼Ñ Ê ËÅÍ´ LED â´Âà´ç ´ ¢Ò´ à¾ÃÒШзí Ò ãËŒ Ë ÅÍ´àÊ× è Í ÁÊÀÒ¾ Minimum distance to lighted surface.
- Page 5 GENERAL INSTALLATION GUIDE (HIGHLY RECOMMENDED) ¢Œ Í á¹Ð¹í Ò ã¹¡ÒÃµÔ ´ µÑ é § Pic-1 ÃÙ » -1 Place the gravel 200-300 mm.depth underneath the casing for water drainage (Pic-1).Then do the testing by filling water into the casing and let it drain.The water should be drained out by 30 minutes. 200-300 mm.
- Page 6 Our products are installed with electronic components with the protection against overvoltage according to IEC 61547. The customers have to install the additional overvoltage protection devices (against surge, transients, etc) in their electrical system to avoid the risk of damage. Failing to do so can cause the end of products warranty.
Need help?
Do you have a question about the Mini Quark Round and is the answer not in the manual?
Questions and answers