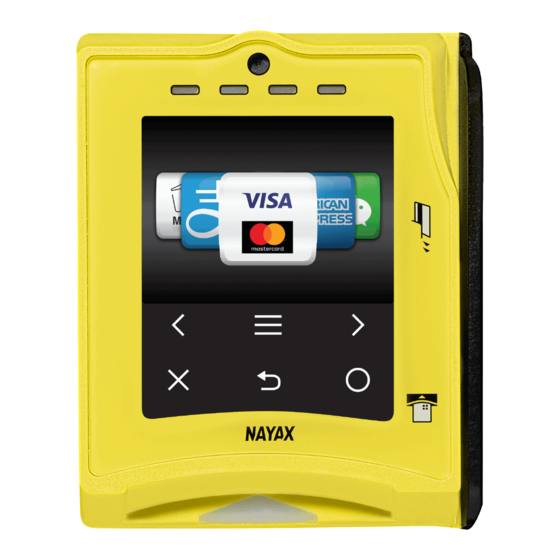
Nayax VPOS Touch Installation Manual
All-in-one card reader with touch screen and telemetry device
Hide thumbs
Also See for VPOS Touch:
- User manual (19 pages) ,
- Manual (15 pages) ,
- Installation (2 pages)
Advertisement
Advertisement
Table of Contents

Summary of Contents for Nayax VPOS Touch
- Page 1 VPOS Touch All-in-one Card Reader with Touch Screen and Telemetry Device VPOS Touch Installation Guide Property of Nayax All rights reserved For more information contact us at support@nayax.com...
-
Page 2: Table Of Contents
Additional Accessories (Included in Box) ..................6 Installation Process ..........................7 System Requirements ........................7 Installation ............................7 Device Dismantling ........................... 9 Operating and Testing ........................10 Appendix 1- Insert SIM Card ......................11 VPOS Touch Installation Guide VPOS_Touch_Installation_Guide.docx Page 2... -
Page 3: General Information
Installation Process provides instructions as for how to manually install/dismantle the device, inserting the SIM card separately and performing final tests before using the device. Lastly, Appendix 1 – Insert SIM Card provides a detailed description of the SIM Card installation process, if required. VPOS Touch Installation Guide VPOS_Touch_Installation_Guide.docx Page 3... -
Page 4: Device Overview
Device Overview This chapter provides an overview of the device components along with the additional accessories. Device Cables Nayax develops different configuration cables to suit different machines. Image Connector Connect to MDB in vending machines JVMA JVMA in vending machines (Japan) -
Page 5: Device Components
Device Components Front Panel Front Panel Color - Yellow / Black Rear Side Cable Connector M4 x 5 mm Typical Hole SD Card Connect Speaker Connector VPOS Touch Installation Guide VPOS_Touch_Installation_Guide.docx Page 5... -
Page 6: Additional Accessories (Included In Box)
Additional Accessories (Included in Box) Rear Plate & Drilling Template Stencil VPOS Touch Installation Guide VPOS_Touch_Installation_Guide.docx Page 6... -
Page 7: Installation Process
Use the stencil to mark and then drill 4 holes (minimum 5mm). An additional hole of minimum 20 mm ( inch) is required for passing the MDB and antenna cables. Pull out the rear cover from the VPOS Touch - Refer to Image 2. VPOS Touch Installation Guide VPOS_Touch_Installation_Guide.docx... - Page 8 Image 1 – Back plate + Screws Image 2 - Rear plastic closure + Screws* *The above image refers to an older version of the VPOS Touch model Step 2. Connect VPOS Touch cables Connect the 40-pin connector plug to the VPOS Touch ...
-
Page 9: Device Dismantling
Attach the back plate and the VPOS Touch with the help of 4 screws. Device Dismantling To unplug the VPOS Touch connector, you must press both sides of the releasing bridge at the same time to avoid damaging the releasing bridge. -
Page 10: Operating And Testing
Operating and Testing 1. Turn on the machine. 2. Once the VPOS Touch is powered-up, a Self-Test is automatically initiated that performs a SIM card and Server Connectivity check. Note: If the device is not installed correctly, you may see an error message 3. -
Page 11: Appendix 1- Insert Sim Card
SIM then follow the steps below. STEP 1: Lift the SIM Card slot by pulling the cradle towards you Step 2: Insert the Sim card in the slot with the gold chip facing down VPOS Touch Installation Guide VPOS_Touch_Installation_Guide.docx Page 11... - Page 12 Step 3: Lock SIM card in place by pushing the cradle down onto the main board. Slip the silver clutch up to lock the card in place. VPOS Touch Installation Guide VPOS_Touch_Installation_Guide.docx Page 12...


Need help?
Do you have a question about the VPOS Touch and is the answer not in the manual?
Questions and answers