Advertisement
Advertisement

Related Manuals for Aposen A200


Summary of Contents for Aposen A200
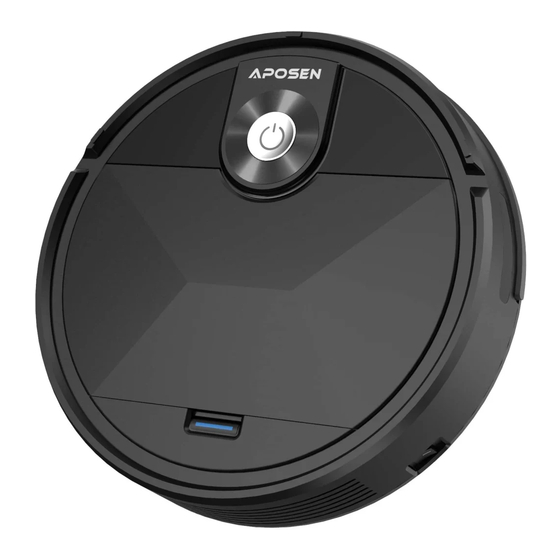
- Page 1 Instruction Manual ROBOT VACUUM CLEANER Model:A200...
-
Page 3: Table Of Contents
Instruction Manual 1. Safety Regulations 2. Product Instruction 3. Parameter 4. Attention 5. Maintenance 6. Lighting Effects And Alarm Tips 7. FAQ 8. Customer Service... -
Page 4: Safety Regulations
1. Safety Regulations Please read the manual carefully before using the product and keep this instruction for reference. Products cannot be used by children under 8 years of age or people with mental disabilities. If you need to use it, please do so under the supervision of the guardian. - Page 5 -cigarettes, matches, ash, or other items that may cause a fire. Do not take any product that is burning, such as Do not place items at the suction outlet. Do not use products when suction is blocked. Clean dust, cotton wool, hair, etc. at the suction port to ensure smooth air circulation at the suction port. Use the power cord carefully to avoid damage.
-
Page 6: Product Instruction
2. Product Instruction 2.1. What’s in the box 1. Robot Vacuum 3. Power Adapter 5. HEPA X 1 7. Instruction Manual 2. Charging Base 4. Side Brushes X 2 6. Clean Brush ROBOT VACUUM CLEANER Model:A200... - Page 7 2.2. Assembly Name Master Start/Pause Button Top cover Dustbin Top View Universal Wheel Anti-drop Sensors Charging Contacts Charging Contacts Suction assembly Side Brushes Anti-drop Sensors Anti-drop Sensors Driving Wheels Driving Wheels Bottom View...
- Page 8 Top cover Anti-collision Sensor Power switch Bumper strip Dust box Dustbin Cover Filter Net High Efficiency Filter (HEPA) Dustbin HEPA Cover...
-
Page 9: Parameter
Changing Stand Assembly Cleaning Tool Power Indicator Light Power Adapter Charging Dock Pins Power Adapter Port 3. Parameter Product Model A200 Input 100-240V/50-60Hz Power Battery Capacity Li-ion 1800mAh Dust Box Capacity 0.6L Cleaning Time 90 mins Charging Time 3.5H Input... -
Page 10: Attention
4.1 Considerations Please refer to the following guidelines to check the cleaning area before the cleaner works. 1. Power lines and other 2. Please roll the debris scattered on the carpet tassels or ground may trip up work on short-hair product must be rugs. - Page 11 4.2 Rapid Operation 4.2.1 Install The Side Brushes Please install the brush into the bottom mouting port of the machine and ensure that the brush is in place.
- Page 12 4.2.2 Charging Operation 1. Connect the adapter to the charging stand. Place the charging stand flat against the wall. Do not place objects in the left and right 1M and the front 2M,and do not have objects with strong reflection surfaces such as mirrors. 2.
- Page 13 3.Master Charge Place the master in the charging stand and pay attention to the charging pole piece. Turn on the power switch, the robot will enter standby mode. Red light flashes indicates that the battery need to be charged. Blue light breathing light flashes indicate charging. When the blue light is off means charging is completed.
-
Page 14: Maintenance
5. Maintance 5.1Dust Bin and Filters Open the middle cover to take out the dustbin, open the dustbin cover and empty the garbage. Remove the dustbin, open the dustbin cover,and empty the Dust Bin. - Page 15 Remove dust f ilter. HEPA is not recommended for washing.Pat the High Eff iciency Filter clean. Flush the Dustbin and the filter net. Dry the Sponge f ilter, Dust Bin and Filter Net completely before reinstalling.
- Page 16 5.2 Side Brush Cleaning Side Brush Pull out the side brush and wipe it with a clean rag. 5.3 Other Assembly Cleaning the universal wheel to reduce hair entangle. Clear down the sensor to ensure the sensitivity of the sensor. To clean the charging pole pieces, use a dry rag to clean the charging poles on the bottom of the master or the charging stand.
-
Page 17: Lighting Effects And Alarm Tips
6. Lighting effect and alarm 6.1 Indicator Light Cleaner Status AUTO Display Status Charging Pink light/blue light breathing Finished Charging Blue lights goes off When the Robot Fails Red light flashes or Glows a continuous RED Low Battery Glows a continuous RED Cleaning Mode Glows a continuous BLUE 6.2 Alarm tips... -
Page 18: Faq
8. Customer Service CUSTOMER CARE 1. The 1-Year Limited Warranty is valid for products purchased from our APOSEN only, starting from the date of original retail purchase against defects in quality and materials under normal, non-commercial use. 2. According to the requirements outlined in this instruction manual, subject to the following conditions and exclusions. - Page 19 1. The repair or replacement of your APOSEN appliance if your APOSEN appliance is found to be defective due to faulty materials, workmanship or function within 1 years of purchase or delivery (if any part is no longer available or out of manufacture, APOSEN will replace it with a functional replacement part).
Need help?
Do you have a question about the A200 and is the answer not in the manual?
Questions and answers
Aposen a200 beeps 6 times even when the power button is on, what do I do?
If the Aposen A200 beeps 6 times when the power button is on, it indicates a charging abnormality. You should check if the power switch is on.
This answer is automatically generated
Where is the battery
The battery is located inside the product and should be removed if the product will not be used for a long time.
This answer is automatically generated
How do I get to the battery
To access the battery on the Aposen A200, first remove the product from the charging stand, turn off the power switch, and then remove the battery.
This answer is automatically generated