Table of Contents
Advertisement
Quick Links
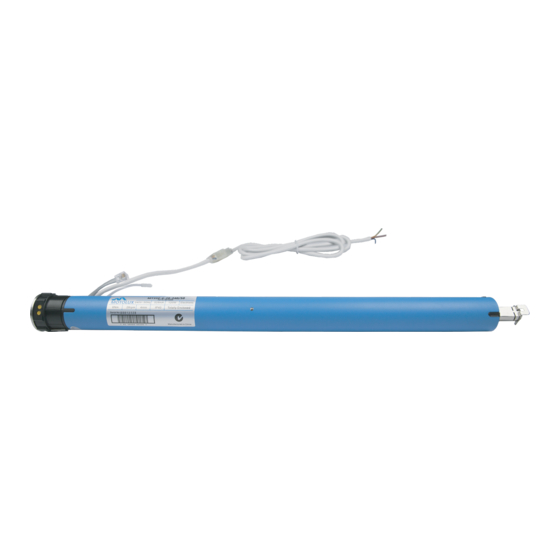
25MM DC EXTERNAL BATTERY 1.2NM MOTOR - 802322012 (MT25-1.2-28-12DE)
Firstly you will need something small enough to put in the both the hole in the head of the motor and in the setting hole on
the remote control, a Paper Clip or Jewelers Screwdriver is perfect.
Install the blind and fit the Battery Wand Clips in the desired position making sure the position is not too far from the motor
with enough for both cables to plug together. Install 8x AA Batteries into the Battery Wand and plug the male and female
plug ends together and clip the wand into position, you should hear a beep indicating the motor has powered on. If no Beep is
heard: Find the hole in the head of the motor and insert a paper clip and give the button inside a quick push, you should get a
Beep indicating the motor is now powered on.
Pairing the Motor to the Remote
1. Start by selecting the channel that you want to pair the motor with on the remote control.
2. Insert Paper Clip in Hole of Motor for approx. 1 second and the motor will give a jiggle, then on the Remote push the Up Button.
3. The motor will jiggle to indicate that it is paired.
Check/Set the Direction
1. If the direction is correct there is no action required move to Limit Setting. If the direction is wrong, Push and hold the Stop
Button until you get a Jiggle from the motor then push the Down Button.
2. Test the blind and the direction should be correct.
Limit Setting: TOP LIMIT FIRST
1. Push and hold the button in the Setting Hole on the remote with a Paper Clip until you get a jiggle – now move the blind to
where you would like the Top Limit to be – now push and hold the button in the Setting Hole on the remote, you will get a jiggle.
2. Move the blind to where you would like the Bottom Limit to be – now push and hold the button in the Setting Hole on the
remote, you will get a jiggle.
3. Very Important: Push and hold the button in the Setting Hole on the remote, you will get a jiggle. This has now recorded the
limits, please test the blind.
The above will need to be done for Each Different Motor on Each Different Channel.
Resetting a Motor Back to Factory
Should you need to reset a motor back to Factory Settings you will need to push the button inside the hole in the Head of the
Motor Five Times in quick succession holding the button in on the Fifth Push, you will get a Double Jiggle indicating the
motor has been reset and all Limits and Pairing have been deleted.
To Add Multiple Blinds to a Group Channel
Example: Putting 5 blinds all on Channel Six.
1. On the Remote go to Blind 1 on Channel 1 – Push and Hold the Stop Button until you get a jiggle. Now go to Channel 6 and
push and hold the Up Button you will get a Jiggle. Blind 1 is now added to Channel 6.
2. On the Remote go to Blind 2 on Channel 2 – Push and Hold the Stop Button until you get a jiggle. Now go to Channel 6 and
push and hold the Up Button you will get a jiggle. Blind 2 is now added to Channel 6.
Repeat these steps until you have moved all blinds over to channel 6.
This feature can also be used to transfer motors onto other Remote Controls.
Motolux is a world-class manufacturer of motorisation products and systems dedicated to window covering markets
worldwide. A designer and manufacturer of a fully integrated range of motorisation solutions, Motolux products are
suitable for commercial or residential use. Our high quality product range is streamlined to simplify the process of
manufacturing, installation and ongoing maintenance of almost any type of motorised window covering product.
REVISION 2 - 2020
PROGRAMMING INSTRUCTIONS 1/2
Australian owned
Australian designed
Ordering Information
Australia / New Zealand
61 (0)3 9876 0400
sales@motolux.com.au
www.motolux.com.au
Advertisement
Table of Contents

Related Manuals for Motolux 802322012


Summary of Contents for Motolux 802322012
- Page 1 This feature can also be used to transfer motors onto other Remote Controls. Motolux is a world-class manufacturer of motorisation products and systems dedicated to window covering markets worldwide. A designer and manufacturer of a fully integrated range of motorisation solutions, Motolux products are Ordering Information Australia / New Zealand suitable for commercial or residential use.
- Page 2 5 seconds later indicating that the limit has been deleted. Motolux battery motors have a low power feature, designed to significantly extend battery life. Because of this feature, to use the remote, a slightly longer push of the buttons on the remote is required (approximately 1 second), in order to wake the motor up and operate the blind as normal.
Need help?
Do you have a question about the 802322012 and is the answer not in the manual?
Questions and answers