Advertisement
Advertisement
Table of Contents

Related Manuals for Nayax Onyx


Summary of Contents for Nayax Onyx
- Page 1 Onyx Compact, eye-catching, contactless payment and telemetry device Onyx Installation Guide Property of Nayax All rights reserved support@nayax.com For more information contact us at...
-
Page 2: Table Of Contents
Device Components ......................... 5 Parts Included in the Box........................6 Optional Accessories ........................7 Installation Process ..........................8 System Requirements ........................8 Installation ............................8 Operating and Testing ........................10 Appendix 1- Insert SIM Card ......................11 Onyx Installation Guide Onyx_Installation_Guide_Ver.2.2.docx Page 2... -
Page 3: General Information
Installation Process provides instructions as for how to manually install/dismantle the device, inserting the SIM card separately and performing final tests before using the device. Lastly, Appendix 1 – Insert SIM Card provides a detailed description of the SIM Card installation process, if required. Onyx Installation Guide Onyx_Installation_Guide_Ver.2.2.docx Page 3... -
Page 4: Device Overview
Device Overview This chapter provides an overview of the device components along with the additional accessories. Device Cables Nayax provides different configuration cables to suit different machines. The below table refers to each cable and its configuration. Image Connector Connects to... -
Page 5: Device Components
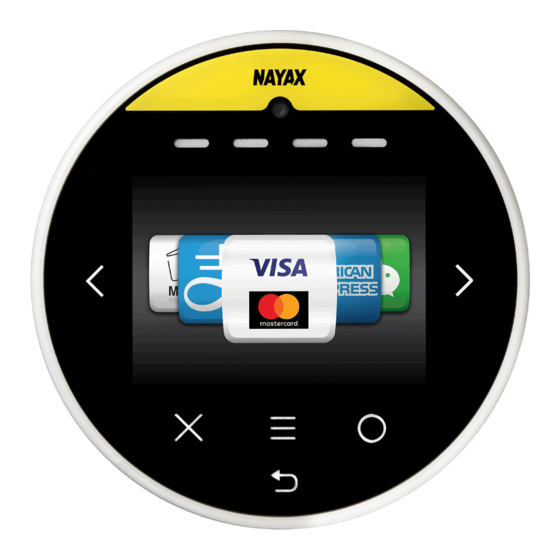
Front Panel Color - Yellow / Black Camera Status Display LED 6 Touch buttons Display Touch Screen & Contactless Speaker Rear Side M4 x 15 mm Cable Connector Antenna adapter SIM + SD card slot Onyx Installation Guide Onyx_Installation_Guide_Ver.2.2.docx Page 5... -
Page 6: Parts Included In The Box
Parts Included in the Box Stencil Soft cloth External Antenna Onyx Installation Guide Onyx_Installation_Guide_Ver.2.2.docx Page 6... -
Page 7: Optional Accessories
Optional Accessories Mounting Bracket (Internal Installation) External Case *Note: On purchase of external case, the Nayax device is not included. Onyx Installation Guide Onyx_Installation_Guide_Ver.2.2.docx Page 7... -
Page 8: Installation Process
System Requirements Prior to installation, the NayaxVend Management System needs to be updated from the backend. Keep in mind upon purchase, the device is preconfigured to a machine with the standard parameters by Nayax support. It is recommended that the machine is loaded with products and that the prices are updated in the system before testing the device. - Page 9 • In case a coin mechanism is connected to the machine: i. Disconnect the coin mechanism connector from the machine ii. Connect coin mechanism connector to the Onyx cable • Connect MDB/JVMA/Fuji connector to the machine’s connector Step 3. Connect the external antenna Step 4.
-
Page 10: Operating And Testing
Operating and Testing 1. Turn on the machine. 2. Once the Onyx is powered-up, a Self-Test is automatically initiated that performs a SIM card and Server Connectivity check. Note: If the device is not installed correctly, you may see an error message on the screen. -
Page 11: Appendix 1- Insert Sim Card
Step 2: Lock SIM card in place by pushing the cradle down onto the main board. Slip the silver clutch up to lock the card in place. Note: Make sure that the SIM is inserted in the right direction as shown in the image above. Onyx Installation Guide Onyx_Installation_Guide_Ver.2.2.docx Page 11...
Need help?
Do you have a question about the Onyx and is the answer not in the manual?
Questions and answers