Advertisement
Quick Links
Advertisement

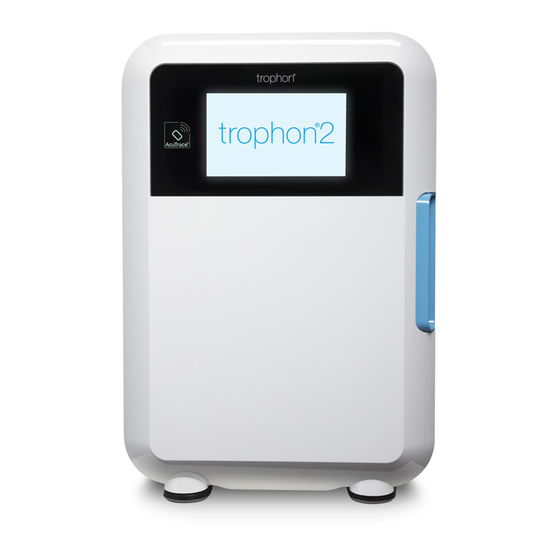
Summary of Contents for Nanosonics trophon2
- Page 1 High-level disinfection for ultrasound probes Installation Guide...
- Page 2 Installation Guide Please complete the following guide at installation to ensure your trophon2 device is properly installed and ready for use. You can either print out or edit and save this PDF online. This document does not replace the trophon2 User Manual.
- Page 3 Connect the device to mains-power and ensure it is switched on. To network the device, connect trophon2 device via option A (wall ethernet – recommended) or B (wireless bridge). Consult with your IT department to assist with this step. If using option B, follow the setup instructions included with your specific wireless bridge.
- Page 4 If your trophon2 has not been networked, select Off and click NEXT The device will now prompt you to enter the date and desired date format manually. IMPORTANT: In regions where daylight savings applies, users should note to revisit and update these settings as required.
- Page 5 Note: Parametric Release ON/OFF options will only be available if you have enabled AcuTrace PLUS. All users of trophon2 should be issued and assigned to a new Operator Card. Scan the AcuTrace symbol on your blank trophon Operator Card against the AcuTrace reader on trophon2.
- Page 6 Additional Medical Instrument Tags can be programmed at a later stage and this is covered in Section 3 of this guide. On the trophon2 touch screen type in the Probe name (max 25 characters), the probe serial number (max 20 characters) and Other (max 10 characters) e.g.
- Page 7 A “Chemical Indicators updated successfully” screen will display when this has been completed. Note: Ensure that you have a programmed trophon2 Operator Card for use. trophon2 will not allow you to proceed with unprogrammed operator cards. If a programmed operator card is not available,...
- Page 8 Close the cartridge door. trophon2 will now prepare the disinfectant ready for first time use. 1.12 Your trophon2 is now set-up and you are ready to commence...
- Page 9 2. Printer Installation trophon Printer and trophon2 can be connected via the printer cable. Connect DC Power supply to the trophon Printer and ensure the printer power is switched on. Insert the trophon printer label roll into the printer, ensuring the end of the roll is correctly fed through the printer.
- Page 10 Operator Cards. Doing so may compromise the traceability of the Operator/s using trophon2. On the trophon2 touch screen, type in the Operator name (max 25 characters), the Operator ID (max 20 characters) e.g. internal staff ID number and Other (max 10 characters) e.g. department.
- Page 11 Quick Reference Guide A Quick Reference Guide has been supplied with your trophon2 so you can affix it in a prominent position as close to the device as possible. The Quick Reference Guide is also available as a PDF under the Support documents section of the trophon2 menu on your local Nanosonics website.
- Page 12 T: 1-844-876-7466 T: 01484 860581 T: +49 40 46856885 E: info@nanosonics.eu E: info@nanosonics.jp E: info@trophon.com E: ukinfo@nanosonics.co.uk E: info@nanosonics.eu W: www.nanosonics.fr W: www.nanosonics.com.jp www.nanosonics.us W: www.nanosonics.co.uk W: www.nanosonics.eu © 2020 Nanosonics Limited. All rights reserved. NAN0279. MM0897-GLO-FY V02. December 2020.


Need help?
Do you have a question about the trophon2 and is the answer not in the manual?
Questions and answers
Setting up a second trophon 2 unit and techs already have a card. What do I need to do as far as setting up the second unit regarding the cards?