Table of Contents
Advertisement
Operating Instructions
LED TV
Model No.
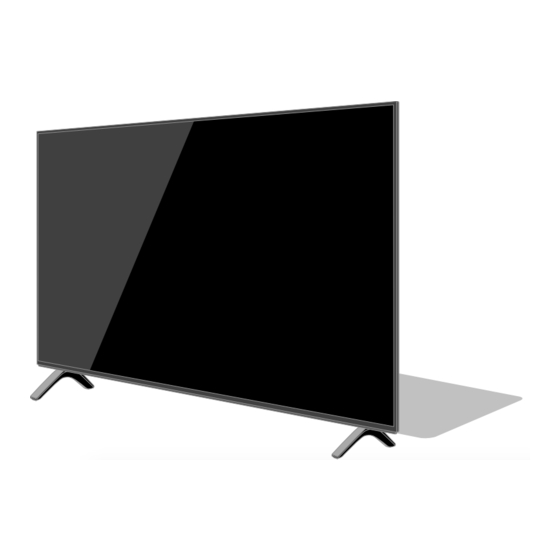
TH-55HX900Z
TH-65HX900Z
For more detailed instructions, please refer to [eHELP]
(Built-in Operating Instructions).
●
How to use [eHELP]
Thank you for purchasing this Panasonic product.
Please read these instructions carefully before operating this product and retain them
for future reference.
Please carefully read the "Safety Precautions" of this manual before use.
The images shown in this manual are for illustrative purposes only.
F0520-0
(image: TH-65HX900Z)
(p. 18)
English
FBC
TQB4GD0364
English
Advertisement
Table of Contents

Related Manuals for Panasonic TH-55HX900Z


Summary of Contents for Panasonic TH-55HX900Z
- Page 1 ● How to use [eHELP] (p. 18) Thank you for purchasing this Panasonic product. Please read these instructions carefully before operating this product and retain them for future reference. Please carefully read the “Safety Precautions” of this manual before use.
-
Page 2: Table Of Contents
Contents Be Sure to Read Important Notice··················································· 3 Safety Precautions ··············································· 4 Accessories ························································ 7 Installing the TV ··················································· 7 Installing the wall-hanging bracket ··························10 Connections ·······················································10 Identifying Controls ··············································15 First time Auto Tuning···········································17 How to Use eHELP ··············································18 FAQs ································································19 Maintenance ······················································20 Specifications ·····················································21 English... -
Page 3: Important Notice
[eHELP] (Search by Purpose > Read first > Before use > Licence). to protect the rights or property of Panasonic. If you wish to know more about the processing of your information in this context, please refer to the full text of our privacy policy displayed at [eHELP] (Search by Purpose >... -
Page 4: Safety Precautions
Mains plug and lead of the copyright or other such rights in that content. Warning Panasonic has no authority to and does not grant you that permission and explicitly disclaims any right, If you detect anything unusual, ability or intention to obtain such permission on your immediately remove the mains behalf. - Page 5 Keep these parts ● Do not use an unapproved pedestal / mounting out of reach of young children. equipment. Be sure to ask your local Panasonic ■ dealer to perform the setup or installation of approved Pedestal wall-hanging brackets.
- Page 6 ■ ■ Built-in wireless LAN Moving the TV Caution Caution ● Do not use the built-in wireless LAN to connect to any Before moving the TV, disconnect all cables. wireless network (SSID*) for which you do not have ● At least two people are required to move the TV. usage rights.
-
Page 7: Accessories
Accessories Installing the TV Standard accessories Assembling / Removing the pedestal Make sure the following accessories are included with Preparations your TV. If any items are missing, contact your dealer. Take out the pedestal and the TV from the packing case 1. - Page 8 Style2 English...
- Page 9 Removing the pedestal from the TV Be sure to remove the pedestal in the following procedures when you use the wall-hanging bracket or repack the TV. 1 Put the TV onto a work table with the screen panel down on the clean and soft cloth. 2 Pull out the pedestal from the TV.
-
Page 10: Installing The Wall-Hanging Bracket
Installing the wall- Connections hanging bracket ● External equipment and cables shown are not supplied with this TV. ● Please ensure that the unit is disconnected from the Choosing to wall mount the TV shall be done at the mains socket before attaching or disconnecting any owner’s risk. - Page 11 ■ Satellite dish Basic connections ■ Mains lead AC 220-240 V, 50 / 60 Hz Satellite cable Mains lead (supplied) Satellite dish ● For Satellite TV ● To ensure your satellite dish is correctly installed, Insert the mains plug firmly into place. please consult your local dealer.
- Page 12 ■ [HDMI Auto Setting] (Setup Menu) Network Reproduces the image more precisely with the A broadband network environment is required to be able expanded colour gamut when connecting the 4K to use internet services. compatible equipment. Select the mode depending on ●...
- Page 13 ■ ■ Amplifier (external speakers) USB HDD (for recording) ● Use USB 1 port for connecting the USB HDD. ● For details, refer to [eHELP] (Search by Purpose > Recording). ■ VIERA Link ● Use HDMI1 - 4 for VIERA Link connection. ●...
- Page 14 Cable arrangement ■ Fixing the cables using the cable band Attach the cable band Bundle the cables Note ● Fix cables as necessary. ● When using the optional accessory, follow the option’s assembly manual to fix cables. English...
-
Page 15: Identifying Controls
Identifying Controls 7 OK ● Confirms selections and choices. 8 [Option Menu] ● Easy optional setting for viewing, sound, etc. 9 Coloured buttons (red-green-yellow-blue) Remote Control 10 Volume Up / Down 11 Numeric buttons ● Changes channel and teletext pages. ●... - Page 16 ■ Installing / Removing batteries 5 Channel Up / Down ● Cursor Up / Down (when in the menu system). 6 Volume Up / Down Pull open ● Cursor Left / Right (when in the menu system). 7 Mains power On / Off switch Hook ●...
-
Page 17: First Time Auto Tuning
First time Auto Tuning Set up the network connection Tick the TV signal mode to tune, and then select [Start Auto Tuning] : Satellite TV When the TV is turned on for the first time, it will automatically search for available TV channels and give : Digital TV options to set up the TV. -
Page 18: How To Use Ehelp
How to Use eHELP ● To scroll the description (if more than 1 page) While the description is highlighted [eHELP] is the detailed operating instructions built into the TV, and gives a more detailed explanation for a better understanding of the operation of each feature. ●... -
Page 19: Faqs
● Check all required cables and connections are firmly in place. About the inquiry ● Please contact your local Panasonic dealer for An unusual image is displayed assistance. ● This TV has a built-in Self Test. Makes a diagnosis of If you make an inquiry from a place where this TV picture or sound problems. -
Page 20: Maintenance
Maintenance First, remove the mains plug from the mains socket. Display panel, Cabinet, Pedestal Regular care: Gently wipe the surface of the display panel, cabinet, or pedestal by using a soft cloth to remove dirt or fingerprints. For stubborn dirt: (1) First clean the dust from the surface. -
Page 21: Specifications
Specifications Specification TH-55HX900Z TH-65HX900Z Dimensions 1 231 mm × 771 mm × 218 mm (With Pedestal) 1 451 mm × 915 mm × 325 mm (With Pedestal) 1 231 mm × 716 mm × 72 mm (TV only) 1 451 mm × 840 mm × 73 mm (TV only) (W x H x D) 18.0 kg Net (With Pedestal) - Page 22 WARRANTY - New Zealand only NEW ZEALAND Distributed in New Zealand by Panasonic New Zealand Limited 18 Sir Woolf Fisher Drive, Highbrook, East Tamaki, Private Bag 14911, Panmure, Auckland Tel. 09 272 0100 Customer Care Center Email: Customerservice@nz.panasonic.com www.panasonic.co.nz...
- Page 24 Warranty Service purposes. Model Number Serial Number English Web Site: http://www.panasonic.com Printed in Malaysia © Panasonic Corporation 2020 05-2020...