Advertisement
Advertisement
Table of Contents

Related Manuals for Belling BI902MFCT


Summary of Contents for Belling BI902MFCT
- Page 1 Belling Built In 90cm Multi Function Date: 29/04/20...
- Page 2 PL - Poland NZ - New Zealand NL - Netherlands AU - Australia ES - Spain To contact Belling about your appliance, please call: Warranty Registration Customer Care Helpline 0344 815 3746 0800 952 1068 in case of diffculty within the UK...
-
Page 3: Declaration Of Compliance
Hereby, Glen Dimplex Home Appliances Ltd. declares that the radio equipment types BEL BI902 MFCT is in compliance with Directive 2014/53/EU. The full text of the EU declaration of conformity is available at the following internet address: www.belling.co.uk in the online user manual for this appliance. DECLARATION OF COMPLIANCE When you have unpacked the oven, make sure that it has not been damaged in any way. - Page 4 SAFETY WARNING • During use the appliance becomes hot. Care should be taken to avoid touching heating elements. • Children less than 8 years of age shall be kept away unless continuously supervised. This appliance can be used by children aged from 8 years and above and persons with reduced physical sensory or mental capabilities or lack of experience and knowledge if they have been given supervision or instruction...
- Page 5 disconnection with a minimum contact separation of 3mm. • Connection should be made with a suitable flexible cable with a minimum temperature rating of 70°C. • Although every care has been taken to ensure this appliance has no sharp edges. We recommend that you wear protective gloves when installing and moving this appliance.
-
Page 6: Using Your Appliance
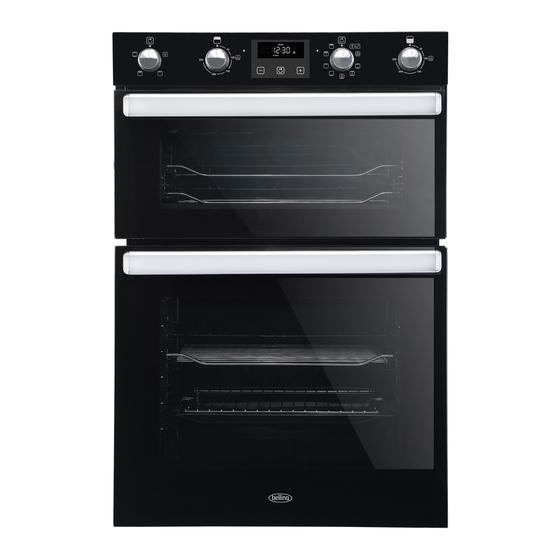
USING YOUR APPLIANCE Getting to know your product Note: Your appliance layout may differ depending on the model. Multifunction Control Panel Top Oven/Grill Temperature Control (K2) Main Oven Function Selector Control (K1) Clock/Programmer Top Oven Function Main Oven Temperature Minus Function Plus Selector Control (K1) - Page 7 Symbol Main Oven Function Descriptions Oven Function Selector Switch:- Use to select the desired oven function. Defrost and Dough Proving:- Can be used to gently defrost frozen foods, This setting can also be used to help dough to rise faster than at room temperature. Fanned Oven:- The even temperature in the oven makes this function suitable for batch baking, or batch cook- ing foods on one or more levels at the same time.
-
Page 8: Cooling Fan
Oven Selector control Temperature control Cooling Fan When cooking is finished, paused, or if the central oven temperature is over 75 C, the cooling fan will continue working for around 15 minutes. When the central oven temperature drops below 75 C, the cooling fan will stop. - Page 9 Clock/Programmer Note: The image below is a generic timer image. Your clock / programmer may not have all these functions Minus Function Plus Minute minder Manual mode Volume level Cooking time / Duration 7-segment display End of cooking time Max. adjustable minute minder Clock Symbol Max.
- Page 10 Setting the Minute minder The minute minder does not switch the oven off automatically. A minute minder duration time of between 1 minute and 99 minutes can be selected. The clock is displayed as “h:mm”. 1. Press the function key repeatedly until the minute minder symbol starts to flash. 2.
- Page 11 Check, modify or cancel the cooking duration time 1. If you need to check or change the cooking duration time, press the function key repeatedly until the cooking duration time symbol starts flashing again, and the remaining cooking duration time is displayed.
- Page 12 Check, modify or cancel the cooking end time 1. If you need to check, change or cancel the cooking end time, press the function key repeatedly until symbol starts flashing again, and the cooking end time is displayed. 2. While the cooking end time symbol is flashing, you can use the plus and/or minus keys to adjust the cooking end time.
- Page 13 Bluetooth Connectivity (if fitted) State of Connectivity Symbol • When the connectivity symbol is not present, the appliance cannot be connected to. • When the connectivity symbol is blinking, the appliance is ready to be paired with a smart device using the Zeus App. •...
- Page 14 Clear Memory Note: If connection difficulties are experienced, it can be helpful to clear the bluetooth pairing between the timer and the smart device. After the pairing has been cleared, the connection can be reestablished from the beginning. Press the function and plus keys at the same time until a beep is heard.
- Page 15 Soft Closing Door (If fitted) The door can be paused at any angle greater than 30 The door will close slowly under the action of the damper, if it is less than or equal to an angle of 30 Please do not close the door vigorously. Catalytic Oven liners (If fitted) Some oven specifications have catalytic oven liners fitted to the sides of the oven, you can easily tell if they are fitted because the panel is a light grey soft touch enamel.
- Page 16 Cleaning of the Oven door/s (optional) The following steps are to be used to disassemble the door components for cleaning: 1. Depress the securing tabs either side of the plastic inlay cover and separate the inlay cover from the door 2. Carefully remove the inner glass panels as required for cleaning 3.
- Page 17 Accessories Wire shelf: For dishes, cake pan with items for roasting and baking. Shelf support rails: Used to support the wire shelf and grill pan if required. These shelf support rails on the right and left sides of the oven can be removed. Grill pan: For cooking large quantities of food such as moist cakes, pastries, frozen food etc, or for collecting fat/ spillage and meat juices.
-
Page 18: Shelf Placement Warning
Shelf placement warning: To ensure the oven shelves operate safely, correct placement of the shelves between the side rails is imperative. Shelves and the grill pan can only be used between the first and fifth layers on the main oven and first and third layers on the top oven. Ensure that shelves are inserted correctly, with the upstand at the back and pointing upwards. -
Page 19: Bulb Replacement
Standard shelves Ensure the shelf is fully pushed towards the back of the oven, until the shelf stopper is reached. Slightly raise the shelf and insert in the chosen shelf position Front of appliance BULB REPLACEMENT Risk of electric shock! Glass cover You must replace a damaged glass cover. -
Page 20: Cleaning Your Appliance
CLEANING YOUR APPLIANCE Note: Always switch off your appliance and allow it to cool down before you clean any part of it. Note: Please take extra care when cleaning over the symbols on the control panel, as this can lead to them fading. - Page 21 Please keep this handbook for future reference, or for anyone else who may use the appliance.
- Page 22 Please keep this handbook for future reference, or for anyone else who may use the appliance.
-
Page 24: Technical Data
TECHNICAL DATA Electric Built In Electrical supply / Load Appliance Size (cm) Electrical supply Load (kW) 90cm Multifunction 220 - 240V ~ 50Hz For the specific power rating of your model, refer to the data badge on the front frame of your appliance. WARNING: This appliance must be earthed.
Need help?
Do you have a question about the BI902MFCT and is the answer not in the manual?
Questions and answers