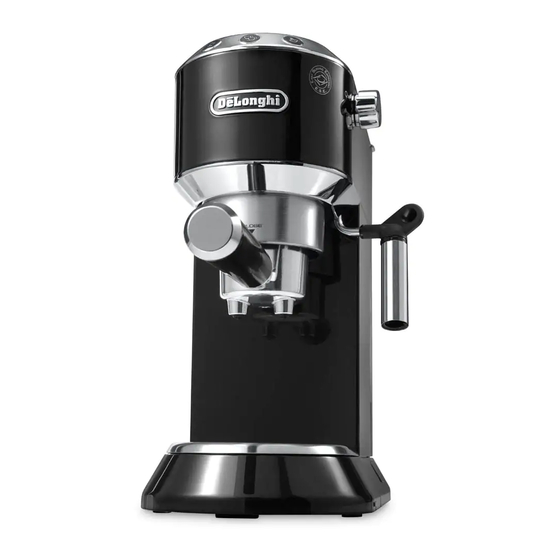
DeLonghi EC680 Instructions For Use Manual
Hide thumbs
Also See for EC680:
- Get started (10 pages) ,
- Instruction manual (16 pages) ,
- Get started (9 pages)
Advertisement
Advertisement
Table of Contents

Summary of Contents for DeLonghi EC680
- Page 1 De’Longhi Appliances via Seitz, 47 31100 Treviso Italia www.delonghi.com...
-
Page 2: Coffee Maker
EC680 COFFEE MAKER Instruction for use... -
Page 3: Electrical Requirements
page 6 ELECTRICAL REQUIREMENTS Before using this appliance ensure that the voltage indicated on the product corresponds with the main voltage in your home, if you are in any doubt about your supply contact your local electricity company. The flexible mains lead is supplied connected to a B.S. 1363 fused plug having a fuse of 13 amp capacity. Should this plug not fit the socket outlets in your home, it should be cut off and replaced with a suitable plug, following the proce- dure outlined below. - Page 6 5°C max 1/3...
-
Page 7: Important Safeguards
with reduced physical, sensory or mental IMPORTANT SAFEGUARDS Symbols used in these instructions capabilities or lack of experience and Important warnings are identified by these symbols. knowledge if they have been given It is vital to respect these warnings. supervision or instruction concerning use of Danger! Failure to observe the warning could result in life threatening the appliance in a safe way and understand... -
Page 8: Technical Data
ON/OFF switch Please note: Keep this Instruction for Use. G. Cup tray If the appliance is passed to other persons, they must also be H. Drip tray full indicator provided with this Instruction for Use. Drip tray Hot water/steam spout Checking the appliance K. -
Page 9: Filling The Water Tank
the power socket does not match the plug on the appliance, The first time you use the coffee maker, you need to make have the socket replaced with a suitable type by a qualified 4/5 cups of coffee or 4/5 cappuccinos before it starts to give professional. - Page 10 Default values (reset) 2. Press the button to enter the water hardness This resets all menu settings and programmed quantities back selection mode. The lights corresponding to the current to the default values. selection come on: To reset the default values, proceed as follows: 1.
-
Page 11: How To Make Cappuccino
4. Remove any excess coffee from the rim of the filter holder To change these quantities, proceed as follows: and attach the filter holder to the appliance. To attach 1. Place one or two cups under the filter holder spouts. correctly, align the filter holder handle with the INSERT 2. -
Page 12: Hot Water
The cappuccino is ready. Sweeten to taste and if desired, 2. Place a recipient under the cappuccino maker. sprinkle the froth with a little cocoa powder. 3. Turn the dial to the position. Hot water is delivered from the cappuccino maker. Please note: 4. - Page 13 Descaling 12. Empty the container used to collect the descaler solution and replace it empty under the hot water spout. Descale the appliance when the orange light on the 13. Make sure the steam dial is in the , position, then button comes on.
-
Page 14: Explanation Of Lights
EXPLANATION OF LIGHTS Lights Operation Explanation of lights The ON/OFF button is turned on The appliance performs a self-diagnosis cycle, indicated by sequential flashing off the lights The appliance is on Flashing lights: the appliance is heating up to make coffee Lights on steadily: the appliance is ready to make coffee The lights flash rapidly: the tank is empty... - Page 15 The coffee froth is too light (de- The pre-ground coffee is not pressed Press the pre-ground coffee more firmly livered from the spout too fast) down firmly enough There is not enough pre-ground coffee Increase the quantity of pre-ground coffee The pre-ground coffee is too coarse Use only pre-ground coffee for espresso coffee makers...


Need help?
Do you have a question about the EC680 and is the answer not in the manual?
Questions and answers