Advertisement
Quick Links
Advertisement

Summary of Contents for Sliger CERBERUS
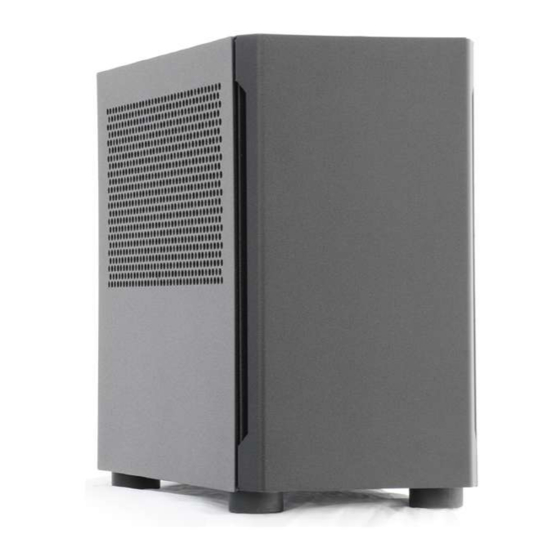
- Page 1 CERBERUS / X The Worlds Smallest ATX / EATX PC Case...
- Page 2 SCREWS The Cerberus X comes with a total of 5 different screws. For the purposes of this guide we will assign a unique color to each of the screws to signify their locations through out this guide. VIOLET 6-32 x 1/4” HEX HEAD Power Supply 3.5"...
- Page 3 MOTHERBOARD Chassis hardware kit includes 9 x M3 x 6mm PAN HEAD screws for mounting the motherboard. SIDE HINGE BRACKET is secured with 2x M3 x 5mm FLAT HEAD...
- Page 4 PCIe card slot cutouts using 2x M3 x 6mm PAN HEAD screws. Additional Hardware: M3 x 6mm PAN HEAD for Cerberus M3 x 6mm PAN HEAD for Cerberus X PCIe card mounting are shown. HANDLE KIT BRACKET mounts as shown with 4x...
- Page 5 SSD MOUNTING By default every Cerberus and Cerberus X chassis has the ability to mount two 2.5” HDDs or SSDs. Mounting is shown below using the provided M3 x 5mm FLAT HEAD screws. SSDs or HDDs are mounted as shown with...
- Page 6 SSD MOUNTING CONT. The other SSD mounting location is on the front open side. Using our Window SSD Bracket secured to chassis with 2x M3 x 5mm FLAT HEAD SSDs mount as shown with the connector ends for SATA cable and SATA power cable facing the rear of the main chassis frame.
- Page 7 EASY-OFF PANELS All front, top and side panels have tool-less removal via their ball-stud mounting points. However, be careful as panels may be very tight on the first few times on/off. REASSEMBLY NOTES: Side panels are reversible to either side. Front Panels can be installed with either end at top or bottom.
- Page 8 ATX/SFX PLATE KITS The ATX PLATE KIT is for mounting full-sized ATX form factor power supplies on the rear opening. The ATX power supply attaches to the ATX Plate with 4x 6-32 x 1/4” HEX HEAD and the ATX plate attaches to the chassis with 4x M3 x 6mm PAN...
- Page 9 SFX INTERNAL MOUNT Our SFX Internal kit consists of multiple parts; a rear plate with PC power inlet and two external water-cooling holes with included hole plugs and the SFX power supply internal bracket. The rear plate attaches to the chassis with 4x M3 x 6mm PAN HEAD and the power pig tail attaches to plate with 2x M3 x 8mm FLAT HEAD...
- Page 10 SFX INTERNAL MOUNT CONT. Attach the SFX power supply to the internal bracket with up to 6-32 x 1/4” HEX HEAD screws. Then the whole assembly is secured to the chassis with M3 x 5mm FLAT HEAD screws.
- Page 11 PCIe CARD MOUNTING The Cerberus X has eight PCIe Expansion Card Slots for Quad SLI/ Crossfire/Quadro Sync support (up to 330mm long x 150mm tall) Secure Cards / Slot Covers with M3 x 6mm PAN HEAD screws.
- Page 12 AIO MOUNTING The Cerberus X support a 240mm radiator with 25mm fans. We recommend the radiator be mounted with the hoses positioned at the front of the case as shown below.
- Page 13 AIO MOUNTING The Cerberus X supports a 140mm radiator with 25mm fans. Mounted on the front internal top portion of the case. Note: Use image below for correct orientation, location and position of radiator and fan.
-
Page 14: Fan Mounting
FAN MOUNTING The following pages will show all the different fan sizes and locations they can be mounted in the Cerberus X cases. Bottom location 120mm x 25mm Fans 140mm x 25mm Fans... - Page 15 FAN MOUNTING Rear location 92mm Fan mounted SFX internal Plate. Note: Must run SFX Internal kit.
- Page 16 FAN MOUNTING Top location 120mm x 15mm Fan mounted to Handle Bracket Handle bracket attaches to chassis with 4x M3 x 5mm FLAT HEAD screws. 120mm x 15mm Fans mounted to Sub Top Bracket Sub Top Bracket attaches to chassis with 4x M3 x 5mm FLAT HEAD screws.


Need help?
Do you have a question about the CERBERUS and is the answer not in the manual?
Questions and answers