Table of Contents
Advertisement
Quick Links
DAILY REFERENCE
GUIDE
THANK YOU FOR PURCHASING A
WHIRLPOOL PRODUCT
To receive more comprehensive help and
support, please register your product at
www . whirlpool . eu/ register
Before using the appliance carefully read the Health and Safety guide.
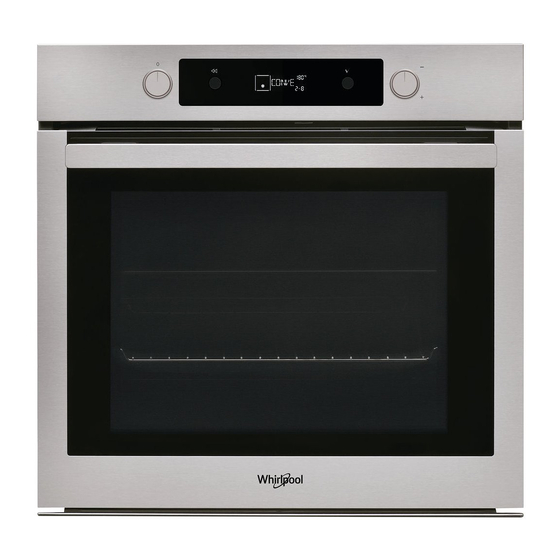
PRODUCT DESCRIPTION
1
2
5
4
3
3
2
1
4
CONTROL PANEL DESCRIPTION
1
1. SELECTION KNOB
For switching the oven on by
selecting a function. Turn to the "0"
position to switch the oven off.
2. BACK
For returning to the previous screen.
During cooking allows to change
settings.
5
4
3
2
1
2
3. DISPLAY
4. CONFIRM
For confirming a selected function
or a set value.
You can download the Safety Instructions
and the Use and Care Guide by visiting our
WWW
website docs . whirlpool . eu and following the
instructions on the back of this booklet.
1. Control panel
2. Fan
3. Shelf guides
5
4. Door
6
5. Upper heating element/grill
6. Lamp
7. Identification plate
7
8. Lower heating element
8
3
5. ADJUSTMENT KNOB
For scrolling through the menus and
applying or changing settings.
Please note: The knobs are retractable.
Press the knobs in the middle and they
pop up.
(the level is indicated on the front
of the oven)
(do not remove)
(not visible)
4
5
EN
1
Advertisement
Table of Contents

Related Manuals for Whirlpool OAKZ9156PIX


Summary of Contents for Whirlpool OAKZ9156PIX
- Page 1 WHIRLPOOL PRODUCT and the Use and Care Guide by visiting our To receive more comprehensive help and website docs . whirlpool . eu and following the support, please register your product at instructions on the back of this booklet. www . whirlpool . eu/ register Before using the appliance carefully read the Health and Safety guide.
- Page 2 ACCESSORIES WIRE SHELF BAKING TRAY DRIP TRAY * SLIDING RUNNERS * Use to cook food or as a Use for cooking all bread and Use as an oven tray for To facilitate inserting or support for pans, cake tins pastry products, but also for cooking meat, sh, removing accessories.
- Page 3 FUNCTIONS MAXI COOKING To switch off the oven. To cook large joints of meat (above 2.5 kg). Use the 1st or 2nd shelves, depending on the size of the LIGHT joint. The oven does not have to be preheated. It is To switch the oven light on/off.
-
Page 4: First Time Use
FIRST TIME USE 1. SELECT THE LANGUAGE display. You will need to set the language and the time when you switch on the appliance for the first time: “ENGLISH” will scroll along the display. Turn the adjustment knob to set the minutes and press to confirm. - Page 5 The function will start automatically after the period of BROWNING time that has been calculated in order for cooking to Some functions of the oven enable you to brown the finish at the time you have set. surface of the food by activating the grill once cooking is complete.
- Page 6 . AUTOMATIC CLEANING PYRO Do not touch the oven during the Pyro cycle. Keep children and animals away from the oven during and after (until the room has finished airing) running the Pyro cycle. Remove all accessories - including shelf guides - from the oven before activating the function.
-
Page 7: Cooking Table
COOKING TABLE SHELF AND RECIPE FUNCTION PREHEAT TEMPERATURE (°C) DURATION (Min.) ACCESSORIES 2 / 3 160 - 180 30 - 90 Leavened cakes / Sponge cakes 160 - 180 30 - 90 * 160 - 200 35 - 90 GENTLE Filled cakes (cheesecake, strudel, apple pie) 160 - 200... - Page 8 SHELF AND RECIPE FUNCTION PREHEAT TEMPERATURE (°C) DURATION (Min.) ACCESSORIES Sausages / Kebabs / Spare ribs / 2 - 3 (Mid - High) 15 - 30 ** Hamburgers 2 (Mid) 55 - 70 *** Roast chicken 1-1.3 kg 3 (High) 60 - 80 Roastbeef rare 2 (Mid)
-
Page 9: Cleaning And Maintenance
CLEANING AND MAINTENANCE Make sure that the oven has Do not use wire wool, abrasive Wear protective gloves. cooled down before carrying out scourers or abrasive/corrosive The oven must be disconnected any maintenance or cleaning. cleaning agents, as these could from the mains before carrying damage the surfaces of the Do not use steam cleaners. -
Page 10: Troubleshooting
XXXXXXXXXX XXX X X X X X XXX XXXX X X X XXXXXX from our website docs . whirlpool . eu (you can plate. use this QR Code), specifying the product’s commercial code. > Alternatively, contact our Client After-sales Service.
Need help?
Do you have a question about the OAKZ9156PIX and is the answer not in the manual?
Questions and answers