Advertisement
Quick Links
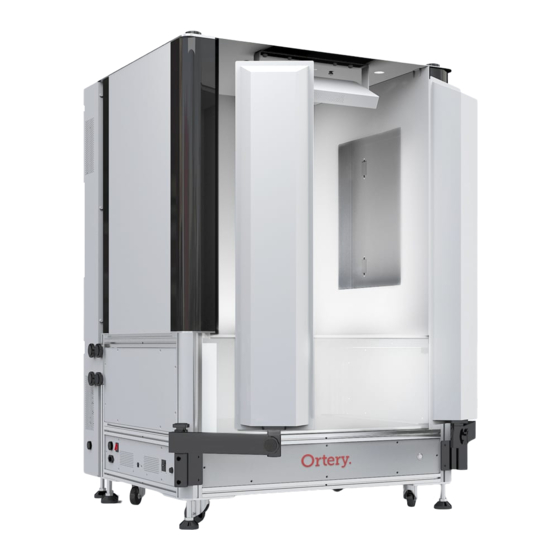
Photosimile 220
Getting Started:
Launch the Photosimile 220 control software.
Taking Pictures:
1. Object Placement
a-b
Place the object in the center of the glass plate using the front or side
door.
2. Shooting Angle
Side shots
a-b
Side shots are taken from the front with / without the reflective door
cover unfurled.
Half Range
c-e
The Photosimile 220 features a side door for conveniently placing objects inside the studio without having to move the camera / tripod. The
side door can be installed on the left or right side of the system and used in conjunction with the appropriate acrylic panel.
Full range
If you want to take photos for large object, remove the middle glass, install the two large acrylic panels,
f
then place the object in the center of the floor.
Note: Follow the steps
middle glass and install the two large acrylic panels.
© 2001 - 2016 Ortery Technologies, Inc. All rights reserved. Ortery is the registered trademark of Ortery Technologies, Inc.
Operation Guide
c-f
in the Acrylic Panel Installation section of the Installation Guide to remove the
c
Photosimile 220
a
a
d
b
b
e
f
Advertisement

Summary of Contents for Ortery Photosimile 220
- Page 1 Half Range The Photosimile 220 features a side door for conveniently placing objects inside the studio without having to move the camera / tripod. The side door can be installed on the left or right side of the system and used in conjunction with the appropriate acrylic panel.
- Page 2 Top shots Camera mount top shots: Photosimile 220 came with two different diameter size of camera mount sponges (80 mm and 85 mm), find the camera mount sponge that best fits your camera body and lens. Peel off the tape on the back of the camera mount sponge. Align it with the opening on the top of the studio then stick in place.
- Page 3 The right side of the user interface contains Image Processing commands. Captured images appear as a thumbnail. Selected thumbnails can be batch saved, edited, watermarked, printed, annotated, sent by email and more. Detailed descriptions of each feature are covered in the Photosimile 220 User Guide.
- Page 4 Caution: while using a higher aperture increases overall depth of field, it reduces overall clarity. By clicking the "?" in the upper right corner of the software you can access the Photography Tips, Operation Guide and User Guide. Contact Info: Ortery USA Ortery Taiwan Tel: +1-949-859-5580 Tel: +886-2-2258-2180 Web: www.Ortery.com...
Need help?
Do you have a question about the Photosimile 220 and is the answer not in the manual?
Questions and answers