Advertisement
Quick Links
EasyLog Data Loggers
Quick Start Guide
electronics
For full Installation and Operation Manuals, see the website www.nieuwkoopbv.nl
2
THEN INSTALL YOUR SOFTWARE & USB DRIVER
Windows ™ 2000/XP/VISTA/7
1. Insert the EL-USB-USB CD into the CD drive of
your computer. If the CD does not automatically
load, navigate to the CD and double click "Setup"
3. Read the "IMPORTANT NOTICE",
select "I agree" and "Next"
3
YOUR DATA LOGGER IS READY FOR USE
.
Ensure the battery is correctly installed.
.
Insert the data logger into an available USB port on your PC.
.
Double click on the EasyLog USB icon on your Windows™ desktop. This
will load the configuration software. Setup the data logger for a new log,
download a data logger that has been recording, view previously
saved data in graph format and check the current status of the
attached data logger (including the serial number).
.
When setup is complete, the data logger should be removed from the USB port
to begin recording. If you would like advice on how best to use the data logger
for a particular application, please contact your nearest Lascar representative.
.
Do not leave your data logger in the USB port as this will cause some of the
battery capacity to be lost
(with the exception of EL-USB-1-RCG; see '1. First Install
Your Battery' for further information).
Pour la traduction française, voir le CD
Para traduccion en castellano, vea el CD
Per la traduzione in italiano, vedere il CD
Für die deutsche Übersetzung, siehe die CD
2. Click "Next"
4. Click "Install"
1
FIRST INSTALL YOUR BATTERY
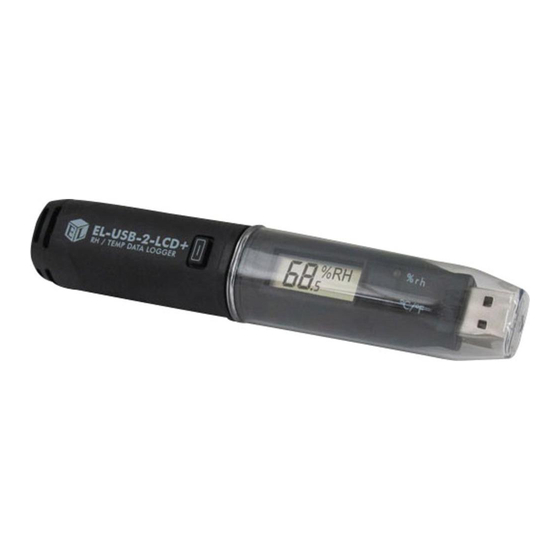
EL-USB-1, EL-USB-1-LCD, EL-USB-2, EL-USB-2+, EL-USB-2-LCD, EL-USB-2-LCD+,
EL-USB-3, EL-USB-4, EL-USB-5, EL-USB-CO, EL-USB-CO300, EL-USB-TC, EL-USB-TC-LCD
Before using the data logger you will need to insert the 3.6V 1/2AA battery provided, following
the instructions below. Replacement batteries available from Nieuwkoop BV, Art.nr. RG7500
PN: BAT 3V6 1/2AA.
1
2
EL-USB-1 PRO
Before using the data logger you will need to insert the 3.6V 2/3AA High Temperature battery provided,
following the instructions below. Replacement batteries available from Nieuwkoop BV, Art.nr. RG7500,
PN: BAT 3V6 2/3AA H TEMP.
1
2
EL-USB-1-RCG BATTERY IS PREINSTALLED
To charge the battery connect to USB port until green LED shows.
5. Click "Yes"
7. Click "Install"
.
Set-up, stop or view previously saved data
3
4
3
4
6. Click "Finish"
8. You have successfully installed the
necessary software and driver for your
EL-USB data logger. An "EasyLog USB"
icon will be placed on your desktop.
.
Name your logger and select a sample rate
Advertisement

Related Manuals for EasyLog EL-USB-1


Summary of Contents for EasyLog EL-USB-1
- Page 1 Ensure the battery is correctly installed. Insert the data logger into an available USB port on your PC. Double click on the EasyLog USB icon on your Windows™ desktop. This will load the configuration software. Setup the data logger for a new log,...
- Page 2 -200 to +390ºC (-328 to +734ºF) (T-type) K-type probe included *Depending on logging rate, ambient temperature, and use of alarm LED LED FLASHING MODES LCD INDICATORS (EL-USB-1-LCD, EL-USB-2-LCD, EL-USB-2-LCD+ AND EL-USB-TC-LCD ONLY) EL-USB-2, EL-USB-2+, EL-USB-2-LCD EL-USB-1-LCD, EL-USB-1-RCG, EL-USB-3, EL-USB-1 DISPLAY AND STATUS FUNCTIONS...
Need help?
Do you have a question about the EL-USB-1 and is the answer not in the manual?
Questions and answers