Table of Contents
Advertisement
Quick Links
Advertisement
Table of Contents

Related Manuals for Oktava Мк-012-01


Summary of Contents for Oktava Мк-012-01
-
Page 3: Table Of Contents
CONTENT ABOUT factory SAFETY INFORMATION overview delivery INCLUDES SETUP installation OPERATION AND STORAGE technical data trouble and countermeasure MANUFACTURER WARRANTy... -
Page 4: About Factory
Russia. Being established at the dawn of development of broadcast networks in 1927 in the city of Tula, Oktava became an iconic brand known throughout the world. Gagarin said his famous “Let's go!” in the Oktava microphone. -
Page 5: Safety Information
SAFETY INFORMATION Before using the microphone, carefully read the operation manual. Keep the manual in a safe place, accessible for all users. Always handover the operation manual to third parties together with the microphone. Use the microphone only for its intended purpose in accordance with this manual. -
Page 6: Overview
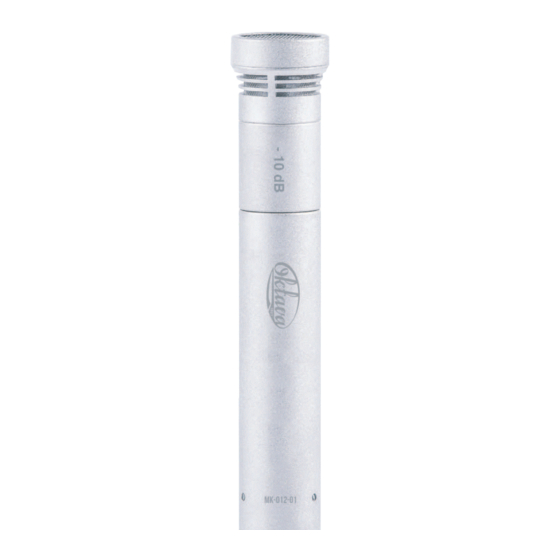
overview Microphone MK-012-01 is a small-sized condenser microphone, designed for professional studio recordings. FEATURES modular design in the form of a microphone preamplifier and a capsule; attenuator is used to work with high levels of sound pressure; low level of self-noise and high level of maximum sound pressure; made in Russia. -
Page 7: Delivery Includes
Delivery INCLUDES 1. Capsule. 2. Preamplifier. 3. -10 dB attenuator. 4. Microphone clip. 5. Packing. 6. Operation manual. -
Page 8: Setup
Fig. 1 Fig. 2 Fig. 3 MICROPHONE INSTALLATION INTO SHOCK MOUNT 1. Screw the microphone shock mount AM-20 (Oktava) onto robust, stable stand (Fig. 4). 2. Insert the microphone on the side of the shock mount inner ring (Fig. 5). - Page 9 Fig. 4 Fig. 5 Fig. 6 MICROPHONE CONNECTION 1. Connect the microphone only to microphone inputs or power supply units that provide 48 V phantom power according to IEC 61938. 2. Connect the microphone to the XLR-3 socket of the mixing console, microphone amplifier or power supply unit with the XLR-3 microphone cable (Fig.
- Page 10 installation 1. Install the microphone on the stand with a microphone clip or shock mount. 2. Connect the microphone to the equipment using a microphone cable. 3. Point the microphone toward the sound source. 4. In order to suppress external noise, make sure that there are no sources of parasitic noise in the microphone active zone (for example, computer fans).
-
Page 11: Operation And Storage
OPERATION AND STORAGE The microphone is designed for application in enclosed spaces at an ambient temperature of 5 °C to 45 °C and a relative humidity of 93% at an temperature 25 °C. Do not subject the microphone to sudden shocks or impacts. Do not allow water to enter the microphone. -
Page 12: Technical Data
technical data Condenser with external Transducer type polarization Cardioid Polar patterns Acoustic principle Pressure gradient receiver Maximum sound pressure level 140 dB 20 Hz - 20 000 Hz Frequency range 10 mV/Pa Sensitivity at 1000 Hz 18 dBA Equivalent sound pressure level due to self-noise 150 Ohm Impedance... - Page 13 FREQUENCY RESPONSE 0° 90° 180°...
-
Page 14: Trouble And Countermeasure
trouble and countermeasure Condition Causes Corrective action Microphone The power supply unit Check the connection does not work or mixing console is not to the mains. connected to the mains. The mixing console or Check the corresponding the power supply unit buttons of the mixing is not turned on. -
Page 15: Manufacturer Warranty
No claim for a microphone will be accepted without certificate of sale. Please, dispose of the microphone at the local collection point for recyclable materials or at the recycling center after the end of its service life. Oktava PJSC Russia, 300000, Tula, Kaminsky str., 24 E-mail: service@oktavatula.ru... - Page 16 NOTES...
- Page 17 ACCEPTANCE CERTIFICATE unit type serial number Manufactured and approved Chief controller personal signature printed name year, month, day L.S. CERTIFICATE OF SALE unit type serial number dealer signature of seller printed name year, month, day L.S. THE GUARANTEE CONDITIONS ARE ACKNOWLEDGED AND ACCEPTED signature of buyer printed name...
- Page 18 WARRANTY CARD For warranty service (repair) No. 1 Professional microphone MK-012-01 product serial number date of receipt for repair full name of a person responsible for repairs signature L.S. WARRANTY CARD For warranty service (repair) No. 2 Professional microphone MK-012-01 product serial number date of receipt for repair full name of a person responsible for repairs...
- Page 19 WARRANTY CARD For warranty service (repair) No. 1 Professional microphone MK-012-01 product serial numbe date of receipt for repair reason for repair seller signature of seller L.S.
- Page 20 information on performed repairs L.S. of repair organization signature, printed name address of owner full name and signature of owner...
- Page 21 WARRANTY CARD For warranty service (repair) No. 2 Professional microphone MK-012-01 product serial numbe date of receipt for repair reason for repair seller signature of seller L.S.
- Page 22 information on performed repairs L.S. of repair organization signature, printed name address of owner full name and signature of owner...
- Page 24 Oktava PJSC Russia, 300000, Tula, Kaminsky str., 24 E-mail: service@oktavatula.ru en.oktavatula.ru...
Need help?
Do you have a question about the Мк-012-01 and is the answer not in the manual?
Questions and answers