Table of Contents
Advertisement
Quick Links
Advertisement
Table of Contents

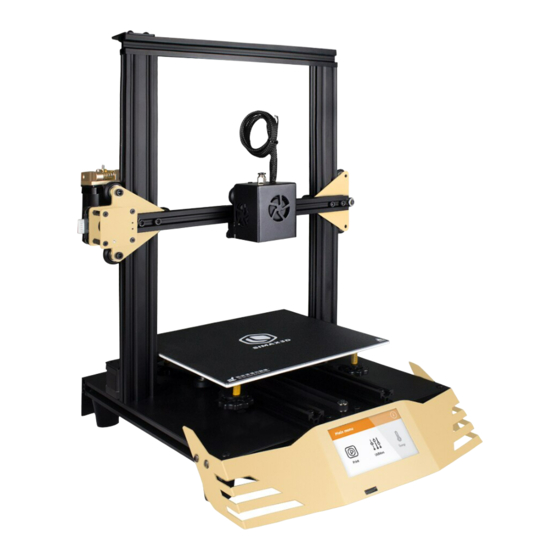
Summary of Contents for Simax Iron-M1
-
Page 2: Version Record
Version Record Version Date Author Check Remark 2020.4.22 Felix • Detailed user manual is stored in the SD card, please copy to your PC before using the SD card. • If you have any problems with the Quick Start Guide, please feel free to contact us, we will reply to you ASAP! •... - Page 3 Attention 1.Please follow step by step; otherwise, the quality of installation may be somewhat affected. 2.Distinguish the type and length of the screws, if using wrongly, some type may be lack while other type may be surplus. 3.The machine should be placed on a worktable while installing so that the bottom of the machine could be flat.
-
Page 4: Step 1: Power On
Step 1: Power on The power socket is on the back of the machine. Plug in the power cord and turn on the switch. -
Page 5: Step 2: Insert Sd Card
Step 2: Insert SD card Insert the TF card into this location(Please pay attention to distinguishing front and back.) -
Page 6: Step 3-1: Leveling The Bed
Step 3-1: Leveling the bed when you use the printer first or you not use it some time,please leveling the bed you can use the hand nut to leveling the It has four hand screw nut at the four corners of the printer. Please leveling it in order of 1, 2, 3,4. - Page 7 Step 3-2: Leveling the bed Please place an A4 paper between the nozzle and the bed,then turn the hand screw nut to adjust the tightening. When you can pull A4 paper, and it has slight resistance,this is perfect,you can leveling next point.
- Page 8 Step 3-3: Leveling the bed We made a "leveling.gcode" to assist in leveling. You can click “Print”,Then click "leveling.gcode" to start printing. When it starts printing, it goes to the first point,you can leveling it. leveling.gcode...
- Page 9 Step 3-4: Leveling the bed When you have leveled a point, you can 27 0 click "continue", it will go to the next point, you can level it. 27 0 Repeat this step until leveling is 0:0:40 complete.
- Page 10 Step 4-1: Load filament In order to load the filament better,please cut the filament at an oblique angle...
- Page 11 Step 4-2: Load filament Press here,then insert the filament in the direction of the arrow...
-
Page 12: Step 4-3: Load Filament
Step 4-3: Load filament Click "Utilities", "Filament", "Load Filament" in turn. Then select the corresponding option according to your filament... - Page 13 Step 5: Print your model Similar to what we did in leveling, you can click Print, and then click the file you want to print to start printing. If you want to know how to slice,please refer to "How to slice by Cura"...
- Page 14 Congratulations Now I think you already know how to use your 3D printer. Enjoy it. If you have any problems with the Quick Start Guide, please feel free to contact us, we will reply to you ASAP! Email: contact@simax3dp.com...
Need help?
Do you have a question about the Iron-M1 and is the answer not in the manual?
Questions and answers