Advertisement
Table of Contents
Barracuda Web Security Gateway
Step 2 - Installation
https://campus.barracuda.com/doc/6160411/
Checklist for Unpacking
Before installing your Barracuda Web Security Gateway, make sure you have the following
equipment:
Barracuda Web Security Gateway (check that you have received the correct model)
AC power cord
Ethernet cables
Mounting rails and screws (available for the Barracuda Web Security Gateway 610, 810, and
910 only)
VGA monitor (recommended)
PS2 keyboard (recommended)
Install the Barracuda Web Security Gateway
For maximum security, Barracuda recommends placing your Barracuda Web Security Gateway
behind a corporate firewall.
1.
If you have a desktop Barracuda Web Security Gateway, you do not need to install it in a rack,
but if you wish to do so, use the rack-mount kit (sold separately) for
2.
Fasten the Barracuda Web Security Gateway to a standard 19-inch rack or other stable location.
Do not block the cooling vents located on the front and rear of the unit or, for the Barracuda
Web Security Gateway 210, the top of the unit.
3.
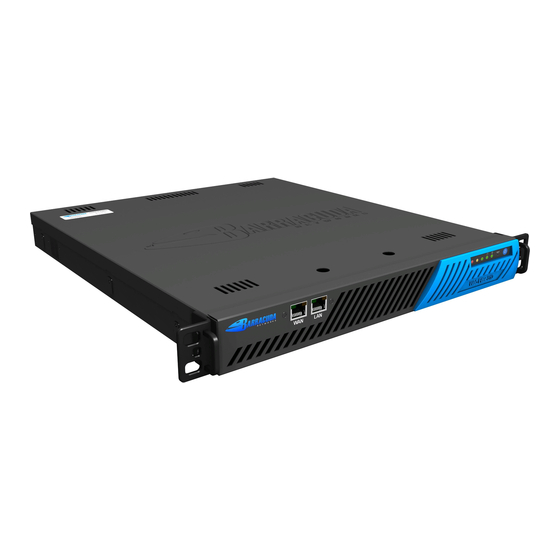
Connect a CAT6 Ethernet cable from your network switch to the LAN port on the back of your
Barracuda Web Security Gateway 210, or to the front of your Barracuda Web Security Gateway
310 and higher, as shown in the following figure. While a CAT5 Ethernet cable works well for
most configurations, Barracuda recommends a CAT6 3 meter Ethernet cable for best
connectivity across devices, and for better performance in cases where troubleshooting is
necessary.
Figure 1:Connecting the Barracuda Web Security Gateway 310 and higher to your network.
Step 2 - Installation
Rack Installation.
1 / 5
Advertisement
Table of Contents

Related Manuals for Barracuda Web Security Gateway 310

Summary of Contents for Barracuda Web Security Gateway 310
- Page 1 For maximum security, Barracuda recommends placing your Barracuda Web Security Gateway behind a corporate firewall. If you have a desktop Barracuda Web Security Gateway, you do not need to install it in a rack, but if you wish to do so, use the rack-mount kit (sold separately) for Rack Installation.
- Page 2 VGA monitor PS2 or USB keyboard After you connect the AC power cord, the Barracuda Web Security Gateway may power on for a few seconds and then power off. This is standard behavior. Press the Power button located on the front of the unit. The login prompt for the administrative console displays on the monitor and the power light on the front of the Barracuda Web Security Gateway turns on.
- Page 3 Barracuda Web Security Gateway, which sends all egress traffic to this gateway via the WAN port. For Forward Proxy deployment, use the same Default Gateway that is used by hosts on the network. Your firewall must be on the same subnet as the Barracuda Web Security Gateway.
- Page 4 firewall to allow emails to be sent from the Barracuda Web Security Gateway as well. If your Barracuda Web Security Gateway is located in a DMZ, you may need to configure your corporate firewall to allow the Barracuda Web Security Gateway to send notifications to your internal email server.
- Page 5 Barracuda Networks Inc. All specifications are subject to change without notice. Barracuda Networks Inc. assumes no responsibility for any inaccuracies in this document. Barracuda Networks Inc. reserves the right to change, modify, transfer, or otherwise revise this publication without notice.
Need help?
Do you have a question about the Web Security Gateway 310 and is the answer not in the manual?
Questions and answers