Advertisement
INSTALLING THE SOLENOID VALVE. The programmable solenoid valve is fully watertight and will function even if installed perma-
nently under water at a depth of up to one metre (IP68 ingress protection). It can be installed in the open or in a valve box, positio-
ned either horizontally or vertically.To ensure the control unit remains watertight, make certain that it is aligned with and fully inser-
ted in its seat, and that the transparent cover is securely screwed on, with the seal properly positioned in its groove. Warning: be
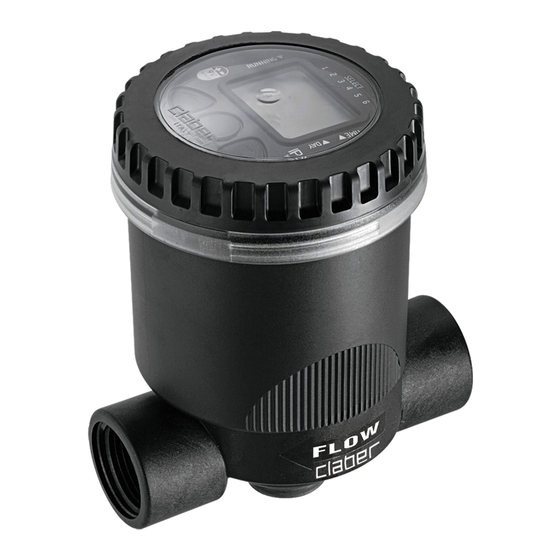
certain to install the programmable solenoid valve observing the water ow direction indicated by the arrow: "FLOW". To install the
battery and set the programmes, simply lift the lid of the valve box: the solenoid valve can be easily handled inside the box.
1
1
OK!
a
a
OK!
b
b
AL
ON
KA
LY
LIN
E
BA
TT
ERY
For Elettra Evolution 1"F (cod.): 90826
For Elettra Evolution 1"M (cod.): 90827
FITTING THE BATTERY. Unscrew the transparent cover. Remove the control unit. Unscrew the cap of the battery
housing and connect the battery, observing the correct polarity. Fit the battery inside the housing. Retighten
the cap, checking that the seal is positioned correctly in its seat. Align the control unit with the guide on the
casing and t it back into place. Retighten the transparent cover, checking that the seal is in its seat. Important:
use only 9V alkaline batteries. When tting the battery, the display lights up for 2 seconds, the solenoid valve
closes, and the timer clock will be set automatically to 00:00.
1
1
a
a
b
b
For Elettra Evolution 1"F (cod.): 90826
For Elettra Evolution 1"M (cod.): 90827
Elettra Evolution
Elettra Evolution
2
2
max 1m
b
b
2
2
c
c
Pag. 1
d
d
c
c
a
a
a
a
b
b
c
c
User manual
User manual
3
3
3
3
a
a
2 sec.
b
b
Advertisement
Table of Contents

Summary of Contents for claber Elettra Evolution
- Page 1 1m For Elettra Evolution 1”F (cod.): 90826 For Elettra Evolution 1”M (cod.): 90827 FITTING THE BATTERY. Unscrew the transparent cover. Remove the control unit. Unscrew the cap of the battery housing and connect the battery, observing the correct polarity.
- Page 2 Press ENTER to con rm the setting. back forward For Elettra Evolution 1”F (cod.): 90826 For Elettra Evolution 1”M (cod.): 90827 DAILY PROGRAMMING. The timer is programmed using just 3 buttons, with the aid of a wide display.Each page has two functions: view program and, pressing ENTER, make changed to program. Pressing forward, the display will show the other programs of the line.
- Page 3 10:26 hours. Press ENTER to con rm the setting. Press FORWARD a second time to view the closing time of the valve, for programme 1. Mem. For Elettra Evolution 1”F (cod.): 90826 For Elettra Evolution 1”M (cod.): 90827 The display reads “1=progr. 1 CLOSED”. Use the FORWARD and BACK key buttons to set the required closing time (close): for example, 10:35 hours.
- Page 4 Press ENTER to deactivate or reactivate watering for the selected day (the relative number disappears from the display). For example: 2 (Friday) and 5 (Monday) To quit weekly programming, position the cursor under EXIT and press ENTER. For Elettra Evolution 1”F (cod.): 90826 For Elettra Evolution 1”M (cod.): 90827 MANUAL FUNCTION.
- Page 5 (programme 2, for example) Press ENTER, then press the FORWARD and BACK key buttons simultaneously. Mem. Program 1 deleted For Elettra Evolution 1”F (cod.): 90826 For Elettra Evolution 1”M (cod.): 90827 For more information and further details, please consult the instruction manual supplied with the product.


Need help?
Do you have a question about the Elettra Evolution and is the answer not in the manual?
Questions and answers