Table of Contents
Advertisement
OPTIMA SCALE MANUFACTURING INC.
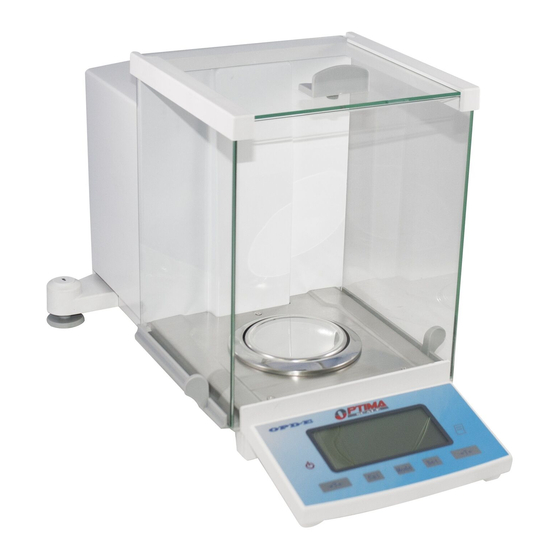
OPD-E Analytical Balance
Maintenance Manual
Menu
Chapter I: Count Value Adjustment
Chapter II: Balance Adjustment
Chapter III: Corner Error Adjustment
Chapter IV: Model Setting
Chapter V: Linearity Calibration
Chapter VI: External Weight Calibration
Chapter VII: Correction of Internal Calibration Weight Value
Chapter VIII: 200g Full Scale Correction
Chapter IX: Temperature Compensation
Chapter X: Inspection
Chapter XI: Failure and Maintenance
1
Advertisement
Table of Contents

Related Manuals for Optima Scale OPD-E


Summary of Contents for Optima Scale OPD-E
- Page 1 OPTIMA SCALE MANUFACTURING INC. OPD-E Analytical Balance Maintenance Manual Menu Chapter I: Count Value Adjustment Chapter II: Balance Adjustment Chapter III: Corner Error Adjustment Chapter IV: Model Setting Chapter V: Linearity Calibration Chapter VI: External Weight Calibration Chapter VII: Correction of Internal Calibration Weight Value...
-
Page 2: Chapter I: Count Value Adjustment
OPTIMA SCALE MANUFACTURING INC. Chapter I: Count Value Adjustment I. Disassembly of Balance Shell: 1. Disassembly of rear cover: Remove three M4 inner hexagon screws under the rear label of the balance and then disassemble the rear cover. 2. Disassembly of lower cover plate: erect the balance, remove 6 pieces of M3 cross-head screws and then disassemble the stainless steel rear cover of the balance. -
Page 3: Chapter Ii: Balance Adjustment (4Mm Adjustment)
OPTIMA SCALE MANUFACTURING INC. close to 400 as much as possible and the zero point count value is between 350 and 450: (increase or decrease the weight on 8 fixed screws of the bracket or M4 screw holes in front of the column, so as to achieve the standard between 350 and 450). -
Page 4: Chapter Iii: Position Error Adjustment
OPTIMA SCALE MANUFACTURING INC. Beam Balance weight assembly Gravity weight assembly Stopper Cross recess head screw M3x6 Flat washer 3 Chapter III: Position Error Adjustment 1. Use a 100g weight to adjust the position error after the balance is preheated for 40min. Check the value displayed at five positions of the balance, i.e. -
Page 5: Chapter Iv: Model Setting Procedures
OPTIMA SCALE MANUFACTURING INC. Chapter IV: Model Setting Procedures 1. Under the standby condition, only the decimal point flickers or “PEFIL” is displayed or only the ON sign is displayed on the LCD. 2. Press CAL and then 1 is displayed on the LCD; press TARE and then 2 is displayed on the LCD;... -
Page 6: Chapter Vi: External Weight Calibration
OPTIMA SCALE MANUFACTURING INC. prompts to load a 50g standard weight on the scale pan. After that, press TARE and the balance displays Lin. and then Lin 100. Load a 100g standard weight, press TARE, and the balance displays Lin… and then Lin 150. Load a 150g weight, press TARE, and then the balance displays Lin…... -
Page 7: Chapter Vii: Correction Of Internal Calibration Weight Value
OPTIMA SCALE MANUFACTURING INC. 2. Internal weight calibration: for internal calibration balance only: the parameter shall be set as C1-0 before calibration. A. Press CAL and then the balance displays “Cal in”. 2s later, the balance displays “Cal…” and calibrates the zero point. -
Page 8: Chapter Viii: 200G Full Scale Correction
OPTIMA SCALE MANUFACTURING INC. 2) Press CAL and reduce the weight value. (After the internal weight calibration, use the external standard weight for checking and the indication value shall be higher than the standard value of the external weight). 3) Press SET and increase the weight value. (After the internal weight calibration, use the external standard weight for checking and the indication value shall be lower than the standard value of the external weight.) -
Page 9: Chapter Ix: Temperature Compensation Method Under High Or Low Temperature
OPTIMA SCALE MANUFACTURING INC. If a 200g weight ordinarily weights 200.0028g, set “add -28” and then save it only. If a 200g weight ordinarily weights 199.9991g, set “add +09” and then save it only. Chapter IX: Temperature Compensation Method under high or low temperature 1. -
Page 10: Chapter X: Inspection
OPTIMA SCALE MANUFACTURING INC. adjustment again: readjust it in the previously opposite direction. If the polarity is negative, adjust R5 to rightward (in the clockwise direction). If the polarity is positive, adjust it leftward. The number of adjusted rings shall be adjusted according to Vt. 2. On condition that needle 1 and 2, 4 and 5 of J4 are short-connected respectively, if the polarity is still positive when R5 rotates to the rightward end, the resistance of R4 shall be increased. - Page 11 OPTIMA SCALE MANUFACTURING INC. III. Linearity Error Test: 1. The indication error at each load point shall not exceed 3D. 2. During the test, the load shall start from zero and then be added gradually, until it achieves the maximum weight of the balance. Then, reduce the load gradually until the load becomes zero.
-
Page 12: Chapter Xi: Failure And Maintenance
OPTIMA SCALE MANUFACTURING INC. 8. Check if the balance meets requirements on the production notice and particular production requirements. 9. Check if components on the packing list are complete and if their types correspond with their serial numbers one by one. - Page 13 OPTIMA SCALE MANUFACTURING INC. loaded, confirm if the weight is loaded to the weight bracket correctly and does not interfere with other parts. B. Check if zero point and full load count values are in the specification scope. If not, adjust them into the scope.
- Page 14 OPTIMA SCALE MANUFACTURING INC. 12. Problem: Glass damage. A. The side glass is damaged: replace the side glass. B. The front glass is damaged: replace the front glass. Method of Replacing Glass: 1) Remove the bottom of the balance: Disassemble 6 pieces of M3 cross-head screws and then remove the bottom cover plate of the balance.
Need help?
Do you have a question about the OPD-E and is the answer not in the manual?
Questions and answers