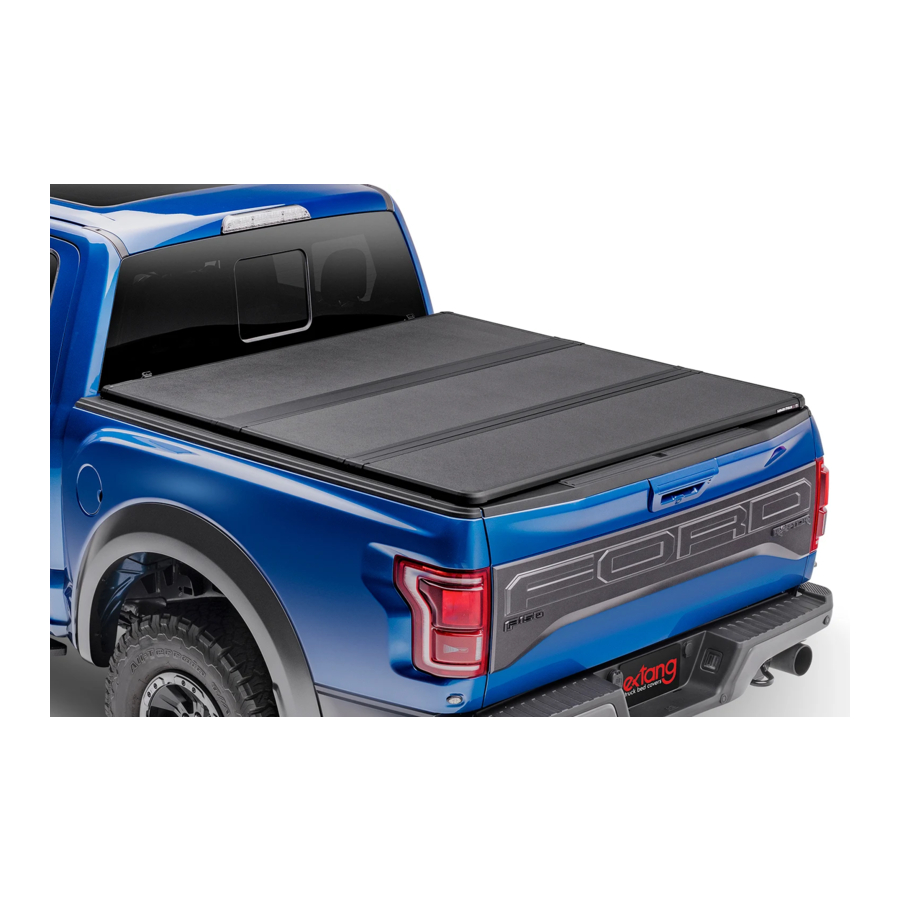
Summary of Contents for Extang Trifecta 2.0
- Page 1 TARP REMOVAL AND REPLACEMENT Tools Required: Closed end wrench, to be used as a round edged instrument. 3/16” Hex Wrench Rubber Mallet Item No. 31920700-30 01.18 DD Extang, Corp., 2017. Printed in USA...
- Page 2 Tarp Removal Remove the tonneau from Locate one of the hinge areas of the cover. Using a rounded instrument, (the the vehicle and place it on closed end wrench), tuck behind the plastic strip and begin prying the retaining its side as shown to begin strip out of its track.
- Page 3 Tarp Removal Place the tonneau on a clean, at surface and nish detaching the cover from the side rails and corners. Repeat the procedure for the other side. Remove one side of the frame. To do this you will need the 3/16” Hex wrench. Loosen but do not remove the fastener from the tail rail.
- Page 4 Begin with the tail rail and insert the retaining strip into the rail. Continue to slide the rail until it is centered in the tarp. The Trifecta 2.0 badge is sewn in and marks the rear corner. CAB END TAIL END...
- Page 5 Tarp Install Install the side rail assemblies. Beginning at the rear corner insert the slide nut into the c-channel portion of the tail rail, SLIDE NUT followed by the rear corner. Secure the cap screw with the 3/16” hex wrench. Insert the bows in the following order: A.
- Page 6 Tarp Install Attaching to the sides. Insert the retaining strip into the side rail as follows: A. Begin at one corner inserting the strip into the rail until you reach halfway. B. Start at the opposite side and corner and insert the strip along that rail.


Need help?
Do you have a question about the Trifecta 2.0 and is the answer not in the manual?
Questions and answers
How do I temporarily remove the cover out of the way so I can use the full truck bed?
To temporarily remove the Extang Trifecta 2.0 cover, pull down each EZ-Lock clamp at the tailgate, fold the cover twice, and buckle it to the cab. If full removal is needed, the entire cover can be easily taken off in minutes without special tools.
This answer is automatically generated