Spypoint CELL-LINK User Manual
Hide thumbs
Also See for CELL-LINK:
- Quick start manual (92 pages) ,
- Quick start manual (17 pages) ,
- User manual
Table of Contents
Advertisement
Quick Links
Advertisement
Table of Contents

Related Manuals for Spypoint CELL-LINK


Summary of Contents for Spypoint CELL-LINK
- Page 1 SPYPOINT CELL-LINK USER MANUAL v.1.0...
- Page 2 THANK YOU FOR CHOOSING A SPYPOINT PRODUCT The CELL-LINK allows you to connect all your trail cameras (all brands, cellular This User Manual will introduce you to the features of your new CELL-LINK and and non-cellular, with a standard SD card reader) to SPYPOINT’s servers.
-
Page 3: Table Of Contents
Table Of Content SPYPOINT CELL-LINK Components ..................4 Features ....................6 Power Supply ..................7 Memory Card ..................8 Preparation ....................9 Activation .................... 10 Starting Your Device ............... 11 Installation ..................13 Configuration ..................15 Verification ..................16 Tool – Accessories – Options ............17 Transferring Files to a Computer .......... -
Page 4: Components
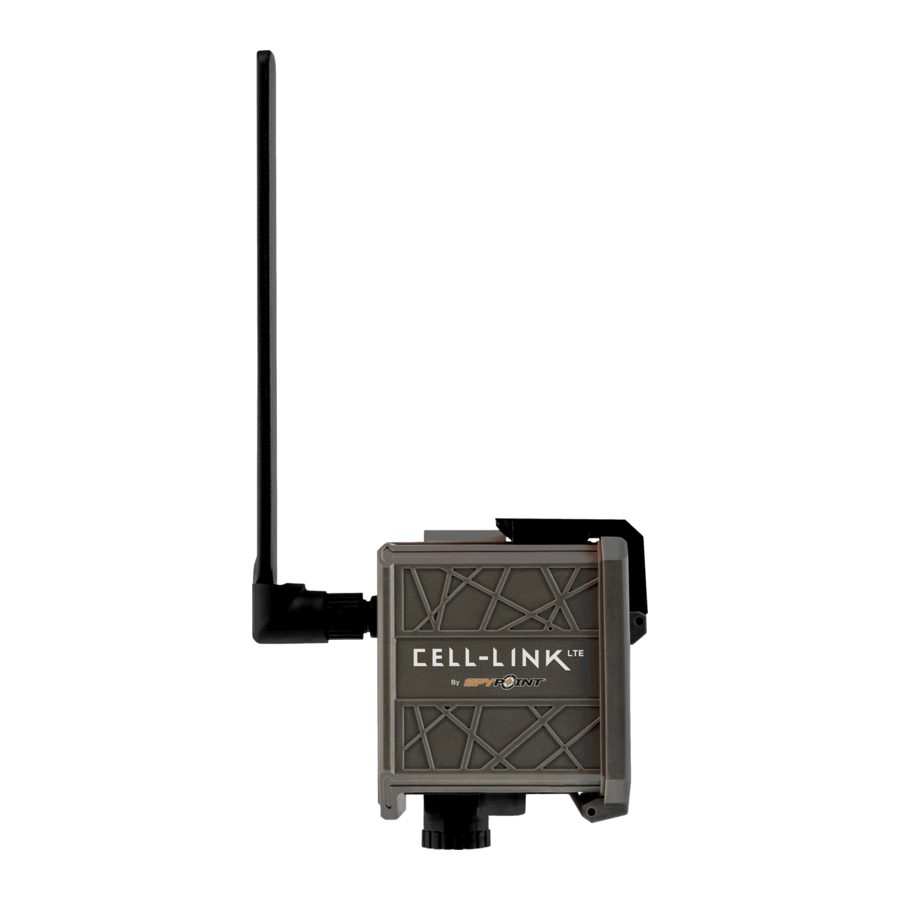
Components SPYPOINT CELL-LINK Cable with SD adapter (#CL-CBL) Battery compartment Antenna Slot for mounting strap AA battery holder Port for cable with SD adapter Cable lock hole STATUS light 12 V jack SIGNAL lights (5) ON/OFF switch Locking latch SIM card slot... - Page 5 SPYPOINT CELL-LINK CABLE WITH SD ADAPTER (#CL-CBL) AA BATTERY HOLDER Links the CELL-LINK to your camera to allow file transfer from one to Removable device in which the 8 AA batteries are inserted the other. (not included with the device).
-
Page 6: Features
Transmission of your photos to your SPYPOINT application by cellular network. VIEWING Photo transmission Visit www.spypoint.com/plans to choose On the SPYPOINT app or on the website www.spypoint.com/en/manage a plan that suits you. POWER SOURCES PHOTO RECORDING Alkaline or lithium AA batteries 8 x AA (not included) Refer to the camera. -
Page 7: Power Supply
NOTE other cable end to the 12 V battery. We recommend using the SPYPOINT #LIT-10 rechargeable lithium battery pack, MANAGING VARIOUS DEVICE POWER SUPPLY sold separately. It provides a long charge time, more than double that of AA batteries. -
Page 8: Memory Card
A memory card is necessary to save the photos and videos that the camera transmits to the CELL-LINK. When your camera is connected to the CELL-LINK, the photos and videos taken by the camera will be saved The CELL-LINK is equipped with continuous file in their original format (defined by your camera) on the microSD card of the CELL-LINK. -
Page 9: Preparation
When buying the CELL-LINK, the antenna comes in the box and is detached from the device. To attach it, follow the next steps: You have to activate your CELL-LINK before you can use it. To do so, you will need the activation code. -
Page 10: Activation
“REGISTER”, fill out the required fields, then log in. 2. Select the + sign on the far right of the page; in the list, select “CELL-LINK” then follow the steps. 3. When complete, a confirmation email with instructions on how to finalize the creation of your account will be sent to you. -
Page 11: Starting Your Device
Therefore, we recommend that you choose a low-resolution operating mode for your camera. The CELL-LINK is designed to add cellular functionality to a camera (all brands). Cellular transfer functionality of videos is not supported by the CELL-LINK. Therefore, it can’t be used on its own. It must be connected to a camera with... - Page 12 X LED are fixed = indicates the cellular signal. This can take a few minutes. strength of the signal. Good to + (1-3) excellent signal Weak signal Insufficient signal The process lasts 30 s, after which the CELL-LINK is operational.
-
Page 13: Installation
INSTALLING AND CONNECTING THE CELL-LINK 5. Run the cable behind the camera and upwards To connect the SPYPOINT CELL-LINK to your trail camera from any brand, so that the end of the cable sticks out of the follow these steps. - Page 14 Run a test to make sure everything works properly. • Make a movement in front of your camera so that it takes a photo. • The STATUS LED should turn green, indicating that the CELL-LINK is communicating with the cellular network.
-
Page 15: Configuration
SPYPOINT CELL-LINK CONFIGURATION Use the SPYPOINT app to configure your device. Allows you to choose the time when the device makes its first transfer of the day. FIRST TRANSFER TIME Note: the device transfers are configured by default with 4-hour intervals, determined from the time you All possible combinations activated your device. -
Page 16: Verification
VERIFYING DEVICE STATUS Different tools are available to help you check the status of your Here are the different indicators of the CELL-LINK status you have access to. CELL-LINK and to inform you of any problems that may occur They are accessible on your app or on the SPYPOINT website. -
Page 17: Tool - Accessories - Options
To make sure you use your trail device in an optimal way, that it precisely • View and sort your photos. meets your needs, and that you have better success as a hunter, SPYPOINT For more information, visit offers you a range of very useful additional digital features. -
Page 18: Transferring Files To A Computer
Transferring Files to a Computer SPYPOINT CELL-LINK TRANSFERRING FILES TO A COMPUTER ON A MAC • Turn the device OFF. Click on the search tool in the “Toolbar”. Locate your device under the “Devices” tab and click to access it. Then click on “DCIM” and “100DSCIM”... -
Page 19: Offered Accessories
CELL-LINK 12 V BATTERY, CHARGER & HOUSING KIT LONG RANGE CELLULAR ANTENNA Compatible with all SPYPOINT devices with a Boosts the cellular signal. 15 feet (4.57 meters) 12 V socket. Case, AC charger, 12 ft (3.6 meters) cable. No external power source necessary. -
Page 20: Troubleshooting
Issue with taking photos 6. Check if there is a message in your app, in the Photos section. You will receive a notification if your CELL-LINK is active, but has not received photos from the camera. Under these conditions, it is normal that your applica- tion does not contain new photos. - Page 21 Troubleshooting SPYPOINT CELL-LINK ISSUES POSSIBLE SOLUTIONS 1. Verify the coverage area of the cellular network to make sure it reaches your area. 2. Move your device to other locations to search for a stronger signal. THE DEVICE IS NOT RECEIVING A CELLULAR SIGNAL 3.
-
Page 22: Warranty And Preparation
INSTRUCTIONS FOR REPAIR SERVICES and it should be sent to: CANADA UNITED STATES SPYPOINT will repair the product, free of charge, or replace it at its discretion SPYPOINT DISTRIBUTION CENTER by an equivalent product, if it has a manufacturing defect covered by the warranty described above. -
Page 23: Regulation
Regulation SPYPOINT CELL-LINK FCC REGULATION DISPOSAL Article 15 of the FCC regulation ONLY USE ORIGINAL SPARE PARTS AND ACCESSORIES. This equipment has been tested and found to comply with the limits for a class If, one day, your device has been used so intensively that it has to be replaced,... -
Page 24: Frequency
Frequency SPYPOINT CELL-LINK FREQUENCY FREQUENCY RANGE: 800/850/900/1900/2100 MHz MAXIMUM TRANSMISSION POWER: FREQUENCY MAX. GSM850 33 DBM ± 2 DB EGSM900 33 DBM ± 2 DB DCS1800 30 DBM ± 2 DB PCS1900 30 DBM ± 2 DB GSM850 (8-PSK) 27 DBM ± 3 DB EGSM900 (8-PSK) 27 DBM ±...
Need help?
Do you have a question about the CELL-LINK and is the answer not in the manual?
Questions and answers