Table of Contents
Advertisement
Available languages
Available languages
Quick Links
Advertisement
Table of Contents

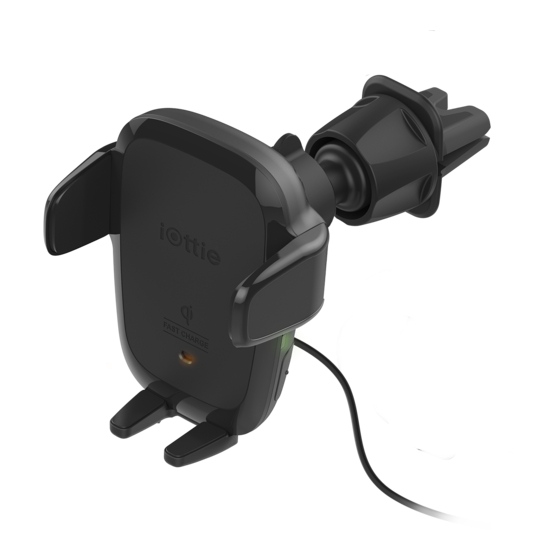
Summary of Contents for iOttie Auto Sense
- Page 1 Auto Sense Dash and Windshield Mount Manual • Guide • Manuale • Handbuch • Manual...
-
Page 2: Getting Started
S10, S10+, Note9+, and Google Pixel 3. Qi Wireless Charging in Vehicle Use the included iOttie Car Charger and Micro USB Cable. If you do use a third party car charger, use a Qualcomm Quick Charge 2.0 or equivalent adapter to receive a wireless charge (with compatible devices). -
Page 3: Installation
Installation Option B Windshield Installation or Curved Glass Installation 1. Assembling the Mount Choose a location on the windshield and wipe any dust or debris from the surface. STICKY SUCTION CUP A. Connect the Mount Cradle with B. Then, tighten the Cradle Knob. the Ball Joint. -
Page 4: Adjusting The Mount
Using the Auto Sense Mechanism Adjusting the Mount Once it is unplugged or car is turned off, the Auto Sense’s internal battery keeps a charge for up to one hour. Mounting and Charging 90% Charged 1. Foot Knob Out of box, the foot knob is set to Move the knob down until laser regular sized phones. - Page 5 LENGTH 2.96" with Qi coils. The Qi coil on the mount is located at the top, above the iOttie logo. WIDTH 2.75" Please follow the guide below to line up your phone with the device for an optimal wireless charging.
- Page 6 USB Chargement sans fil Qi dans un véhicule Utilisez le chargeur de voiture iOttie et le câble micro USB fournis. Si vous utilisez un chargeur de voiture tiers, utilisez un Qualcomm Quick Charge 2.0 ou un adaptateur équivalent pour recevoir une charge sans fil (avec des...
-
Page 7: Connexion De L'alimentation
Installation Option B Installation sur pare-brise ou installation sur verre incurvé 1. Assemblage du montage Choisissez un emplacement sur le pare-brise et éliminez toute poussière ou débris de la surface. STICKY SUCTION CUP A. Connectez le support de montage B. Serrez ensuite le bouton avec la rotule d’attelage. - Page 8 L’utilisation du mécanisme de Ajustement de l’assemblage détection automatique Le montage et le chargement Une fois que le mécanisme de détection automatique est débranché ou que la voiture est allumée, la batterie interne de ce mécanisme garde une charge pendant une période allant jusqu’à une heure 90% Charged 1.
- Page 9 à un bon alignement avec les bobines Qi. LARGEUR 2.75" La bobine Qi sur le support se situe en haut, au-dessus du logo iOttie. Veuillez suivre le guide suivant pour aligner votre téléphone avec le HAUTEUR 3.74"...
- Page 10 Micro USB Caricabatteria Wireless Qi per auto Utilizzare il caricabatteria per auto e il cavo Micro USB di iOttie in dotazione. Se si utilizza un caricabatteria per auto di terzi, utilizzare un Qualcomm Quick Charge 2.0 o un adattatore equivalente per ricevere una ricarica wireless (con...
-
Page 11: Installazione
Installazione Opzione B L’Instalazione sul parabrezza o vetro curvo 1. Il montaggio del supporto Scegliere una posizione sul parabrezzo e asciugare la polvere o i detriti dalla superficie. STICKY SUCTION CUP A. Collegare la base del supporto B. Poi, stringere la manopola con il giunto sferico. - Page 12 3. I tasti ai lati del dispositivo possono aprire e chiudere le braccia. E’ possibile premerne uno o entrambi. • L’Auto Sense funziona tramite cavo micro USB o a batteria. Non vi è alcun tasto di 3. Manopola telescopico 4. Manopola girevole accensione o di spegnimento sul dispositivo.


Need help?
Do you have a question about the Auto Sense and is the answer not in the manual?
Questions and answers