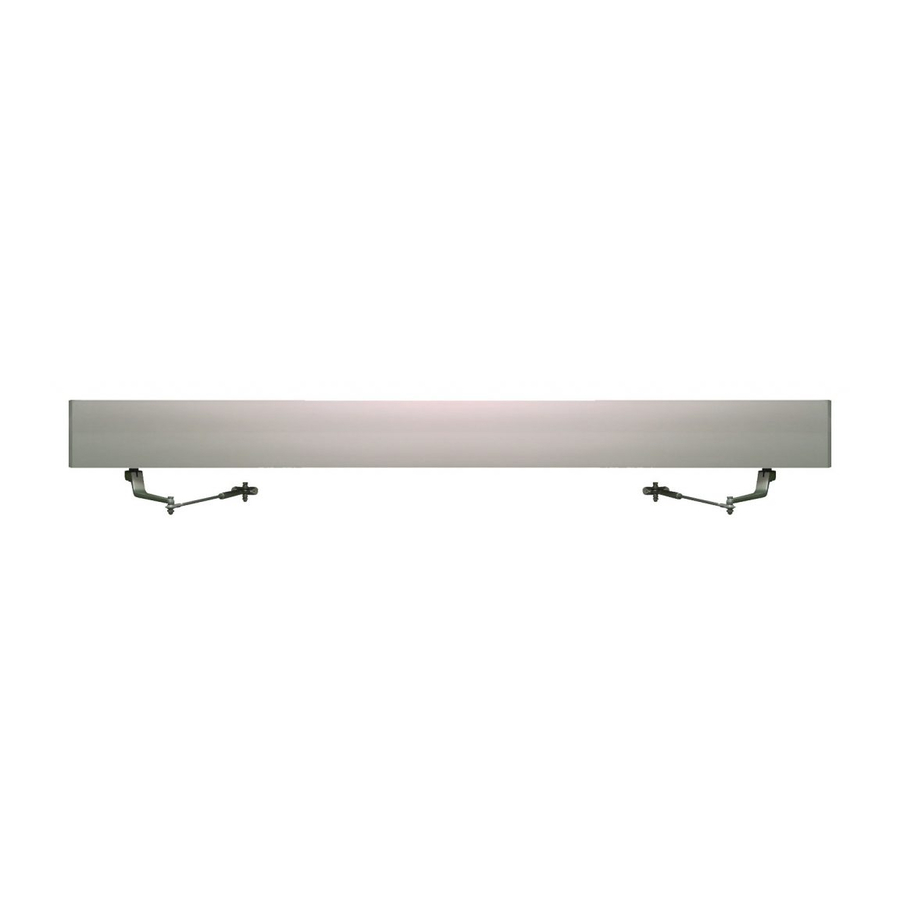
Detex AO19 Instructions Manual
Low energy automatic door operator, twin door-push
Hide thumbs
Also See for AO19:
- Installation manual (9 pages) ,
- Quick install manual (2 pages) ,
- Repair manual (7 pages)
Advertisement
830-629-2900 / 800-729-3839 / Fax 800-653-3839 / Text photos only: 830-481-6433 / INTERNET: www.detex.com
DETEX Low Energy Automatic Door Operator, Twin Door-Push (AO19-2 )
Drawing: 104700
Table of Contents
Device parts breakdown view...............................................................
Parts list................................................................................................
Hardware List with part numbers & tools required................................
Caution notice, Device description........................................................
Inspection, Front cover removal & Hanger plate prep...........................
Hanger plate installation, Opener installation........................................
120VAC connections, Push arm installation..........................................
Motor-Gearbox installation.....................................................................
Door foot installation, Rod Adjustment..................................................
Low voltage connections.......................................................................
Switch description & location.................................................................
Decal description & location...................................................................
Should you have a Question/Problem with your Detex device please call Detex Technical Support
from the job site at 1-800-729-3839 and choose option 2 on our menu. Please do not return the
product to the distributor.
For WARRANTY information,
scan code below or
go to www.detex.com/warranty
Detex Corporation, 302 Detex Drive, New Braunfels, Texas 78130-3045
Owner's Copy
104852 Page 1
104852 September 28, 2020
For device installation videos,
scan code below or
go to www.detex.com/videos
F
Page
2
3
4
4
5
6
7
8
9
10
11
12
Advertisement
Table of Contents

Summary of Contents for Detex AO19
- Page 1 104852 September 28, 2020 Detex Corporation, 302 Detex Drive, New Braunfels, Texas 78130-3045 830-629-2900 / 800-729-3839 / Fax 800-653-3839 / Text photos only: 830-481-6433 / INTERNET: www.detex.com DETEX Low Energy Automatic Door Operator, Twin Door-Push (AO19-2 ) Drawing: 104700 Table of Contents Page Device parts breakdown view...............
- Page 2 3b or (Front cover 10 removed for clarity) 8KIT 2KIT Push Spline length: 1-1/4" Note: Push & Pull gearbox assemblies are NOT INTERCHANGABLE 104852 Page 2...
- Page 3 Cover, AO19, Aluminum finish, 98.75" long (not shown) 12516-15 Cover, AO19, Bronze finish, 98.75" long (not shown) 12516-16 Cable Sync Twin AO19 UDC 1000 (for simultaneous operation device only) 104707 Your particular part or configuration may not be shown: Contact Detex technical support...
-
Page 4: General Conditions
General Conditions The Detex Low Energy Automatic Door Operator is designed for Residential, Commercial and Industrial use. If it is to be retrofitted on to an existing door and frame, it is important that the door is in good condition and swings freely, without restriction. It is also important that the header is sturdy and the operator must be fastened securely using the appropriate fasteners. -
Page 5: Receiving Inspection
Extra screws are provided in the hardware kit for the remaining screw holes when re-installing the cover. Installation Preparation The hanger plate is unique to the Detex Low Energy Automatic Door Operator. It allows the installation to be performed by one person, quickly and efficiently. - Page 6 Bar clamp the hanger plate. Using hanger plate, mark and drill holes into header frame, solid wall or wall stud. Fasten using appropriate type and size screws (Detex recommends using flat head type). Note: Drilling debris accumulated in hanger groove tracks can prevent the operator from seating uniformly when mounting.
- Page 7 Motor-Gearbox Assembly Installation Remove MOTOR-GEARBOX ASSEMBLIES from their cartons and match them to the proper ends of the case: see Receiving Inspection view on page 5. Motors will be marked with a label as either LH PUSH or RH PUSH. With the motor end away and slightly below the open edge of the case, insert the ASSEMBLY shaft through the hole in the bottom of the case (see below).
-
Page 8: Push Arm Installation
120 VAC Connections Have a licensed electrician bring 120 VAC to the Detex Low Energy Automatic Door Operator in accordance with all local and state electrical codes. Be sure the 120 VAC power source is turned off before proceeding. The 120 VAC power line can be run thru the knockout hole at the end of the operator case and into the outlet box provided. - Page 9 Push Arm hardware: (some of the hardware is shipped pre-assembled) 1/4-20 x 1" Sockethead Cap Screw 3/8-24 x 1-3/4" Hex Cap Screw P/N: 12742-1 (Al) 3/8-24 x 1-1/4" Hex Cap Screw P/N: 12739-1 (Al) 12742-2 (Blk) P/N: 12743-1 (Al) 12739-2 (Blk) 12743-2 (Blk) 1/4-20 x 1"...
- Page 10 Low Voltage Activation Connections Before any adjustments can be made the following check must be performed. First the arm must be properly connected to the door leaf. The power must be connected and the switch in the ON position. The door leaf must be fully closed. Examine the UDC 1000 controller.
-
Page 11: Button Location
THE DETEX LOW ENERGY AUTOMATIC DOOR OPERATOR IS TO BE USED WITH APPROVED SWITCHES. You must disconnect all voltage sources before attempting to install an accessory. Typically you will use a wall mounted, hard wired push button for activation. You must provide wire from the push button switch to the Control Module inputs. -
Page 12: Decal Application
Decal Application A door shall be marked with a decal, visible from the swing side, with the words The sign shall be mounted on door at a height 58 in. +/- 5 in. from the floor to center line of the sign. The sign shall be a minimum of 6 in.


Need help?
Do you have a question about the AO19 and is the answer not in the manual?
Questions and answers