Advertisement
Table of Contents
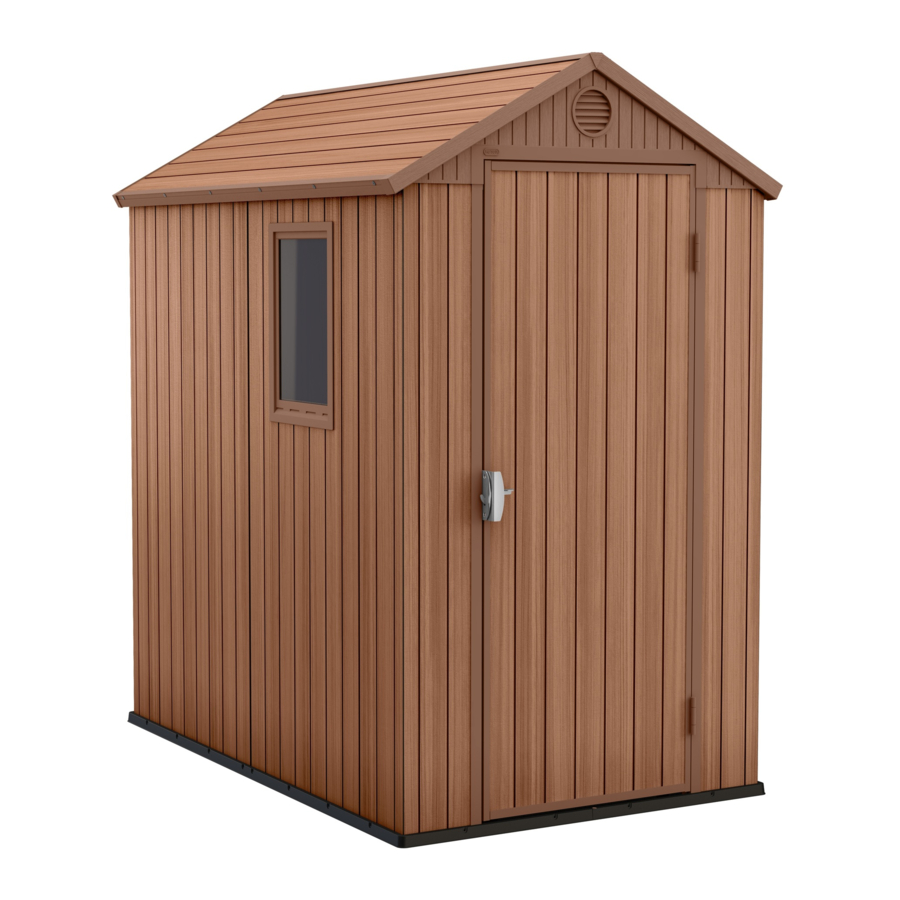
DARWIN 4x6
USER MANUAL | MODE D'EMPLOI | MANUAL DEL USUARIO | GEBRAUCHSANLEITUNG |
GEBRUIKSHANDLEIDING | MANUALE PER L'UTENTE | MANUAL DO UTILIZADOR
WARRANTY ACTIVATION
US, Canada:
Tel: +1-877-638-7056
Fax: +1-704-263-9271
UK: Tel: +44-121-506-0008
Fax: +44-121-422-0808
Spain: Tlf: +34-976-46-00-06
Fax: +34-976-460-281
Other European Countries:
Tel: +31 (0) 161 22 8300
Thank you for your purchase of the Keter shed. In order to activate your warranty,
please log onto our website and fill in the form under warranty activation.
keter.com/en/warrant-activation
SKU: 17209417 | 17208497
WWW.KETER.COM
Advertisement
Table of Contents

Related Manuals for Keter DARWIN 4x6


Summary of Contents for Keter DARWIN 4x6
- Page 1 Fax: +34-976-460-281 Other European Countries: Tel: +31 (0) 161 22 8300 Thank you for your purchase of the Keter shed. In order to activate your warranty, WARRANTY ACTIVATION please log onto our website and fill in the form under warranty activation.
- Page 2 FLOOR ASSEMBLY | MONTAGE DU SOL | ARMADO DEL PISO | MONTAGE DER BODENPLATTE | VLOERMONTAGE | MONTAGGIO DEL PAVIMENTO | MONTAGEM DO PISO (x2) Front | Avant | Delante | Vorderseite | Voorkant | Anteriore | Frente sc12t (x10) sc12t sc12t Front | Avant | Delante | Vorderseite |...
- Page 3 (x1) Front | Avant | Delante | Vorderseite | Voorkant | Anteriore | Frente (x1) Asymmetric Asymétrique Asimétrico Asymmetrisch Asymmetrisch Asimmetrico Assimétrico 10” 9” 10” 9” 10” 9” Front | Avant | Delante | Vorderseite | Voorkant | Anteriore | Frente...
- Page 4 (x1) (x1) Asymmetric Asymétrique Asimétrico Asymmetrisch Asymmetrisch Asimmetrico Assimétrico 10” 9” 10” 9” 10” 9” 10” 9”...
- Page 5 sc12t (x6) sc12t (x1) (x1)
- Page 6 (x1) (x1) sc12t (x3) sc12t sc12t...
- Page 7 sc12t (x16) sc12t WT (x2) S45b (x2) S45b...
- Page 8 sc15t (x4) (x2) sc15t CHOOSE THE LOCATION OF THE DOOR | CHOISISSEZ L'EMPLACEMENT DE LA PORTE | ELIJA LA UBICACIÓN DE LA PUERTA | WÄHLEN SIE DEN ORT, AN DEM DIE TÜR EINGEBAUT WERDEN SOLL | KIES DE LOCATIE VAN DE DEUR | SCEGLIERE LA POSIZIONE DELLA PORTA | ESCOLHA O LOCAL DA PORTA...
- Page 9 WINDOW ASSEMBLY | MONTAGE DE LA FENÊTRE | VENTANA DEL TECHO | FENSTERHMONTAGE | RAAMMONTAGE | MONTAGGIO DE LA FINESTRA | MONTAGEM DO JANELA f-out (x1) (x1) (x1) f-out...
Need help?
Do you have a question about the DARWIN 4x6 and is the answer not in the manual?
Questions and answers
Como armar un deposito 4x4??
To assemble a Keter DARWIN 4x6 storage shed, follow these steps:
1. Prepare the Site: Level the ground surface and construct a wooden or concrete base as a foundation.
2. Gather Tools: Use an electric screwdriver for assembly.
3. Team and Time: The assembly requires two people and takes approximately two hours.
4. Follow Instructions: Refer to the assembly manual for step-by-step guidance.
5. Watch Video: An assembly video is available for additional assistance.
Ensure all parts are securely fastened and properly aligned during assembly.
This answer is automatically generated