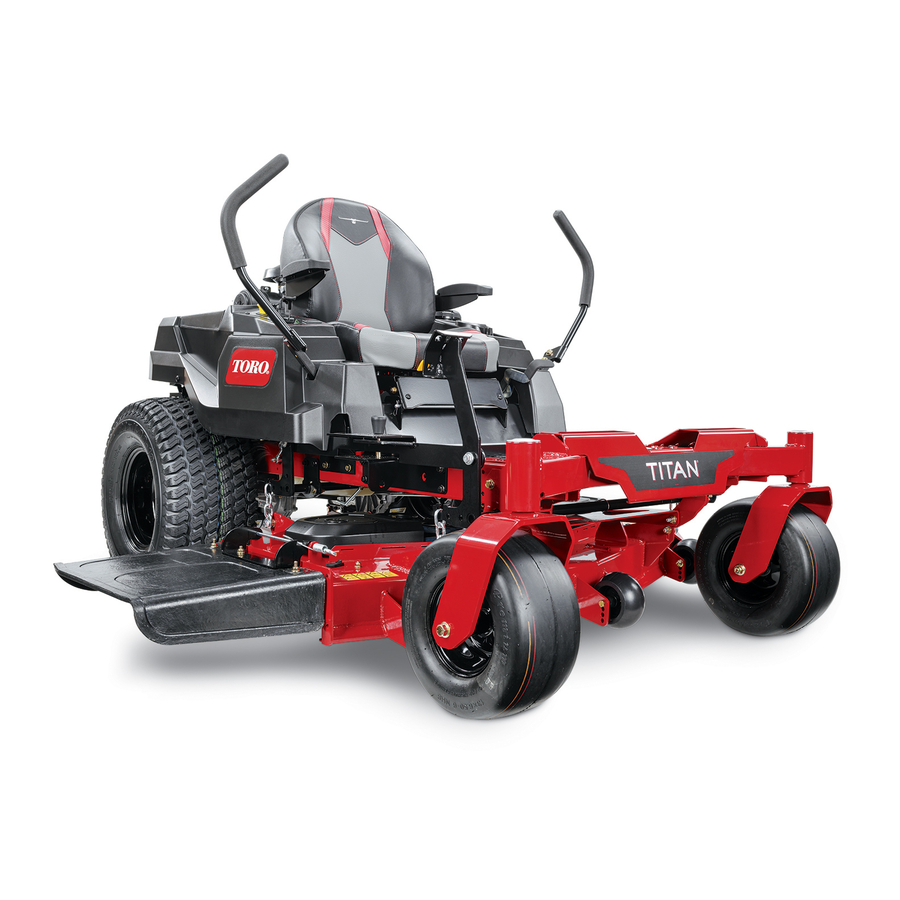
Toro TITAN Installation Instructions
Zero-turn-radius riding mower
Hide thumbs
Also See for TITAN:
- Service manual (121 pages) ,
- Operator's manual (36 pages) ,
- Setup instructions (8 pages)
Advertisement
Quick Links
ROPS Conversion Kit
TITAN
Model No. 130-6850
This product contains a chemical or chemicals known to the State of California to
Installation
Loose Parts
Use the chart below to verify that all parts have been shipped.
Description
Pivot bracket
Rubber bumper
Spacer
Round spacer
Pin assembly
Nut (5/16 inch)
Installing the ROPS Parts
1. Remove the existing side brackets on the ROPS. Save
the nuts and bolts for installing the new brackets.
2. Install the rubber bumpers to the lower part of the
ROPS with 2 nuts (5/16 inch) (Figure 1).
3. Install the pivot brackets and spacers to the upper part
of the ROPS with the previously removed nuts and
bolts (Figure 1).
4. Install the upper part of the ROPS, round spacer, and
pin assembly to the lower part of the ROPS with the
previously removed nuts and bolts (Figure 1).
5. Torque all nuts and bolts to 40.7 to 49.7 N-m (360 to
440 in-lb).
© 2014—The Toro® Company
8111 Lyndale Avenue South
Bloomington, MN 55420
®
Zero-Turn-Radius Riding Mower
WARNING
CALIFORNIA
Proposition 65 Warning
cause cancer, birth defects, or reproductive harm.
Qty.
4
2
4
2
2
2
Register at www.Toro.com.
Install the ROPS Parts
Original Instructions (EN)
All Rights Reserved *3383-520* A
Printed in the USA.
Form No. 3383-520 Rev A
Installation Instructions
Use
Advertisement

Summary of Contents for Toro TITAN
- Page 1 ROPS with the previously removed nuts and bolts (Figure 1). 5. Torque all nuts and bolts to 40.7 to 49.7 N-m (360 to 440 in-lb). © 2014—The Toro® Company Register at www.Toro.com. Original Instructions (EN) All Rights Reserved *3383-520* A 8111 Lyndale Avenue South Printed in the USA.
- Page 2 Figure 1 1. Upper part of the ROPS 5. Washer 9. Lower part of the ROPS 2. Rubber bumper 6. Bolt 10. Nut (5/16 inch) 3. Spacer 7. Round spacer 4. Pivot bracket 8. Pin assembly...
- Page 3 Operation 3. Install the locking pins. Secure the pins by installing the hair cotter pin (Figure 3). G015035 Using the Rollover Protection System (ROPS) WARNING To avoid injury or death from rollover: keep the roll bar in the raised locked position and use the seat belt.


