Advertisement
Quick Links
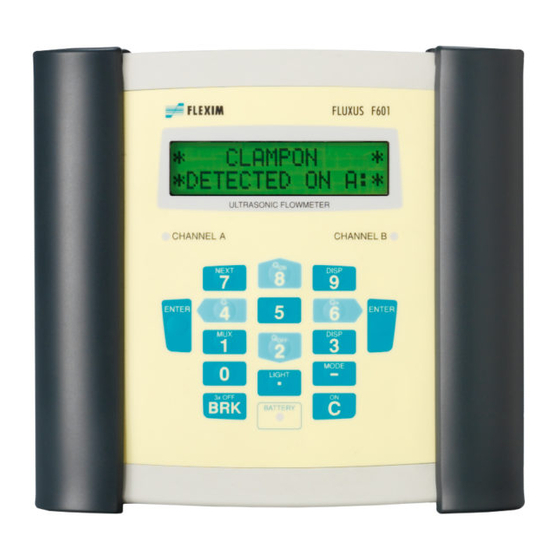
Simplified Installation of the FLUXUS F601 Ultrasonic Flowmeter
These few pages will guarantee your success. If you decide to install the F601 without
our free telephone support, please follow these steps closely. If you have ANY
questions, don't waste your valuable time; give us a call; we can answer your questions
in seconds.
F601 Keyboard Functions
• Switch the transmitter ON by pressing the "C" key
• Make Vertical selections by pressing the "2" or "8" keys
• Make Horizontal selections by pressing the "4" or "6" keys
• Return to the Main Menu by pressing the "BRK" key
• To Delete any entry, press the "C" key
• Switch the F601 OFF by pressing the "BRK" key 3 times
Choose the Appropriate Installation Site
Connect your Transducers to the F601
The red point on the connector must align with the red marking on
the socket. Remove the connector by pulling at the knurled surface.
Please connect your transducers before beginning the programming
below.
Follow these Steps to Program your F601
Programming your F601 will require 3 simple steps:
• Install Pipe and Fluid
• Program the
• Enter the
Call us Toll Free at 866-337-4356
Place your F601 within transducer cable distance of your
measurement site, or use a transducer extension cable as needed.
If you are unsure about choosing the exact mounting site on your
unique pipes, please refer to a FlowRental document titled
"Selecting a Transducer Installation Site" appended to these
instructions.
PARAMETERS
OUTPUT
Options
MEASURING
mode and begin your measurements
Page 1 of 5
Advertisement

Related Manuals for Flexim FLUXUS F601


Summary of Contents for Flexim FLUXUS F601
- Page 1 Simplified Installation of the FLUXUS F601 Ultrasonic Flowmeter These few pages will guarantee your success. If you decide to install the F601 without our free telephone support, please follow these steps closely. If you have ANY questions, don’t waste your valuable time; give us a call; we can answer your questions in seconds.
-
Page 2: Entering Parameters
Entering PARAMETERS 1) Press the key to return to the Main Menu then the >PAR< key to place the carrots around the par menu Parameters selection and “Parameters” will appear on the lower line, ENTER then press either of the keys. - Page 3 Entering Output Options The next step in programming your F601 will be programming the data display and storage details Output Options under >OPT< >OPT< 10) Using the keys, place the carrots around Output Options Output Options Enter ) then press Channel A 11) The following screen offers you the choice of Output Options...
- Page 4 Entering the MEASURING Mode >MEA< >MEA< 18) Using the keys, place the carrots around MEASURING MEASURING Enter ) then press 19) A Check Mark ( ) under a Channel indicates this channel will be making measurements. Use the keys to CHANN: >A<...
-
Page 5: Mounting The Transducers
Mounting the Transducers Mounting your transducers onto the pipe can be a simple process depending upon the method of attachment. Magnetic Mounts Graduated Bar with can be used on steel pipes with great success. Ensure the Transducer Distance Graduated Bar Chains is fixed with the .
Need help?
Do you have a question about the FLUXUS F601 and is the answer not in the manual?
Questions and answers