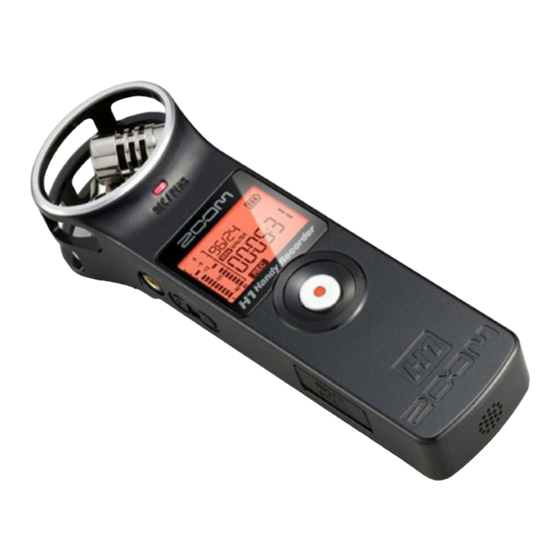
Zoom H1 Setting Up
Handy recorder
Hide thumbs
Also See for H1:
- Quick start manual (15 pages) ,
- Operating (5 pages) ,
- Basic instructions (3 pages)
Advertisement
Setting Up the Zoom
1. Unpacking the Zoom H1 Recorder
The Zoom H1 Handy Recorder box contains:
o The recorder
o 1 AA battery
A clear plastic case with a microSD memory card and adapter
o
o A quick start manual
2. Inserting the Battery
To open the battery case:
Press down on the ridged section of the battery cover.
Slide the battery cover to the right.
When the cover is off:
Insert one AA battery.
(+ end to the bottom of the recorder)
Replace the battery case cover.
for Message Banking
Contents
1. Unpacking the Zoom H1 Recorder .............
2. Inserting the battery ..................................
3. Inserting the MicroSD memory card ............
4. Selecting the best recording settings ..........
5. Setting the sample rate and bit depth ........
H1
Handy Recorder
Page
1
1
2
2-4
4
Advertisement
Table of Contents

Related Manuals for Zoom H1


Summary of Contents for Zoom H1
- Page 1 Handy Recorder for Message Banking Contents Page 1. Unpacking the Zoom H1 Recorder …………. 2. Inserting the battery ……………………………. 3. Inserting the MicroSD memory card ………... 4. Selecting the best recording settings ………. 5. Setting the sample rate and bit depth ……..
- Page 2 The microSD card is where your message bank recordings are stored within the recorder. Without it, you can only record and save one message. Using the microSD card included with the Zoom H1, you can store 2 gigabytes (GB) of files (.wav recordings of up to a total duration of 3 hours).
- Page 3 Slide the switch all the way across to the right to ON. To make sure this setting has been selected: There is no screen icon for AUTO LEVEL, but when the Zoom H1 is in this mode it automatically adjusts the loudness level of the recording, you cannot manually adjust it.
- Page 4 Setting the Sampling Rate and Bit Depth When the Zoom H1 is not in play or record mode, use the back and forward buttons on the right side to set the sampling rate and bit depth to 48 kHz, 16 bits.
Need help?
Do you have a question about the H1 and is the answer not in the manual?
Questions and answers