Table of Contents
Advertisement
Quick Links
Model
Q-SHIELD 30-C
Q-SHIELD 150-C
Q-SHIELD 200-C
Q-SHIELD 350-C
Q-SHIELD 400-C
Q-SHIELD 500-C
Q-SHIELD 800-C
Q-SHIELD 900-C
Download the latest version of this document at
http://www.desouttertools.com/info/6159929580_EN
Read all safety warnings and instructions
Failure to follow the safety warnings and instructions may result in
electric shock, fire and/or serious injury.
Save all warnings and instructions for future reference
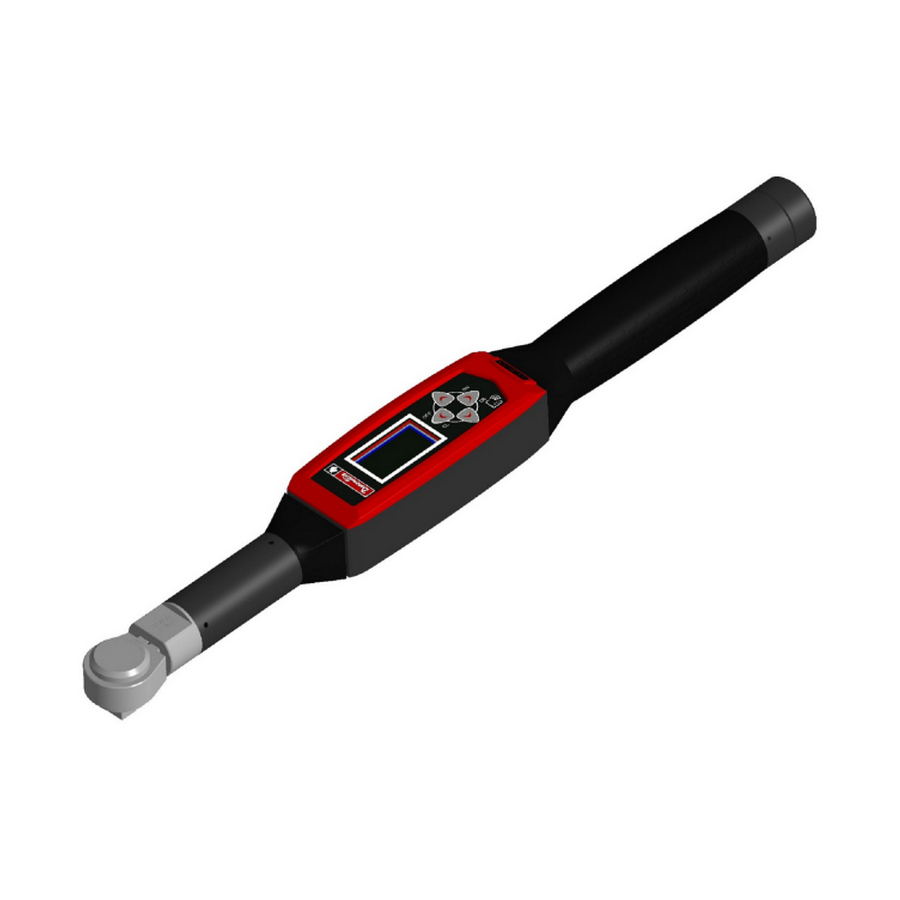
Q-SHIELD Connected
Product Instructions
Part number
6159352000
6159352010
6159352020
6152210370
6159352030
6159352040
6159352050
6159352060
WARNING
Printed Matter No. 6159929580_EN
Issue No.
01
Date
10/2020
Page
1 / 24
Advertisement
Table of Contents

Related Manuals for Desoutter Q-SHIELD 30-C


Summary of Contents for Desoutter Q-SHIELD 30-C
- Page 1 Printed Matter No. 6159929580_EN Issue No. Date 10/2020 Page 1 / 24 Q-SHIELD Connected Product Instructions Model Part number Q-SHIELD 30-C 6159352000 Q-SHIELD 150-C 6159352010 Q-SHIELD 200-C 6159352020 Q-SHIELD 350-C 6152210370 Q-SHIELD 400-C 6159352030 Q-SHIELD 500-C 6159352040 Q-SHIELD 800-C 6159352050...
-
Page 2: Table Of Contents
Table of Contents Product Information .......................... 4 General Information......................... 4 Website .......................... 4 Information about spare parts .................... 4 Overview ............................ 4 General description ...................... 4 Technical information ...................... 4 Storage and use conditions.................... 4 WLAN........................... 5 Regulatory domain ....................... 5 Torque range........................ 6 Dimensions .......................... 7 Weight .......................... 7 Battery.......................... 7 Display .......................... 8 Keyboard.......................... 9 Vibration .......................... 9 MIni USB port........................ 10... - Page 3 Running a VDI-VDE 2648 test (Calibration purpose)............ 18 Service.............................. 19 Maintenance Instructions ...................... 19 Cleaning .......................... 19 Calibration .......................... 19 Battery maintenance ...................... 19 Running a Diagnostic test .................... 19 Running the Manual Zero Adjustment process .............. 19 Troubleshooting .......................... 21 “Error Zeroing Torque” is displayed on the Q-SHIELD screen at the power ON...... 21 “Error Zeroing Gyro”...
-
Page 4: Product Information
► Save all Safety Information and instructions for future reference. ► Website Information concerning our Products, Accessories, Spare Parts and Published Matters can be found on the Desoutter website. Please visit: www.desouttertools.com. Information about spare parts Exploded views and spare parts lists are available in Service Link at www.desouttertools.com. -
Page 5: Wlan
Product Information • Environmental Class: II • Pollution Degree: 2 • IP Grade according to EN IEC 60529 (except connector): IP40 • Operation to reduced specification over a temperature range of -10 °C to 60 °C • Atmospheric humidity: 10% to 75% (non-condensing) •... -
Page 6: Torque Range
Product Information Radio ETSI Channel band North America Europe Worldwide U-NII-1 U-NII-2 Ext U-NII-3 Torque range Model Minimum [Nm] Maximum [Nm] Overload [Nm] Q-SHIELD 30 Q-SHIELD 150 Q-SHIELD 200 Q-SHIELD 350 Q-SHIELD 400 Q-SHIELD 500 Q-SHIELD 800 Q-SHIELD 900 1080 Table 1: Torque range in Nm Model Minimum [ft lb]... -
Page 7: Dimensions
Product Information Dimensions MODEL A [mm] B [mm] C [mm] D [mm] E [mm] Q-SHIELD 30 320.3 38.5 9×12 Q-SHIELD 150 342.5 38.5 14×18 Q-SHIELD 200 552.5 38.5 14×18 Q-SHIELD 350 625.5 38.5 14×18 Q-SHIELD 400 1028 38.5 14×18 Q-SHIELD 500 1137 1100 38.5... -
Page 8: Display
Product Information If the Q-SHIELD is connected, the battery life may change depending on the quantity of messages sent during connection. Display The Q-SHIELD display allows viewing the menus, and shows in real time the torque and the angle during the tight- ening operation: Illustration 1: Display in Pset mode WLAN connection... -
Page 9: Keyboard
Product Information WLAN connection Torque Pset name Peak Battery Angle Progressive bar Assembly process number : Pset number Batch count / Batch size Warning icon Tightening direction • WLAN (A): it indicates the status of the wireless connection: • WLAN icon: connected. •... -
Page 10: Mini Usb Port
NECT. For more information, refer to the CVI CONFIG Configuration manual and to the CONNECT Product In- structions. The mini USB port is also used for firmware upgrade (reserved to authorized Desoutter Service Personnel). Calibration certificate Q-SHIELD has a Desoutter factory calibration certificate, please contact Desoutter Service for the specific calibra- tion certificate. - Page 11 BITS HOLDER FIXED SQUARE DRIVE End-fitting tools / Extensions Use only end-fitting tools supplied by Desoutter (refer to the catalogue). WARNING Crushing Hazard Never install wrong end-fitting tools and/or extensions on the wrench. Wrong end-fitting tools and/or extensions can lead to a sudden mechanical release, which causes severe bodily injury.
-
Page 12: Installation
Installation Installation Installation Instructions Installing/removing the battery To install the battery in the Q-SHIELD: Unscrew the battery cap placed on the Q-SHIELD handle. Insert the battery into the handle. Reinstall the battery cap. To remove the battery from the Q-SHIELD: Power OFF the Q-SHIELD. - Page 13 Installation LEDs status POWER ON CHARGING COMPLETE Charging complete Over temperature Blinking Error In case of over temperature: Remove the battery from the battery charger. Unplug the battery charger from the socket. Wait a few minutes. Plug the battery charger into the socket and insert the battery into the battery charger. Verify that the problem is solved.
-
Page 14: Operation
Operation Operation Configuration Instructions How to connect the tool to CVIMONITOR Power ON the Q-SHIELD. Use the mini USB port of the tool to connect the Q-SHIELD to the USB port of the computer. Launch CVIMONITOR on the computer. For further information, refer to the CVI CONFIG Configuration manual. How to set up Psets and Assembly Processes To create Psets and Assembly Processes and transfer them to the Q-SHIELD, refer to the CVI CONFIG Configura- tion manual. -
Page 15: How To Set The Demo Mode Unit Of Measurement
Operation How to set the Demo mode unit of measurement From the main menu of the Q-SHIELD, select Settings > Demo mode unit. Browse the available unit of measurements and press the ENTER ( ) button on the Q-SHIELD keyboard to confirm the selection. -
Page 16: Running A Track Demo Test
Operation Starting from the Min. Load value, the Q-SHIELD displays the torque and angle values in real time. Once reached, the peak torque value is frozen on the display. Illustration 3: Torque vs Time Displayed torque Applied torque Minimum load A new cycle starts when the applied torque is released, and then applied again over the Min. Load of the Q-SHIELD (which corresponds to 1% of the Q-SHIELD capacity). -
Page 17: Running A Tightening Demo Test
Operation Illustration 4: Torque vs Time Torque can be applied in either the clockwise (positive torque) or counterclockwise (negative torque) direction. By pressing the ENTER ( ) button on the keyboard, the Q-SHIELD runs a torque zero adjustment. The zero adjustment is applied only for the current test; it is not applied as a global zero reference for the Q- SHIELD. -
Page 18: Running A Vdi-Vde 2648 Test (Calibration Purpose)
Operation • Press CANCEL ( ) → the Q-SHIELD exits from the test. Running a VDI-VDE 2648 test (Calibration purpose) This feature is protected by password. Please refer to How to enter password [Page 14] section. The Calibration mode is available only for Q-SHIELD used in Disconnected mode. To start the angle calibration according to VDI-VDE 2648 standard, from the main menu of the Q-SHIELD select the Calibration mode >... -
Page 19: Service
Avoid using harsh detergents to clean the Q-SHIELD. Calibration The Q-SHIELD must be calibrated at least once a year. Contact Desoutter Service for calibration. Battery maintenance Keep batteries in a good working order. Avoid fully discharging the battery. During normal use, recharge the battery when it is low. For long term storage (as in the case of spare batteries), cells should be kept within a range of a 30% ±... - Page 20 Service A manual Zero Adjustment is possible at any time when the wrench is already powered ON, and is highly recom- mended in case of an accidental wrench drop or shock. The Zero Adjustment is also a warranty that Torque and Angle measurements are precise (in case of a NOK - restart the process - if you get a NOK systematically get the wrench to maintenance for a complete inspection and eventual calibration).
-
Page 21: Troubleshooting
Troubleshooting Troubleshooting “Error Zeroing Torque” is displayed on the Q-SHIELD screen at the power ON Cause: Q-SHIELD is powered on with a load applied. Solution: Switch off the Q-SHIELD; then, switch on the Q-SHIELD again, without applying any torque. “Error Zeroing Gyro” is displayed on the Q-SHIELD screen at the power ON Cause: Q-SHIELD has been moved during the power on phase. -
Page 22: Recycling
Recycling Recycling Environmental Regulations When a product has served its purpose it has to be recycled properly. Dismantle the product and recycle the compo- nents in accordance with local legislation. Batteries shall be taken care of by your national battery recovery organization. Recycling information Part Recycle as... - Page 23 Recycling Part Recycle as Screw Steel Slide display WEEE Transducer end cover Aluminum Screw Steel Ratchet Steel Screw Steel Transducer Steel Wi-Fi module Plastic Screw Steel 10/2020 23 / 24...
- Page 24 Original instructions Founded in 1914 and headquartered in France, Desoutter Industrial Tools is a global leader in electric and pneumatic assembly tools serving a wide range of assembly and manufacturing operations, including Aerospace, Automotive, Light and Heavy Vehicles, Off-Road, General Industry.
Need help?
Do you have a question about the Q-SHIELD 30-C and is the answer not in the manual?
Questions and answers