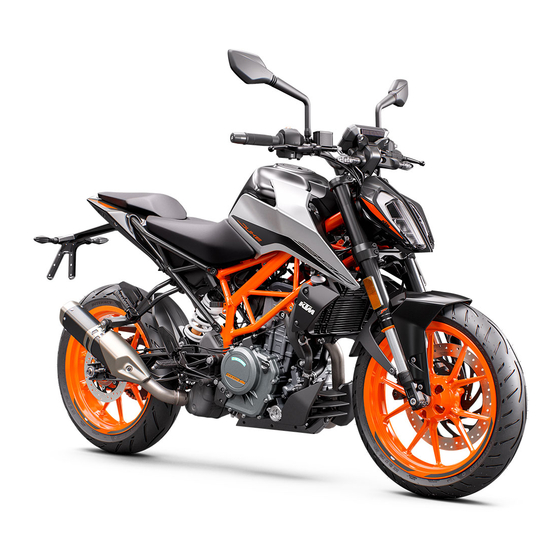
KTM 390 DUKE Setup Instructions
Hide thumbs
Also See for 390 DUKE:
- Owner's manual (182 pages) ,
- Installation instructions manual (17 pages) ,
- Setup instructions (16 pages)
Advertisement
Quick Links
Advertisement

Related Manuals for KTM 390 DUKE


Summary of Contents for KTM 390 DUKE
- Page 1 SETUP INSTRUCTIONS 2021 390 DUKE Art. no. 3214456en...
- Page 3 KTM accepts no liability for delivery options, deviations from fig- ures and descriptions, misprints, and other errors. The models portrayed partly contain special equipment that does not belong to the regular scope of supply.
-
Page 4: Means Of Representation
1 MEANS OF REPRESENTATION Symbols used The meaning of specific symbols is described below. Indicates an expected reaction (e.g. of a work step or a function). Indicates an unexpected reaction (e.g. of a work step or a function). Indicates a page reference (more information is provided on the specified page). Indicates information with more details or tips. - Page 5 SETUP 2 Unpacking and setting up the vehicle – Remove the straps and the box. A00034-10 – Remove the adhesive tape in the upper area of the motorcycle. A00035-10 – Roll down the film at the sides. Info To avoid damaging the motorcycle during unpacking, leave the other films on the vehicle until you have fin- ished work on the vehicle.
- Page 6 2 SETUP The lettering on the handlebar is in the middle of the han- dlebar clamp. – Position all controls in their exact positions on the handlebar. Tighten all screws. A00036-10 – Make sure that the clutch cable is attached to the clutch release lever and secured.
- Page 7 Remove the remaining film, padding, the corrugated card- board, and the other packaging material. – Refuel. ( p. 13) – Check the headlight setting. ( p. 14) – Prepare the vehicle according to the specifications in the KTM Dealer.net for handover to the customer.
- Page 8 3 WORK Checking the clutch lever play Note Clutch damage If there is no free travel by the clutch lever, the clutch will begin to slip. – Check the free travel of the clutch lever each time before using the motorcycle. –...
- Page 9 WORK 3 Removing the passenger seat – Insert the ignition key in seat lock and turn it clockwise. – Raise the rear of the seat, push it towards the rear, and lift it off. – Remove the ignition key from the seat lock. H01991-10 Mounting the passenger seat –...
-
Page 10: Charging The 12-V Battery
3 WORK Mounting the front rider's seat Main work – Attach the front rider's seat in area and lower at the rear. – Finally, check that the front rider's seat is correctly mounted. H01994-01 Finishing work – Mount the passenger seat. ( p. - Page 11 WORK 3 – Remove the front rider's seat. ( p. 7) – Disconnect the negative cable of the 12-V battery. ( p. 9) Main work – Connect a battery charger to the 12-V battery. Adjust the bat- tery charger. EU battery charger XCharge‑professional (00029095050) Alternative 1 US battery charger XCharge‑professional (00029095051)
- Page 12 3 WORK Connecting the negative cable of the 12-V battery Main work – Connect negative cable of the 12-V battery. V01273-10 Finishing work – Mount the front rider's seat. ( p. 8) – Mount the passenger seat. ( p. 7) –...
- Page 13 WORK 3 3.11 Setting the time and date Condition The motorcycle is stationary. – Press the SET button when the menu is closed. – Press the UP or DOWN button until Preferences appears. Press the SET button to open the menu. –...
- Page 14 3 WORK 3.12 Opening fuel tank filler cap Danger Fire hazard Fuel is highly flammable. The fuel in the fuel tank expands when warm and can escape if overfilled. – Do not fuel the vehicle in the vicinity of open flames or lit cigarettes. –...
- Page 15 WORK 3 – Fold down the fuel tank filler cap. – Turn the ignition key 90° clockwise. – Push down the fuel tank filler cap and turn the ignition key counterclockwise until the fuel tank filler cap lock engages. – Remove the ignition key and close the cover.
- Page 16 19) (KTM 390 Duke EU/AU/JP/US, AR/CN/CO, MY/PH) Total fuel tank Gasohol 95 E20 capacity, approx. (RON 95) p. 19) (390 DUKE TH) Total fuel tank Super unleaded, capacity, approx. type C (ROZ 95/RON 95/PON 91) ( p. 19) (390 DUKE BR) V01516-10 –...
- Page 17 WORK 3 3.16 Adjusting the headlight range Preparatory work – Check the headlight setting. ( p. 14) Main work – Turn adjusting screw to adjust the headlight range. Info Turn clockwise to increase the headlight range; turn counterclockwise to reduce the headlight range. If you have a payload, you may have to correct the headlight range.
-
Page 18: Technical Data
4 TECHNICAL DATA Chassis tightening torques EJOT PT Screw, chain guard ® K60x30 7 Nm (5.2 lbf ft) Remaining screws, chassis 4 Nm (3 lbf ft) Remaining nuts, chassis 5 Nm (3.7 lbf ft) Remaining screws, chassis 5 Nm (3.7 lbf ft) Screw, chain guard 7 Nm (5.2 lbf ft) Loctite... - Page 19 TECHNICAL DATA 4 Screw, lower rear panel 7 Nm (5.2 lbf ft) Screw, magnetic holder on side 5 Nm (3.7 lbf ft) Loctite ® 243™ stand Screw, main silencer 12 Nm (8.9 lbf ft) Screw, main silencer retaining 9 Nm (6.6 lbf ft) bracket Screw, protective plate 8 Nm (5.9 lbf ft)
- Page 20 4 TECHNICAL DATA Banjo bolt, brake line 24 Nm (17.7 lbf ft) Fitting side stand 35 Nm (25.8 lbf ft) Loctite ® 243™ Remaining nuts, chassis 45 Nm (33.2 lbf ft) Remaining screws, chassis 45 Nm (33.2 lbf ft) Screw, engine bearer 49 Nm (36.1 lbf ft) Loctite 243™...
- Page 21 SUBSTANCES 5 Gasohol 95 E20 (RON 95) Standard/classification – Gasohol 95 E20 (RON 95) Guideline – Only use super unleaded fuel that matches or is equivalent to the specifications. – Super unleaded fuel with an ethanol content of 19 to 20% is permissible. Info Do not use fuel made of methanol (e.g., M15, M85, M100).
- Page 22 *3214456en* 3214456en 03/2021 KTM Sportmotorcycle GmbH 5230 Mattighofen/Austria Photo: Mitterbauer/KISKA/KTM KTM.com...
Need help?
Do you have a question about the 390 DUKE and is the answer not in the manual?
Questions and answers