Advertisement
Quick Links
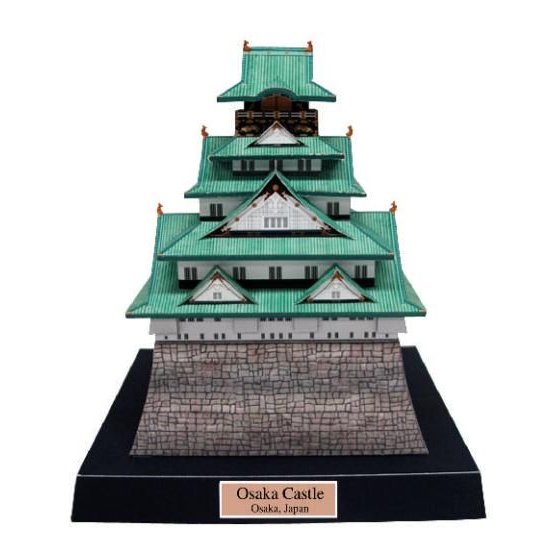
Osaka Castle, Japan : Assembly Instructions
* This model was designed for Papercraft and may differ from the original in some respects.
Assembly Instructions : Seven A4 sheets
* Build the model by carefully reading the Assembly Instructions, in the parts sheet page order.
* Hint:Trace along the folds with a ruler
and an exhausted pen (no ink) to get a sharper, easier fold.
Assembly Instructions
Before starting assembly:Writing the number of each
section on its back side before cutting out the sections is
highly recommended.
(* This way, you can be sure which section is which
even after cutting out the sections.)
(No.1
to No.7)
1
© Canon Inc. © PAOPAO. Inc
Assemble the stone wall.
Attach the opposite side
in the same way.
Indicates where sections should be glued together.
Fold in this direction.
Attach the opposite side
in the same way.
Advertisement

Summary of Contents for Canon Osaka Castle, Japan
- Page 1 Osaka Castle, Japan : Assembly Instructions © Canon Inc. © PAOPAO. Inc Before starting assembly:Writing the number of each Indicates where sections should be glued together. section on its back side before cutting out the sections is highly recommended. Fold in this direction.
- Page 2 Osaka Castle, Japan : Assembly Instructions © Canon Inc. © PAOPAO. Inc Assemble the first level. Assemble the second level. Attach the opposite side in the same way. Attach the opposite side in the same way. Fold in from the back Fold in from the back and glue in place.
- Page 3 Osaka Castle, Japan : Assembly Instructions © Canon Inc. © PAOPAO. Inc Assemble the third level. Attach the opposite side in the same way. Fold in from the back and glue in place. Attach the opposite side in the same way.
- Page 4 Osaka Castle, Japan : Assembly Instructions © Canon Inc. © PAOPAO. Inc Assemble the fourth level. Attach the opposite side in the same way. Fold in from the back and glue in place. Attach the opposite side in the same way.
- Page 5 Osaka Castle, Japan : Assembly Instructions © Canon Inc. © PAOPAO. Inc Assemble the fifth level. Attach the opposite side in the same way. Glue this part in place astride part 33. Attach the opposite side in the same way.
- Page 6 Osaka Castle, Japan : Assembly Instructions © Canon Inc. © PAOPAO. Inc Assemble the base. Before attaching the parts, draw horizontal and vertical lines intersecting at the center of the bottom sides of parts 35 and 36. In c O PA ©...
- Page 7 Osaka Castle, Japan : Assembly Instructions © Canon Inc. © PAOPAO. Inc Assemble the white walls. Finish assembling the entire castle. * Match the numbers on the marks when gluing these parts in place. Finished!


