Advertisement
Advertisement
Table of Contents

Related Manuals for Protouch prowarm ProTouch V2

Summary of Contents for Protouch prowarm ProTouch V2
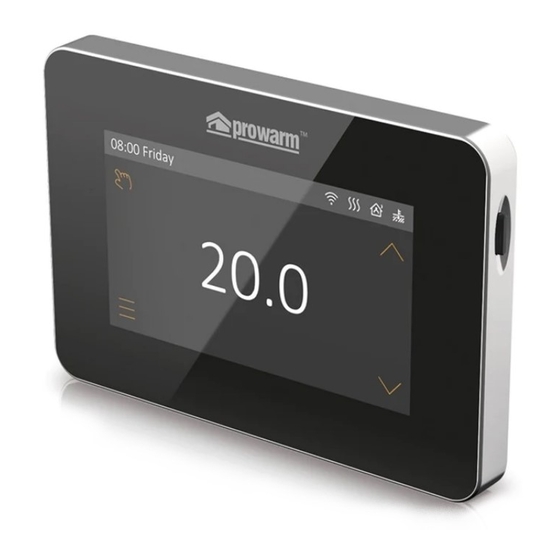
- Page 1 Touchscreen Thermostat...
-
Page 2: Display Symbols
Touchscreen Thermostat DISPLAY SYMBOLS Heat / Event / Floor Sensor Time Mode Selection Up Arrow Detected Temp Menu Down Arrow... -
Page 3: Main Functions
THERMOSTAT DESCRIPTION The ProWarm Touchscreen thermostat can be used to control your electric floor heating system or water heating system. It will keep your home at a comfortable temperature whilst minimizing energy use. MAIN FUNCTIONS Auto mode Open window detection function Hold mode Key-lock Holiday mode... -
Page 4: Installation And Wiring Instructions
INSTALLATION AND WIRING INSTRUCTIONS Step 1 Step 2 Separate the panel from the back section: insert a Connect the wires as shown in the wiring screwdriver into the two holes under the instruction. thermostat and pry it in the same direction as the arrow in the picture. - Page 5 Step 3 Step 4 Fix the back section to the single gang Re-install front panel whilst ensuring the pins engage electrical back box with the screws provided properly in the circuit board socket.
-
Page 6: Function & User Operation
FUNCTION & USER OPERATION On/Off Press the button on the right hand side of the thermostat to turn it on or off. Note: When frost mode is active, the thermostat will maintain the frost mode temperature when the power is off. Temporarily override temperature Press to temporarily increase or decrease the current temperature. - Page 7 Manual mode: Thermostat will run with the set temperature continuously until changed. Steps: Press Manual Mode to enter temperature setting. Press to set the temperature. Press to confirm and this will revert to the home screen. Holiday mode: Thermostat will run with the set temperature until the holiday time ends. Steps: Press Holiday Mode to enter holiday setting.
- Page 8 MENU On the Home Screen, press the key to enter the Menu. There are 5 parameter settings. 1. Time The day and clock are set here. Steps: Press Time to enter day setting. Press the day you want to enter hour setting. Press to set hour Press...
- Page 9 3. Brightness This option allows you to change the brightness of the display Steps: Press Brightness to enter brightness setting. Press to move up/down or touch any part of the line to set the brightness. Press to confirm and back to Menu. 4.
-
Page 10: Advanced Setting
Period parameter table (Default) Wake Leave Return Sleep 22:00 19 Mon - Fri 07:00 22 17:00 22 08:30 19 Sat - Sun 17:00 22 22:00 19 08:00 22 08:30 22 5. Advanced Settings The thermostat provides advanced settings to suit various special situations. These are normally set by technicians during initial installation. - Page 11 Name Default value Ranges Room Temperature Calibration 0°C -5°C -- 5°C Floor Temperature Calibration 0°C -5°C -- 5°C Frost mode ON/OFF Frost mode Temperature 5°C 5°C -- 15°C Floor Temperature Limit 30°C 20°C -- 50°C Switching Differential 1°C 0.5°C/1°C/2°C/3°C Temperature Unit °C °C/°F Sensor Selection...
-
Page 12: Troubleshooting
6. Switching Differential: The number of degrees the temperature has to change before the unit switches on/off. The default is 1 degree so if the temperature is set to 21 degrees the thermostat will switch on at 20.5 degrees and off at 21.5 degrees. 0.5 degrees either side of 21. 7. -
Page 13: Dimensions (Mm)
DIMENSIONS (mm) -
Page 15: Wiring Instructions
WIRING INSTRUCTIONS POWER FLOOR SENSOR SENSOR POWER 85V-265V FLOOR 50/60Hz SENSOR MAX LOAD: IP 21 Suggestion: Please keep the max load around 90% of 16A to prolong the lifetime. Ensure power is disconnected when wiring! - Page 16 Touchscreen Thermostat Support: www.prowarm.com 01268 567019...
Need help?
Do you have a question about the prowarm ProTouch V2 and is the answer not in the manual?
Questions and answers