Advertisement
Quick Links
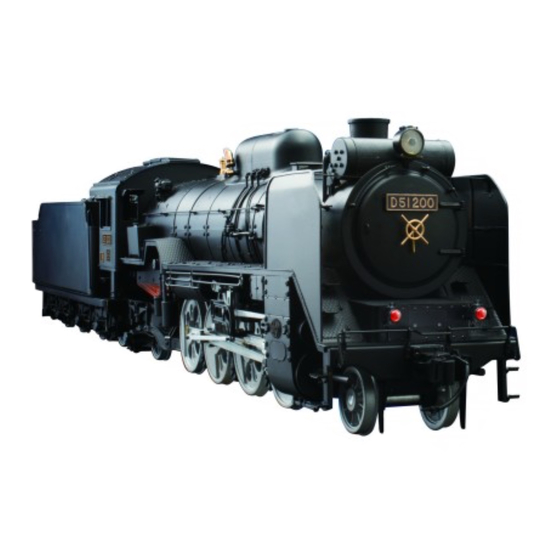
D51 200 Steam Locomotive: STEP BY STEP
The motion frame
Your parts
Left motion plate
Reverse shaft
Right motion plate
Reverse link left
Reverse link right
2 × 2.6mm set screws × 3
2 × 6mm screws × 9
Required tools
Phillips screwdriver
Flat-head screwdriver
Stage 21
The motion frame
1
Fitting the left motion plate
Place the left crosshead
into position.
Align the two sets of holes
and tighten a 2 x 6mm
screw into each of them.
Locate the three holes
on the motion frame side
plates and the three holes
on the left motion plate.
Secure the motion bars
to the underside of the
motion frame with a
2 x 6mm screw.
™
41
Advertisement

Related Manuals for De Agostini Model Space D51 200


Summary of Contents for De Agostini Model Space D51 200
- Page 1 D51 200 Steam Locomotive: STEP BY STEP Stage 21 ™ The motion frame The motion frame Your parts Fitting the left motion plate Place the left crosshead into position. Locate the three holes on the motion frame side Required tools Left motion plate plates and the three holes on the left motion plate.
- Page 2 D51 200 Steam Locomotive: STEP BY STEP ™ Fitting the reverse shaft Assembling the motion plate Re-fit the right crosshead Front Reverse shaft Hold the shaft into position. over the motion Place the right frame and turn motion plate over it so the hole at the right side of the the end (circled,...
- Page 3 D51 200 Steam Locomotive: STEP BY STEP Stage 22 ™ The suspension Leaf springs and equalisers Bush (medium) Bush (short) Bush (long) Your parts Assembling the leaf springs Tighten the screws Link (short) Link (long) through the ends of Nuts the spring, the two links and into a nut.
- Page 4 D51 200 Steam Locomotive: STEP BY STEP ™ Fitting the equaliser Fitting the leaf spring 1 Insert a long bush into A Spring Left side the hole at the end of the equaliser bar and hold in place. Insert one medium bush into the hole in the centre of one of the equalising bars.
- Page 5 D51 200 Steam Locomotive: STEP BY STEP Stage 23 ™ The suspension Assembling the leaf springs Link (short) Link (long) Tighten the screws Nuts through the ends of the spring, the two links and Leaf spring Bush (medium) into a nut. Bush (short) Bush (long) Long link...
- Page 6 D51 200 Steam Locomotive: STEP BY STEP ™ Fitting the leaf spring 2 Fitting the leaf spring 1 Insert a long bush Turn the model over and place into the hole at a short bush between the the end of the underframe and the short link.
-
Page 7: Fitting The Wheels
D51 200 Steam Locomotive: STEP BY STEP Stage 24 ™ Fitting the wheels The wheels Your parts Long part of axle box A is closer to the wheel Preparing the parts Required tools Right connecting rod Left connecting rod Tweezers Wheels Phillips screwdriver Nuts ×... - Page 8 D51 200 Steam Locomotive: STEP BY STEP ™ Fitting the wheels Once both wheel sets are in position, Place the wheel assembly from rotate them to check that the movement Stage 4 into the cut-out at the is smooth. Be careful of the coupling rod. front of the underframe.
-
Page 9: Painted Finish
D51 200 Steam Locomotive: STEP BY STEP ™ D51 Paintwork Some parts, such as the Painted finish wheels, can be painted even when fixed to the rest of the assembly. The steps will continue The following two pages show you the variations with assembling a non- painted model. - Page 10 D51 200 Steam Locomotive: STEP BY STEP ™ Bare metal finish Painted wheel, Painted wheel, without 'tyre' paint with 'tyre' paint Spray the entire surface of the wheel with Apply masking tape to the axle between Paint the wheel with black paint. If As the surface of the wheel isn’t perfectly a degreasing agent.
Need help?
Do you have a question about the Model Space D51 200 and is the answer not in the manual?
Questions and answers