
Subscribe to Our Youtube Channel
Related Manuals for FitNord CYCLO 300


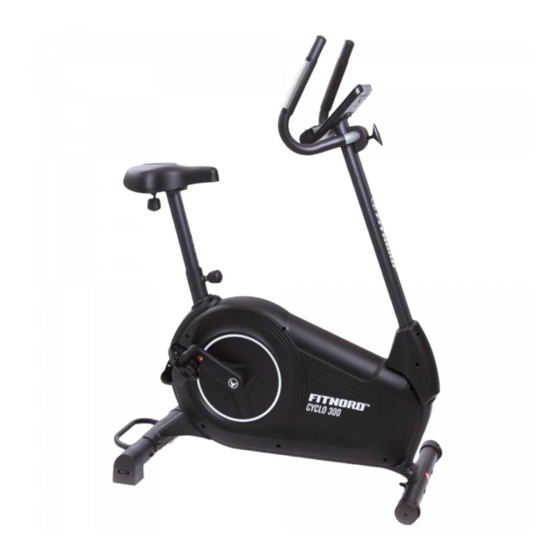
Summary of Contents for FitNord CYCLO 300
- Page 1 ’ ’...
-
Page 2: Before You Start
Before You Start IMPORTANT! Please read all instructions carefully before using this product. Retain this manual for future reference. The specifications of this product may vary slightly from the illustrations and are subject to change without notice. IMPORTANT SAFETY NOTICE Note the following precautions before assembling and operating the machine. -
Page 3: Exploaded Diagram
EXPLOADED DIAGRAM... -
Page 4: Parts List
PARTS LIST Description Description Mainframe Round end cap Front stabilizer Cross pan head screw Rear stabilizer Small handle for easy moving Rear stabilizer cap Handlebar Square neck bolt M8x74 Console Curve washer Φ8x1.5xΦ25 Square neck bolt M8x93 Cap nut M8 Saddle post 8L/R Crank Spring knob... - Page 5 ASSEMBLY INSTRUCTIONS Step 1 Fix the front stabilizer (2) and rear stabilizer (3) to the mainframe (1) with Cap nut(7),spring washer (30), curve washer (6) and square neck bolt (5). Step 2 Fasten the pedal (9L/R) to the crank (8L/R). Note: To tighten the left pedal COUNTERCLOCKWISE and the right pedal CLOCKWISE.Please turn the pedal in the direction that showed in the picture below.And please make sure that pedal were tightened when exercise,...
- Page 6 Step 3 First fix the saddle (33) to the saddle support (18) with inner hex pan head bolt (14) and flat washer (15). And then fix the assembled saddle support (18) to the saddle post (28) with knob (35), flat washer (36) and square nut (37). At last, insert the assembled saddle post (28) into the mainframe (1) and tighten it with spring knob (29).
- Page 7 Step 4 Fix the trunk wire (13) and sensor wire (11) first. Then fix the handlebar post (17) to the mainframe (1) with inner hex pan head bolt (14) , spring washer (30), curve washer (6) for the holes on the left and right side of the handlebar post, and for the front holes please fix it with inner hex pan head bolt (14) , spring washer (30) and flat washer (15) At last fix the handlebar cover (32L/R) to the mainframe with cross pan head...
- Page 8 Step 5 Thread the pulse wire (20) through the hole of handlebar post (17) and pull it out from the hole of the console bracket. Then fix the handlebar (25) to the handlebar post (17) with T-shaped bolt (38),chunk cover(39) ,spacer(40)and flat washer(41).
- Page 9 Step 6 Connect the pulse wire (20), trunk wire (13) with the wire of the console (26) and then fix the console to the handlebar(17) with cross pan head screw (23).
-
Page 10: Warm Up And Cool Down Routine
WARM UP AND COOL DOWN ROUTINE A good exercise program consists of a warm-up, aerobic exercise, and a cool down. Do the entire program at least two to three times a week, resting for a day between workouts. After several months you can increase your workouts to four or five times per week. - Page 11 Shoulder Lift Lift your right shoulder up toward your ear for one count. Then lift your left shoulder up for one count as you lower your right shoulder. Calf-Achilles Stretch Lean against a wall with your left leg in front of the right and your arms forward.
Need help?
Do you have a question about the CYCLO 300 and is the answer not in the manual?
Questions and answers