Table of Contents
Advertisement
Advertisement
Table of Contents

Related Manuals for Arrows Hobby 620 MM PIONEER


Summary of Contents for Arrows Hobby 620 MM PIONEER
- Page 1 620 MM PIONEER OPERATING MANUAL...
- Page 2 WARNING: This manual contains important information that will help you maintain and operate your model aircraft in a reliable and safe manner. Please read the instructions and warnings carefully prior to assembly, setup or use. As this model aircraft is a sophisticated hobby product, it must be flown with safety and common sense in mind, failure in doing so may result in injury or property damage.
-
Page 3: Table Of Contents
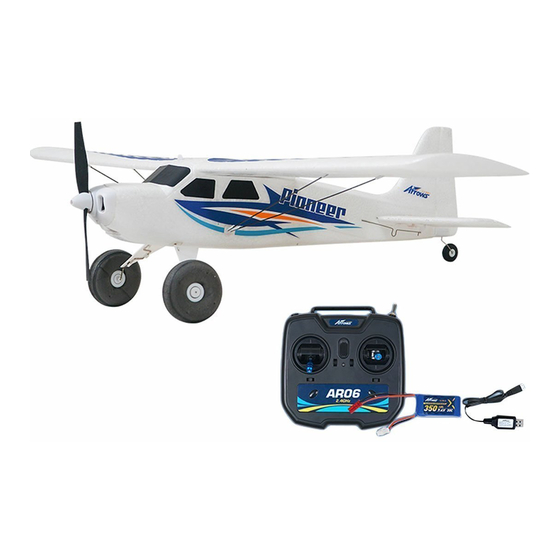
Oversized wheels and robust EPP foam construction allow for rough-field operations- just plug in the battery, let the gyro calibrate and fly! With all the exciting aircraft Arrows hobby is releasing, there‘s no better way to start than the Arrows hobby 620mm Pioneer! Features: •... -
Page 4: Battery Installation
Battery installation 1. Remove the battery hatch. 2. Remove the hook and loop tape from the fuselage. Apply the looped surface to the battery. 3. Install the battery into the fuselage- securing it with the preinstalled battery straps. Note: The weight of each battery may vary due to different manufacturing techniques. -
Page 5: Finding The Enter Of Gravity(Cg)
Preflight check transmitter and model setup After assembly and prior to your first flight, make sure all control surfaces respond correctly to your transmitter by referring to the diagram below. Aileron Elevator Rudder Control throws The suggested control throw setting for the Pioneer are as follows (dual rate setting): Tip: The maiden flight should always be High Rate Low Rate... -
Page 6: Before Flying The Model
Before flying the model Find a suitable flying site Find a flying site clear of buildings, trees, power lines and other obstructions. Until you know how much area will be required and have mastered flying your plane in confined spaces, choose a site which is at least the size of two to three football fields - a flying field specifically for R/C planes is best. -
Page 7: Troubleshooting
Flying tips Landing Land the aircraft when you start to feel sluggish motor response. If using a transmitter with a timer, set the timer so you have enough flight time to make several landing approaches.The model’s three point landing gear allows the model to land on hard surfaces. -
Page 8: Spare Parts List
Sparte parts list Fuselage 1.9g servo positive Main wing set 3.7g servo positive Horizontal stabilizer Receiver (three-in-one integrated) (Works only with AHTX01) Battery Door Transmitter (Works only with AHRX01) Mainwing supporting bar set 7.4V 350mah 20C Battery (JST plug) Steel set Cowl Charger Spinner... -
Page 9: Channel Transmitter User Manual
4 channel transmitter user manual MODE TOGGLE POWER SWITCH (NO/OFF) THROTTLE TRIM ELEVATOR TRIM (LEFT HAND THROTTLE) (LEFT HAND THROTTLE) THROTTLE TRIM ELEVATOR TRIM (RIGHT HAND THROTTLE) (RIGHT HAND THROTTLE) AILERON TRIM RUDDER TRIM POWER STATUS LED KOPPLUNG Dynamic Stability Remove the battery hatch cover, place 4x “AA”... - Page 10 User Manual Basic parameters 1.Transmitting power: less than or equal to 70mW 2.Transmission frequency: 2401 MHZ---2479 MHZ 3.Ground control range: greater than 300 meters 4.Transmitter power supply requirements: DC+6V (4 AAbatteries) 5.Re- ceiver power supply requirements: DC+6V Functionality 1. This aircraft is equipped with Vector, an advanced flight control system. The two different flight modes (Stability and Dynamic) can be toggled via the 2 position switch located on the left shoulder of the transmitter.
Need help?
Do you have a question about the 620 MM PIONEER and is the answer not in the manual?
Questions and answers