Table of Contents
Advertisement
Quick Links
FIRST TIME INSTALLATION
•
Please read instructions carefully before installation.
•
Check the contents of kit. Contact your dealer if any parts
appear to be missing or damaged.
•
Clean your roof racks, cargo basket, or platform prior to
fitting the brackets.
KIT CONTENTS
Item #
Component
1
2
3
4
5
6
M8 Socket Head Capscrew 25mm
7
8
9
10
09-13-577 Rev 1
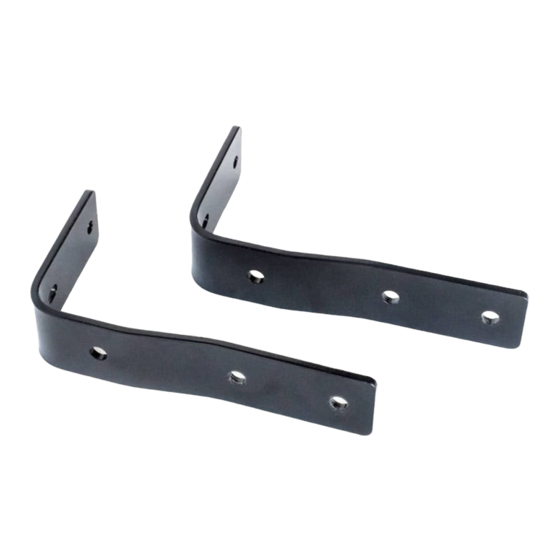
AWNING BRACKET KIT
TOOLS REQUIRED
•
Tape measure
•
10mm Spanner
•
6mm Allen Key or Torque
Wrench
Qty
2
4
5
4
8
4
4
4
4
4
4
8
6
4
9
•
For LockN'Load, Whispbar HD, Prorack HD, and other
heavy duty bars, follow Steps 1, 2, 7-10
•
For LockN'Load Platform, follow Steps 3, 4, 7-10
•
For Whispbar, Prorack S-Wing, and international
T-Slot crossbars, follow Steps 5, 6, 7-10
7
2
10
3
Page 1 of 6
Advertisement
Table of Contents

Summary of Contents for Yakima AWNING BRACKET KIT
-
Page 1: Table Of Contents
AWNING BRACKET KIT • For LockN’Load, Whispbar HD, Prorack HD, and other TOOLS REQUIRED FIRST TIME INSTALLATION heavy duty bars, follow Steps 1, 2, 7-10 • Tape measure • Please read instructions carefully before installation. • 10mm Spanner • Check the contents of kit. Contact your dealer if any parts •... - Page 2 INSTALLING AWNING BRACKETS DIRECT TO LOCKN’LOAD AND OTHER HEAVY DUTY CROSSBARS Insert 2 x M8 Spring Nuts at an equal distance from the ends of a pair of crossbars on Noting the orientation of the Awning Brackets as pictured, check that Awning will the same side of the vehicle.
-
Page 3: Awning Bracket
INSTALLING AWNING BRACKETS TO LOCKN’LOAD PLATFORM Insert two(2) sets of 2 x M8 Spring Nuts at an equal distance from platform side into the Secure the 2 x Awning Brackets to the M8 Spring Nuts in the platform slat channels by Platform slat cut outs. -
Page 4: M8 T-Nut
INSTALLING AWNING BRACKETS DIRECT TO WHISPBAR, PRORACK S-WING, AND INTERNATIONAL T-SLOT CROSSBARS Noting the orientation of the Awning Brackets as pictured, check that Awning will not Push rubber infill down and slide 2 x M8 T-Nuts into each channel at an equal interfere with opening doors once fitted. -
Page 5: M6 Hex Bolt
SHADE AWNING MOUNTING INSTRUCTIONS Slide 2 x M6 Hex Bolts into the top channel and 2 x M6 Hex Bolts into the bottom Measure the distance of the centre of the holes in the Awning Brackets between each channel of the mounting extrusion on the rear of the awning. crossbar. - Page 6 Where you become aware of defects in materials or of workmanship, and wish to make a claim under this warranty you WARRANTY & DISCLAIMER must do the following for the warranty to be honoured by your Prorack dealer or Yakima Australia Pty Ltd ABN 58 154 440 221 (Yakima):...
Need help?
Do you have a question about the AWNING BRACKET KIT and is the answer not in the manual?
Questions and answers