Table of Contents
Advertisement
Quick Links
Item #0000 000 000
Model #YJAF-052L
USE AND CARE GUIDE
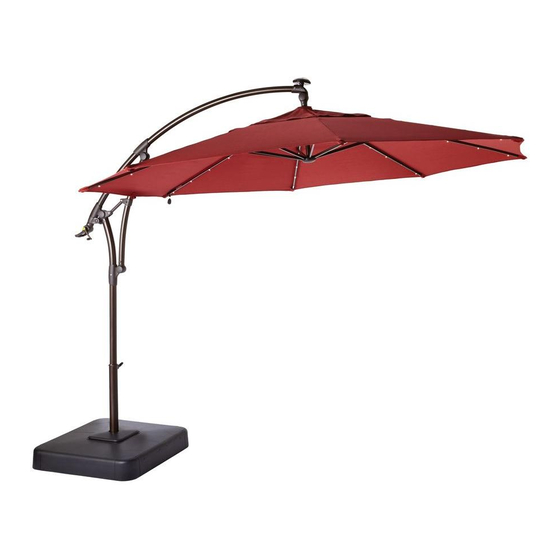
11 FT SOLAR UMBRELLA REPLACEMENT CANOPY
Questions, problems, missing parts?
Before returning to the store call Hampton Bay Customer Service
8 a.m. - 7 p.m., EST, Monday - Friday, 9 a.m. - 6 p.m., EST, Saturday
1-855-HD-HAMPTON
HAMPTONBAY.COM
THANK YOU
We appreciate the trust and con dence you have placed in Hampton Bay through the purchase of this umbrella canopy. We strive to continually
create quality products designed to enhance your home. Visit us online to see our full line of products available for your home improvement needs.
Thank you for choosing Hampton Bay!
Advertisement
Table of Contents

Related Manuals for HAMPTON BAY YJAF-052L


Summary of Contents for HAMPTON BAY YJAF-052L
- Page 1 THANK YOU We appreciate the trust and con dence you have placed in Hampton Bay through the purchase of this umbrella canopy. We strive to continually create quality products designed to enhance your home. Visit us online to see our full line of products available for your home improvement needs.
-
Page 2: Table Of Contents
Table of Contents Table of Contents ............2 Pre-Assembly ..............2 Planning Assembly ..............2 Safety Information ............2 Package Contents ..............3 Product Caution ...............2 Assembly ............... 4 Safety Warnings ..............2 Warranty ................. 2 Care and Cleaning ............12 What is Covered ...............2 What is Not Covered ..............2 Safety Information PRODUCT CAUTION... -
Page 3: Package Contents
Pre-Assembly (continued) PACKAGE CONTENTS Part Description Quantity Umbrella canopy HAMPTONBAY.COM Please contact 1-855-HD-HAMPTON for further assistance. -
Page 4: Assembly
Assembly Closing the umbrella Loosen the velcro belt. Turn the crank counterclockwise to close the umbrella (1). When the umbrella is closed, fully loosen the knob on the umbrella shade (A) by turning it counterclockwise (2). Hold the handle and pull the long bent tube downward (3). Tighten the knob on the umbrella shade (A) by turning clockwise (4) after closing the umbrella. - Page 5 Assembly (continued) Pulling the umbrella shade out of the lower umbrella pole Rotate the locking knob (D) a half turn or 180 degrees clockwise (1). Pull the umbrella shade (A) out of the lower umbrella pole (C) as shown in (2). HAMPTONBAY.COM Please contact 1-855-HD-HAMPTON for further assistance.
- Page 6 Assembly (continued) Taking off the origional umbrella shade Place the umbrella shade on a soft surface. Unfasten the velcro. Remove the original umbrella canopy from the frame.
- Page 7 Assembly (continued) Attaching the new umbrella canopy Attach the new replacement umbrella canopy from the bottom and pull to the end of the ribs. Fasten the velcro. Notice: Do not attach the canopy over the plastic plate (1). HAMPTONBAY.COM 1-855-HD-HAMPTON...
- Page 8 Assembly (continued) Inserting the umbrella shade into the lower umbrella pole Rotate the locking knob (D) a half turn or 180 degrees clockwise (2). Insert the umbrella shade (A) into the lower umbrella pole (C) as shown in (1). Rotate the locking knob (D) a half turn or 180 degrees clockwise (3).
- Page 9 Assembly (continued) Raising the umbrella partially Loosen the knob on the umbrella shade (1) by turning it counterclockwise until fully loose. Hold the umbrella handle and push the long bent tube upward (2) until it stops and the umbrella is fully extended. Tighten the knob on the umbrella shade clockwise (3) to lock the handle in place.
- Page 10 Assembly (continued) Adjusting the belt position Turn the umbrella shade so that the belt aligns with the short bent tube.
- Page 11 Assembly (continued) Attaching the replacement canopy to the umbrella ribs Attach each corner of the replacement canopy by fully extending the fabric to the umbrella ribs. HAMPTONBAY.COM Please contact 1-855-HD-HAMPTON for further assistance.
-
Page 12: Care And Cleaning
Assembly (continued) Raising the umbrella Loosen the knob on the umbrella shade (1) by turning it counterclockwise until it is fully loose. Hold the umbrella handle and push the long bent tube upward until it stops and the umbrella is fully extended. Fully tighten the knob on the umbrella shade clockwise (2) to lock the handle in place. - Page 13 Questions, problems, missing parts? Before returning to the store, call Hampton Bay Customer Service. 8 a.m. - 7 p.m., EST, Monday - Friday, 9 a.m. - 6 p.m., EST, Saturday 1-855-HD-HAMPTON HAMPTONBAY.COM Retain this manual for future use.
Need help?
Do you have a question about the YJAF-052L and is the answer not in the manual?
Questions and answers