Advertisement
Quick Links
Advertisement

Related Manuals for Polaris MAXX


Summary of Contents for Polaris MAXX
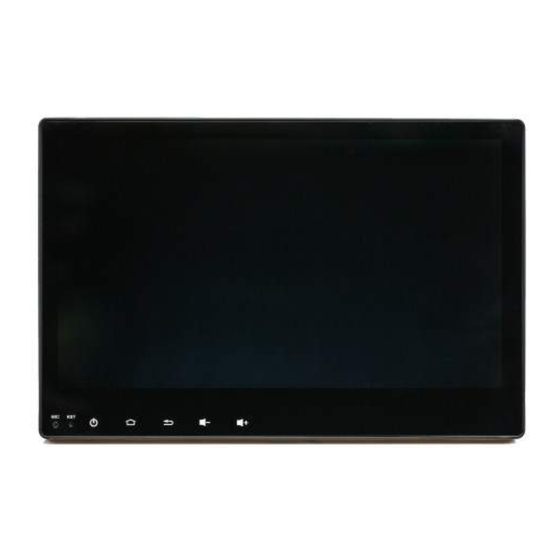
- Page 1 Installation manual...
- Page 2 SD card) • The installation of 3rd party apps that may cause harm to the unit Warranty Terms The Polaris Maxx is covered for 3 years and includes: • Defective Equipment • Defective Cables Not Covered under warranty: Abuse •...
- Page 3 Wiring 9 10 GPS Antenna input Vid in/AUX L/ AUX R Main Power Harness Not used RR, RL, FR, FL Audio out/ Vid out 1&2 / SUB 2 x USB inputs / Bluetooth mic Not used Not used Not used 10.
-
Page 4: Main Wiring Harness
Radio Antenna adaptor (plugs into camera, plug this cable into the female cam in jack located in harness) input no. 10 (see page 38) 1 Din Radio Antenna (plugs into the 10. 6 pin plug— back of Polaris Maxx) Factory Camera input... - Page 5 The following installation pictures have been taken using the Polaris Maxx head unit. The same principle applies when removing the factory head unit. Start by removing the two plastic screws in the gauge housing with a stubby screw driver. Gently Pull at both ends of the gauge housing to pop it...
- Page 6 With your fingers, gently pry open the long dash trim panel above the radio gradually working your way down until it’s completely removed. Now open the bottom glovebox so that you can grab the top glovebox. Gently pull it out and put aside.
- Page 7 Next is the air conditioning control panel. Get your fingers in behind the panel, pull forward to pop it out and let it sit there.
- Page 8 There are 4 screws that need to be undone (use a 10mm / phillips head), two up the top and two down the bottom. Once they are all out, pull on the fascia and pop it forward.
- Page 9 Before removing the fascia be sure to unplug the white plug in the back of the fascia on the left hand side. After this, unplug all the factory plugs from the back of the OEM head unit. Remove factory unit and brackets from fascia.
- Page 10 Push down the 5 metal clips located on the back of the Polaris Maxx. Once this is done screw the brackets back onto the fascia and slide the Polaris Maxx in all the way until the two holes on each side line up. Once you are happy with the positioning, screw the head unit to the brackets.
- Page 11 If you are using the factory camera, plug it into the factory camera plug. Please ensure that you also plug the CAM in yellow RCA jack into the CAM in located on loom no. 10 from the Polaris Maxx (please see page 3).
- Page 12 Mount the Bluetooth microphone onto the steering wheel. Put the unit and fascia back into place, remembering to connect the white plug into the back of fascia. Follow the installation tips in reverse to put all the panels back...
- Page 13 Polaris Maxx. Refer to the user manual for instructions on how to use the Polaris Maxx. If you have any questions or concerns about fitting the Polaris Maxx, please give Polaris a call on 1300 555 514.
Need help?
Do you have a question about the MAXX and is the answer not in the manual?
Questions and answers